Were a bit late to this party but if you haven't seen it yet check it out. These are always immensely entertaining. This time Ken Block is in Dubai.

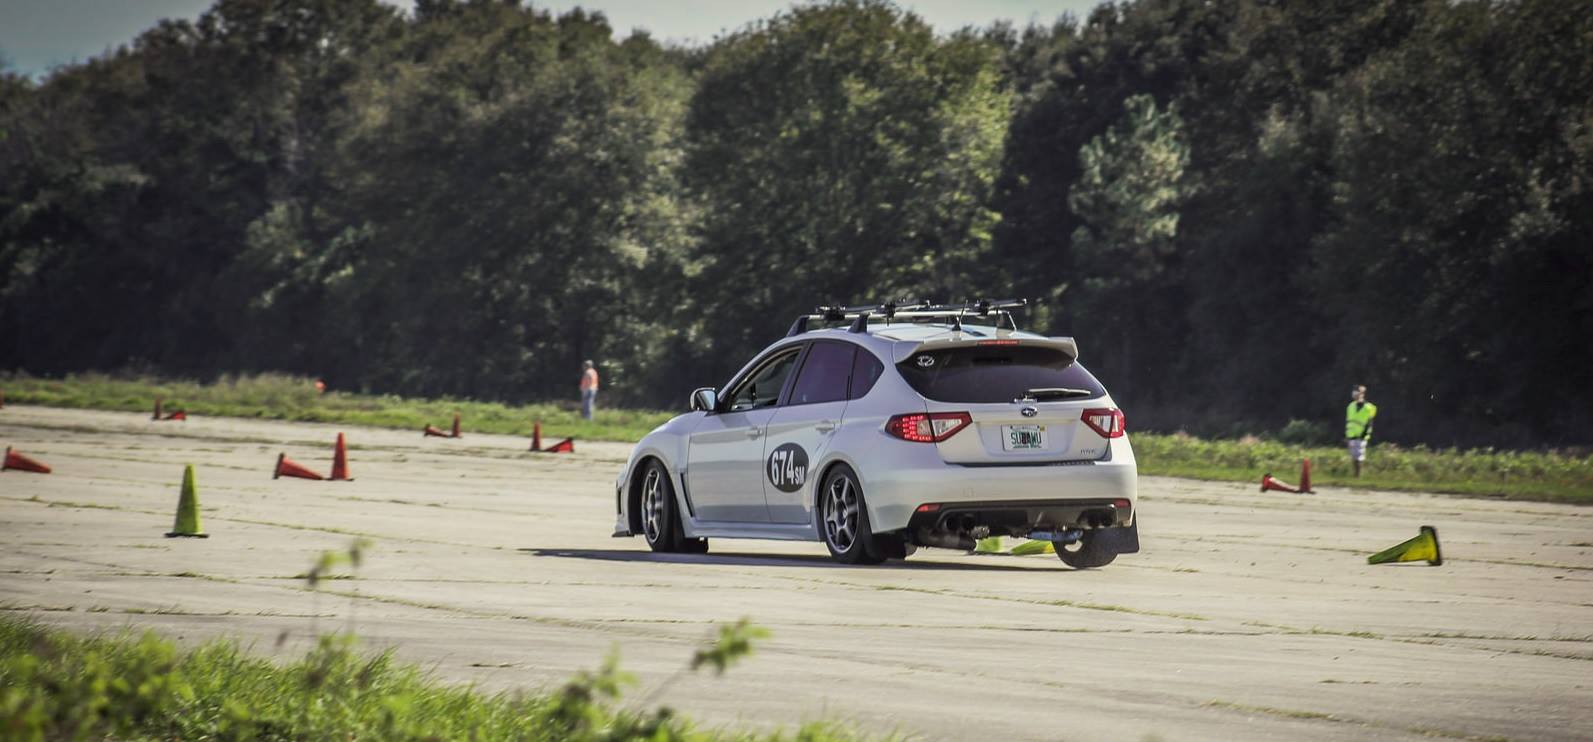
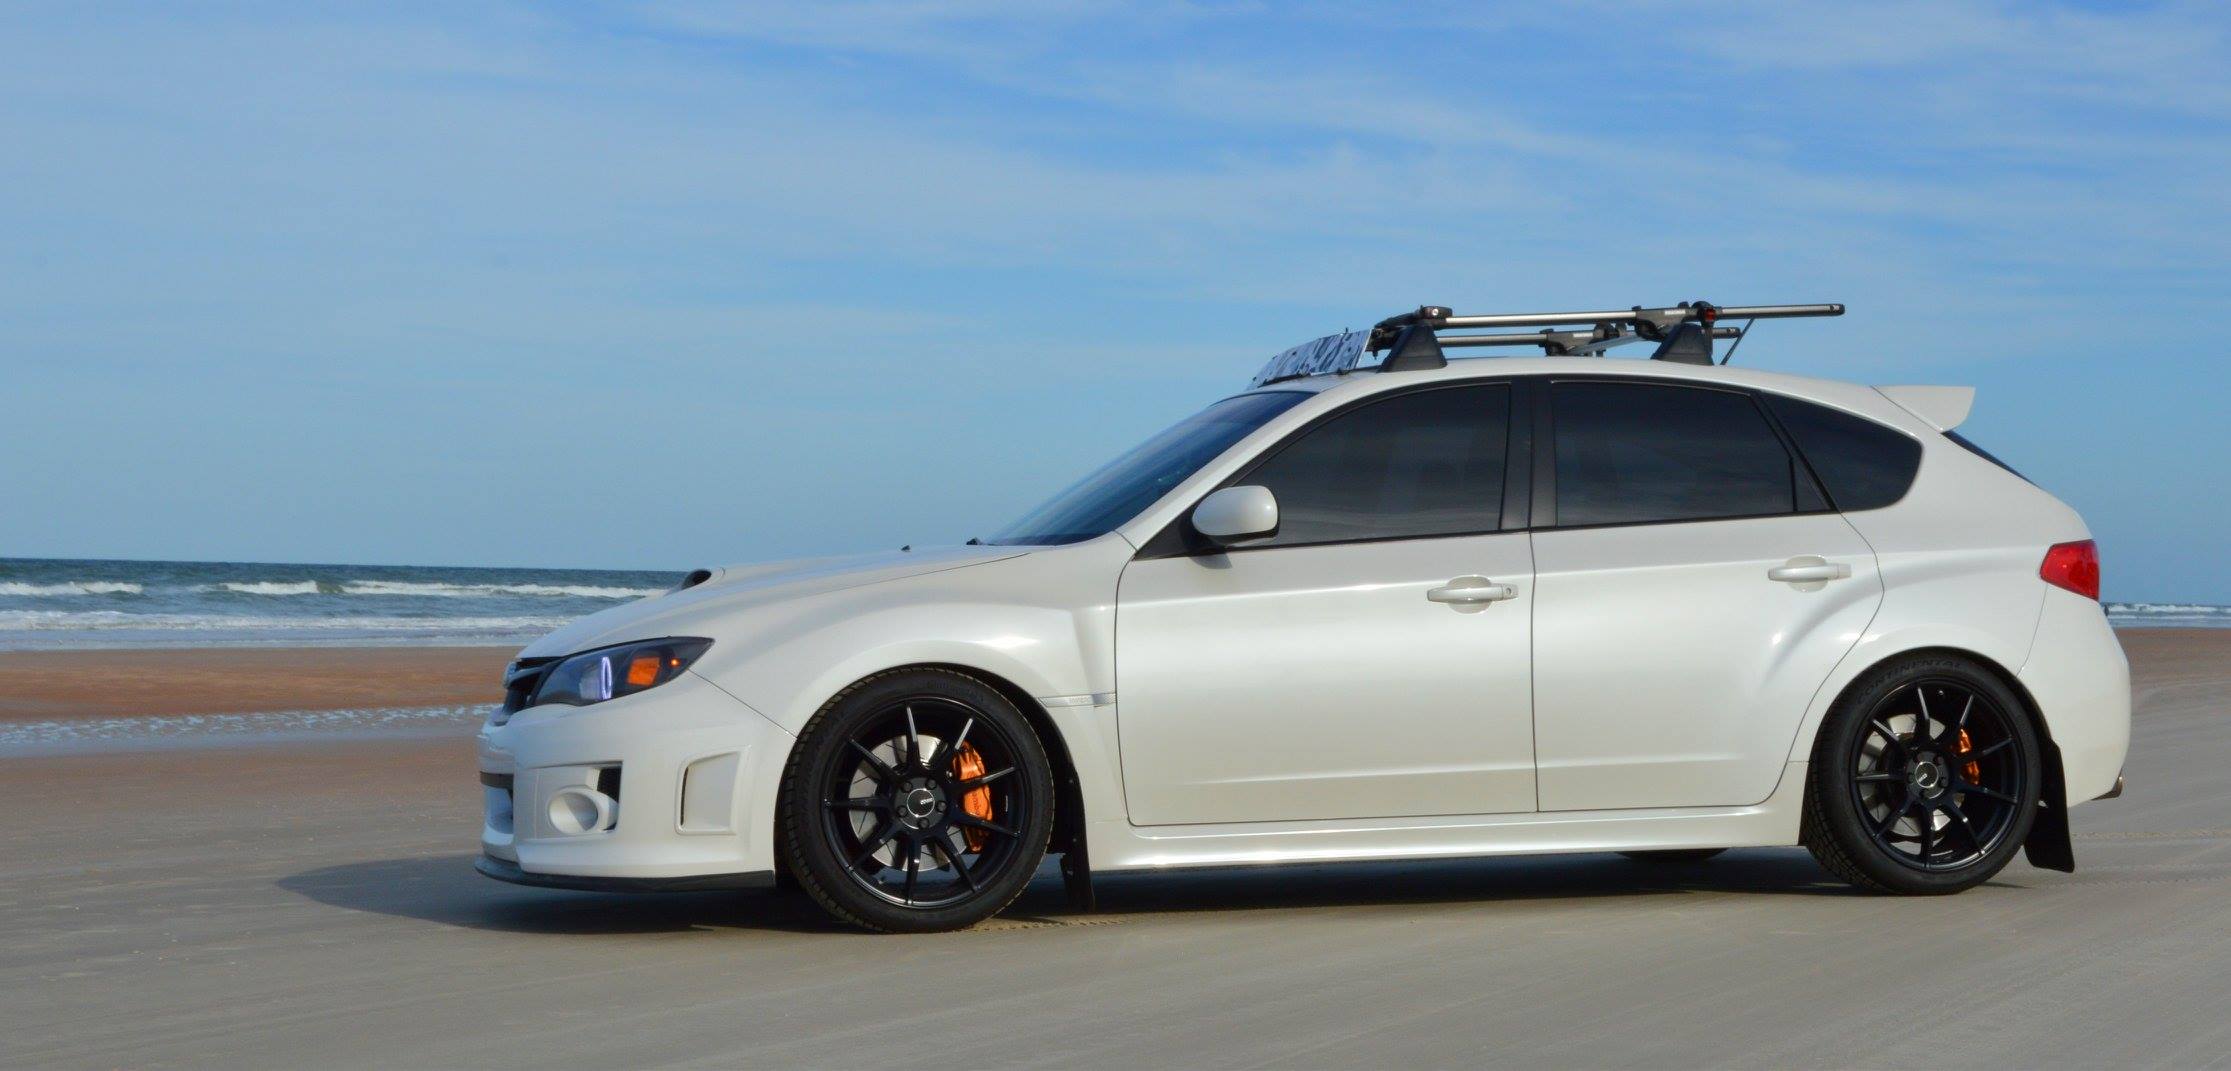
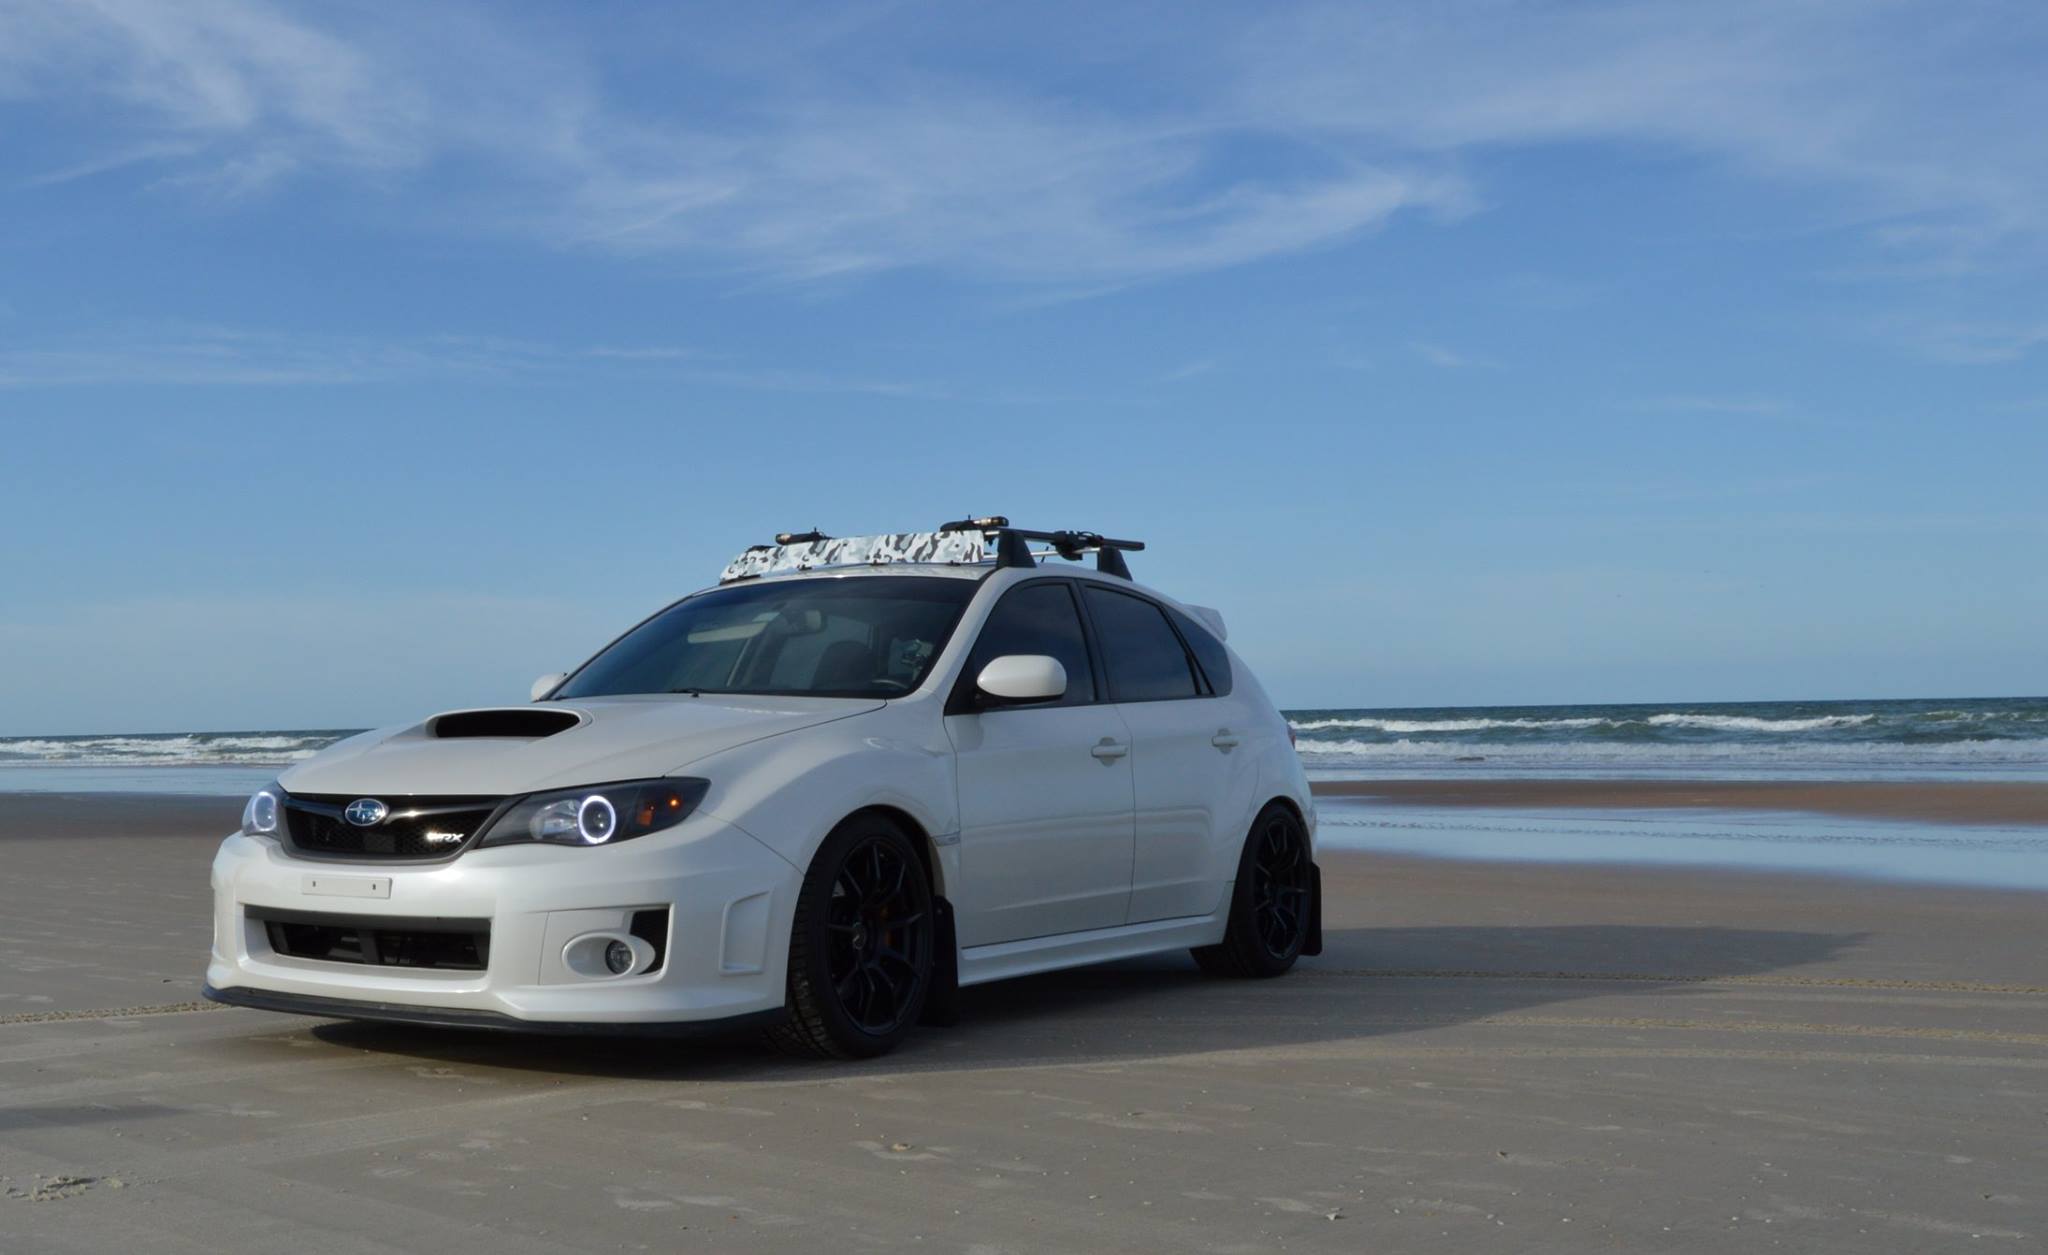
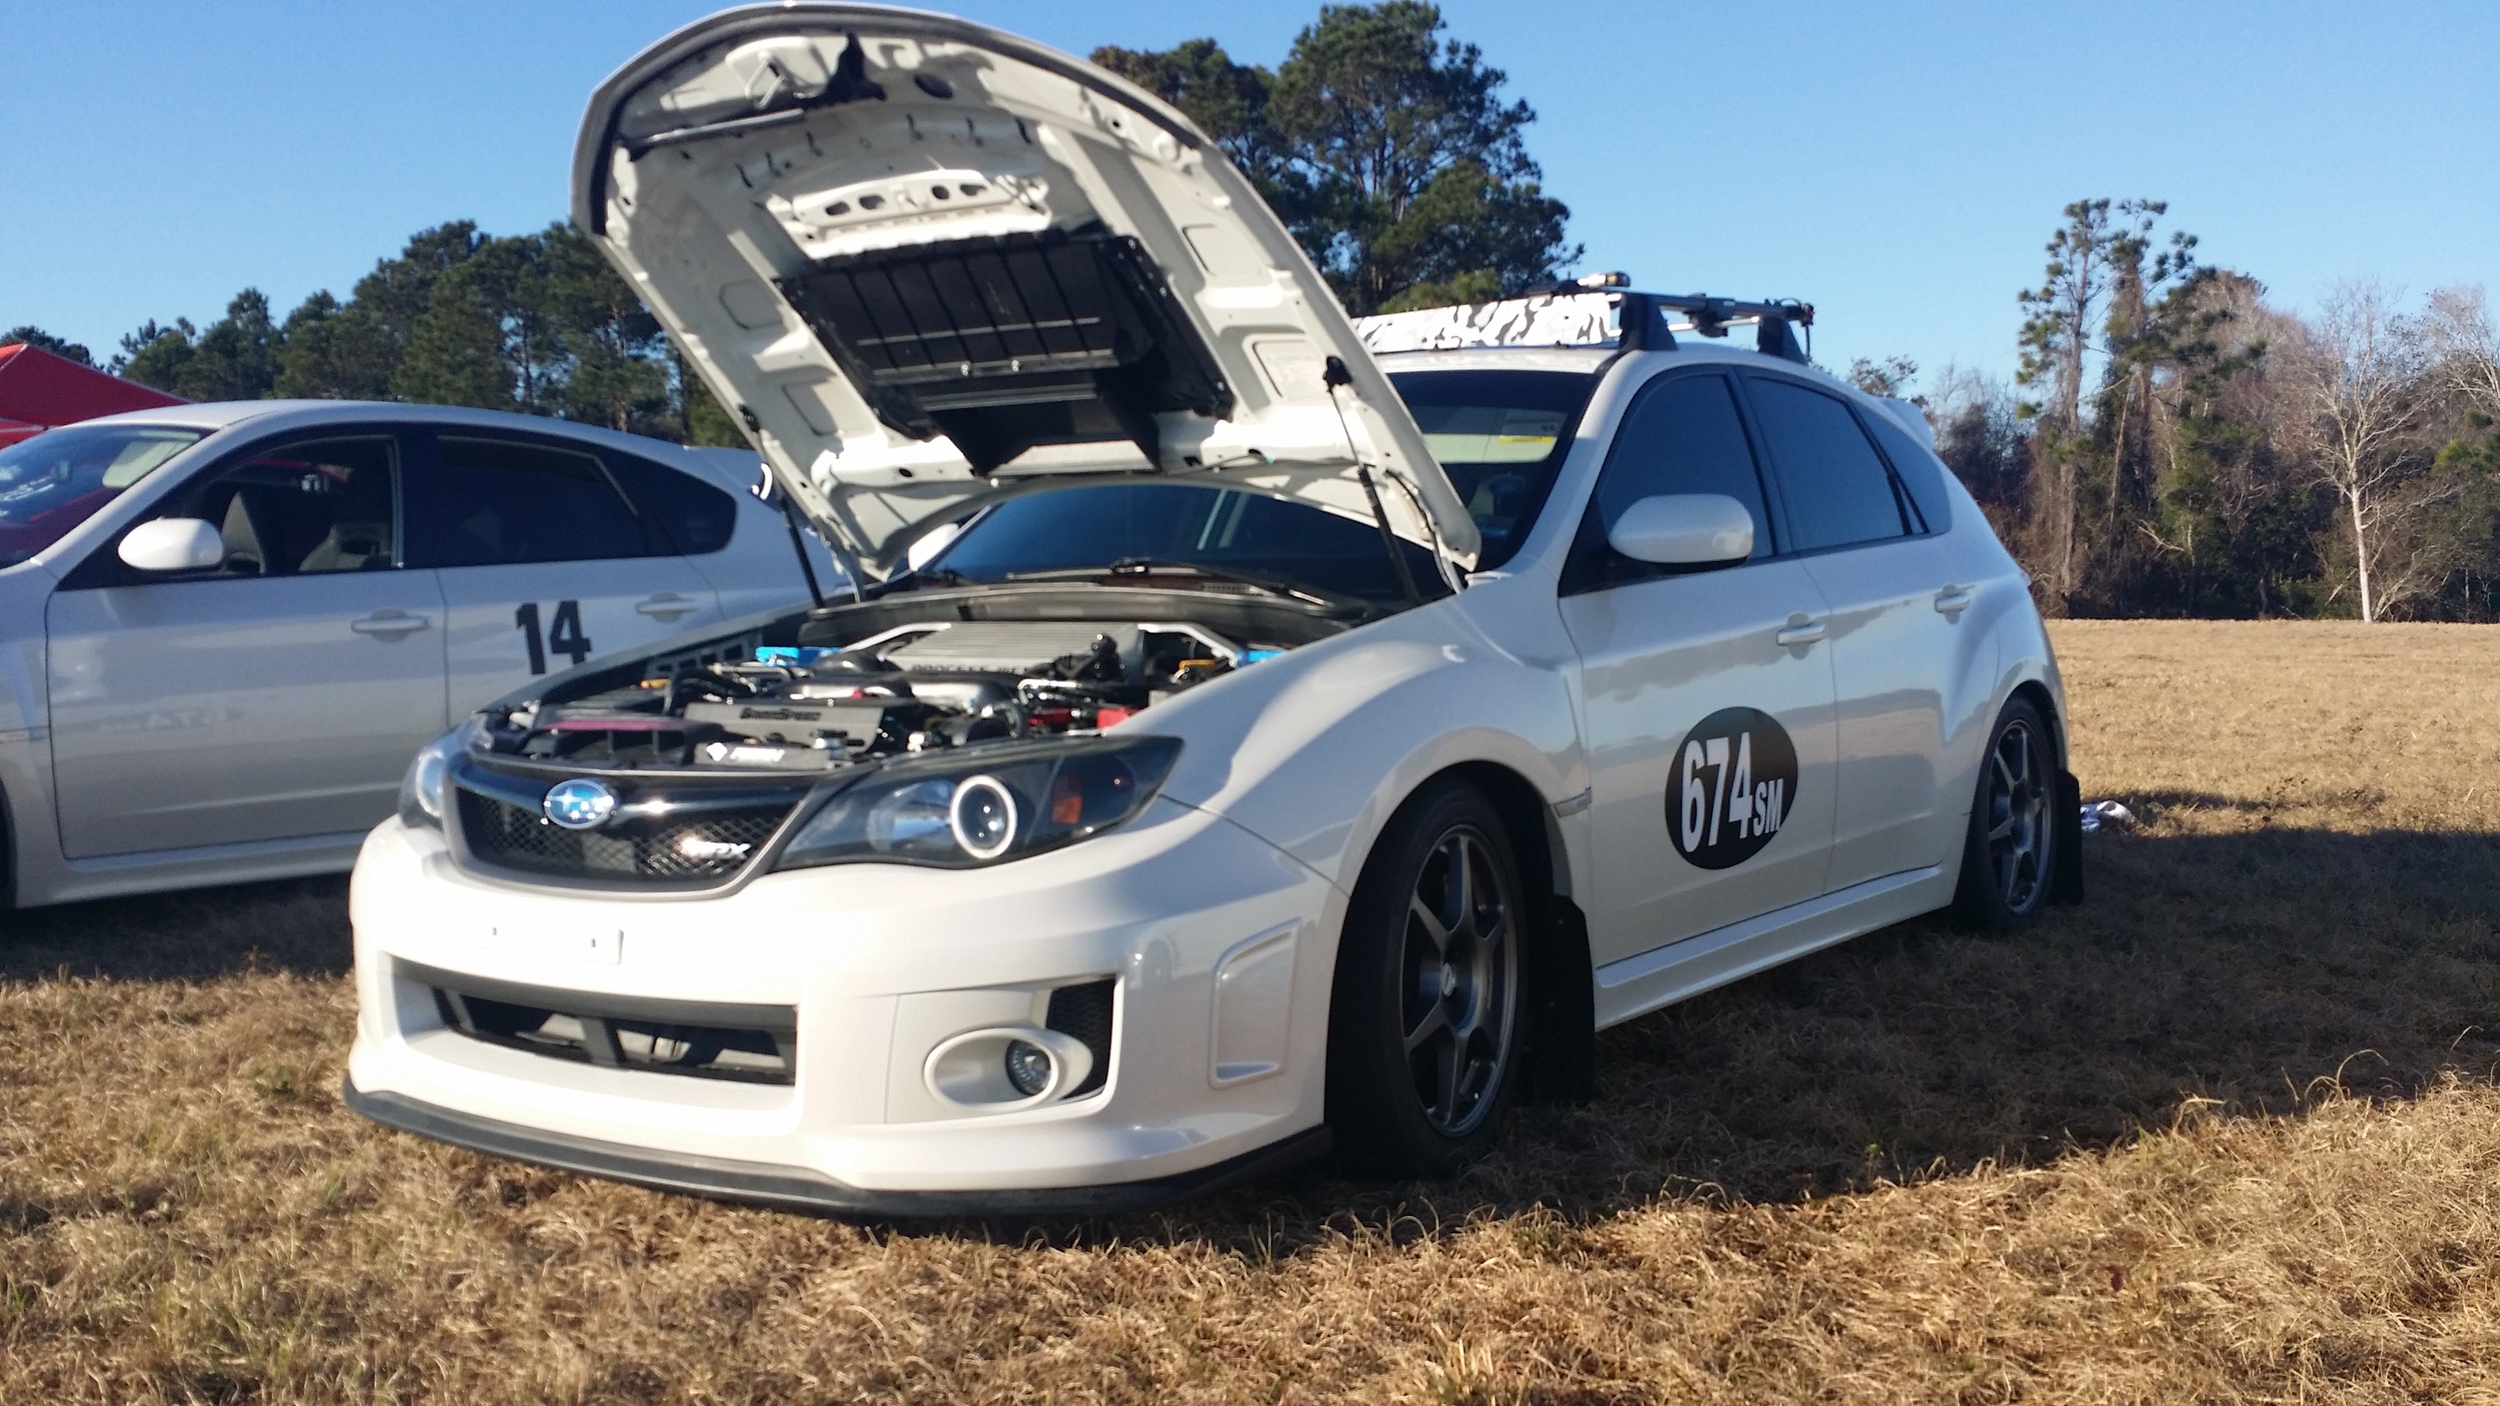
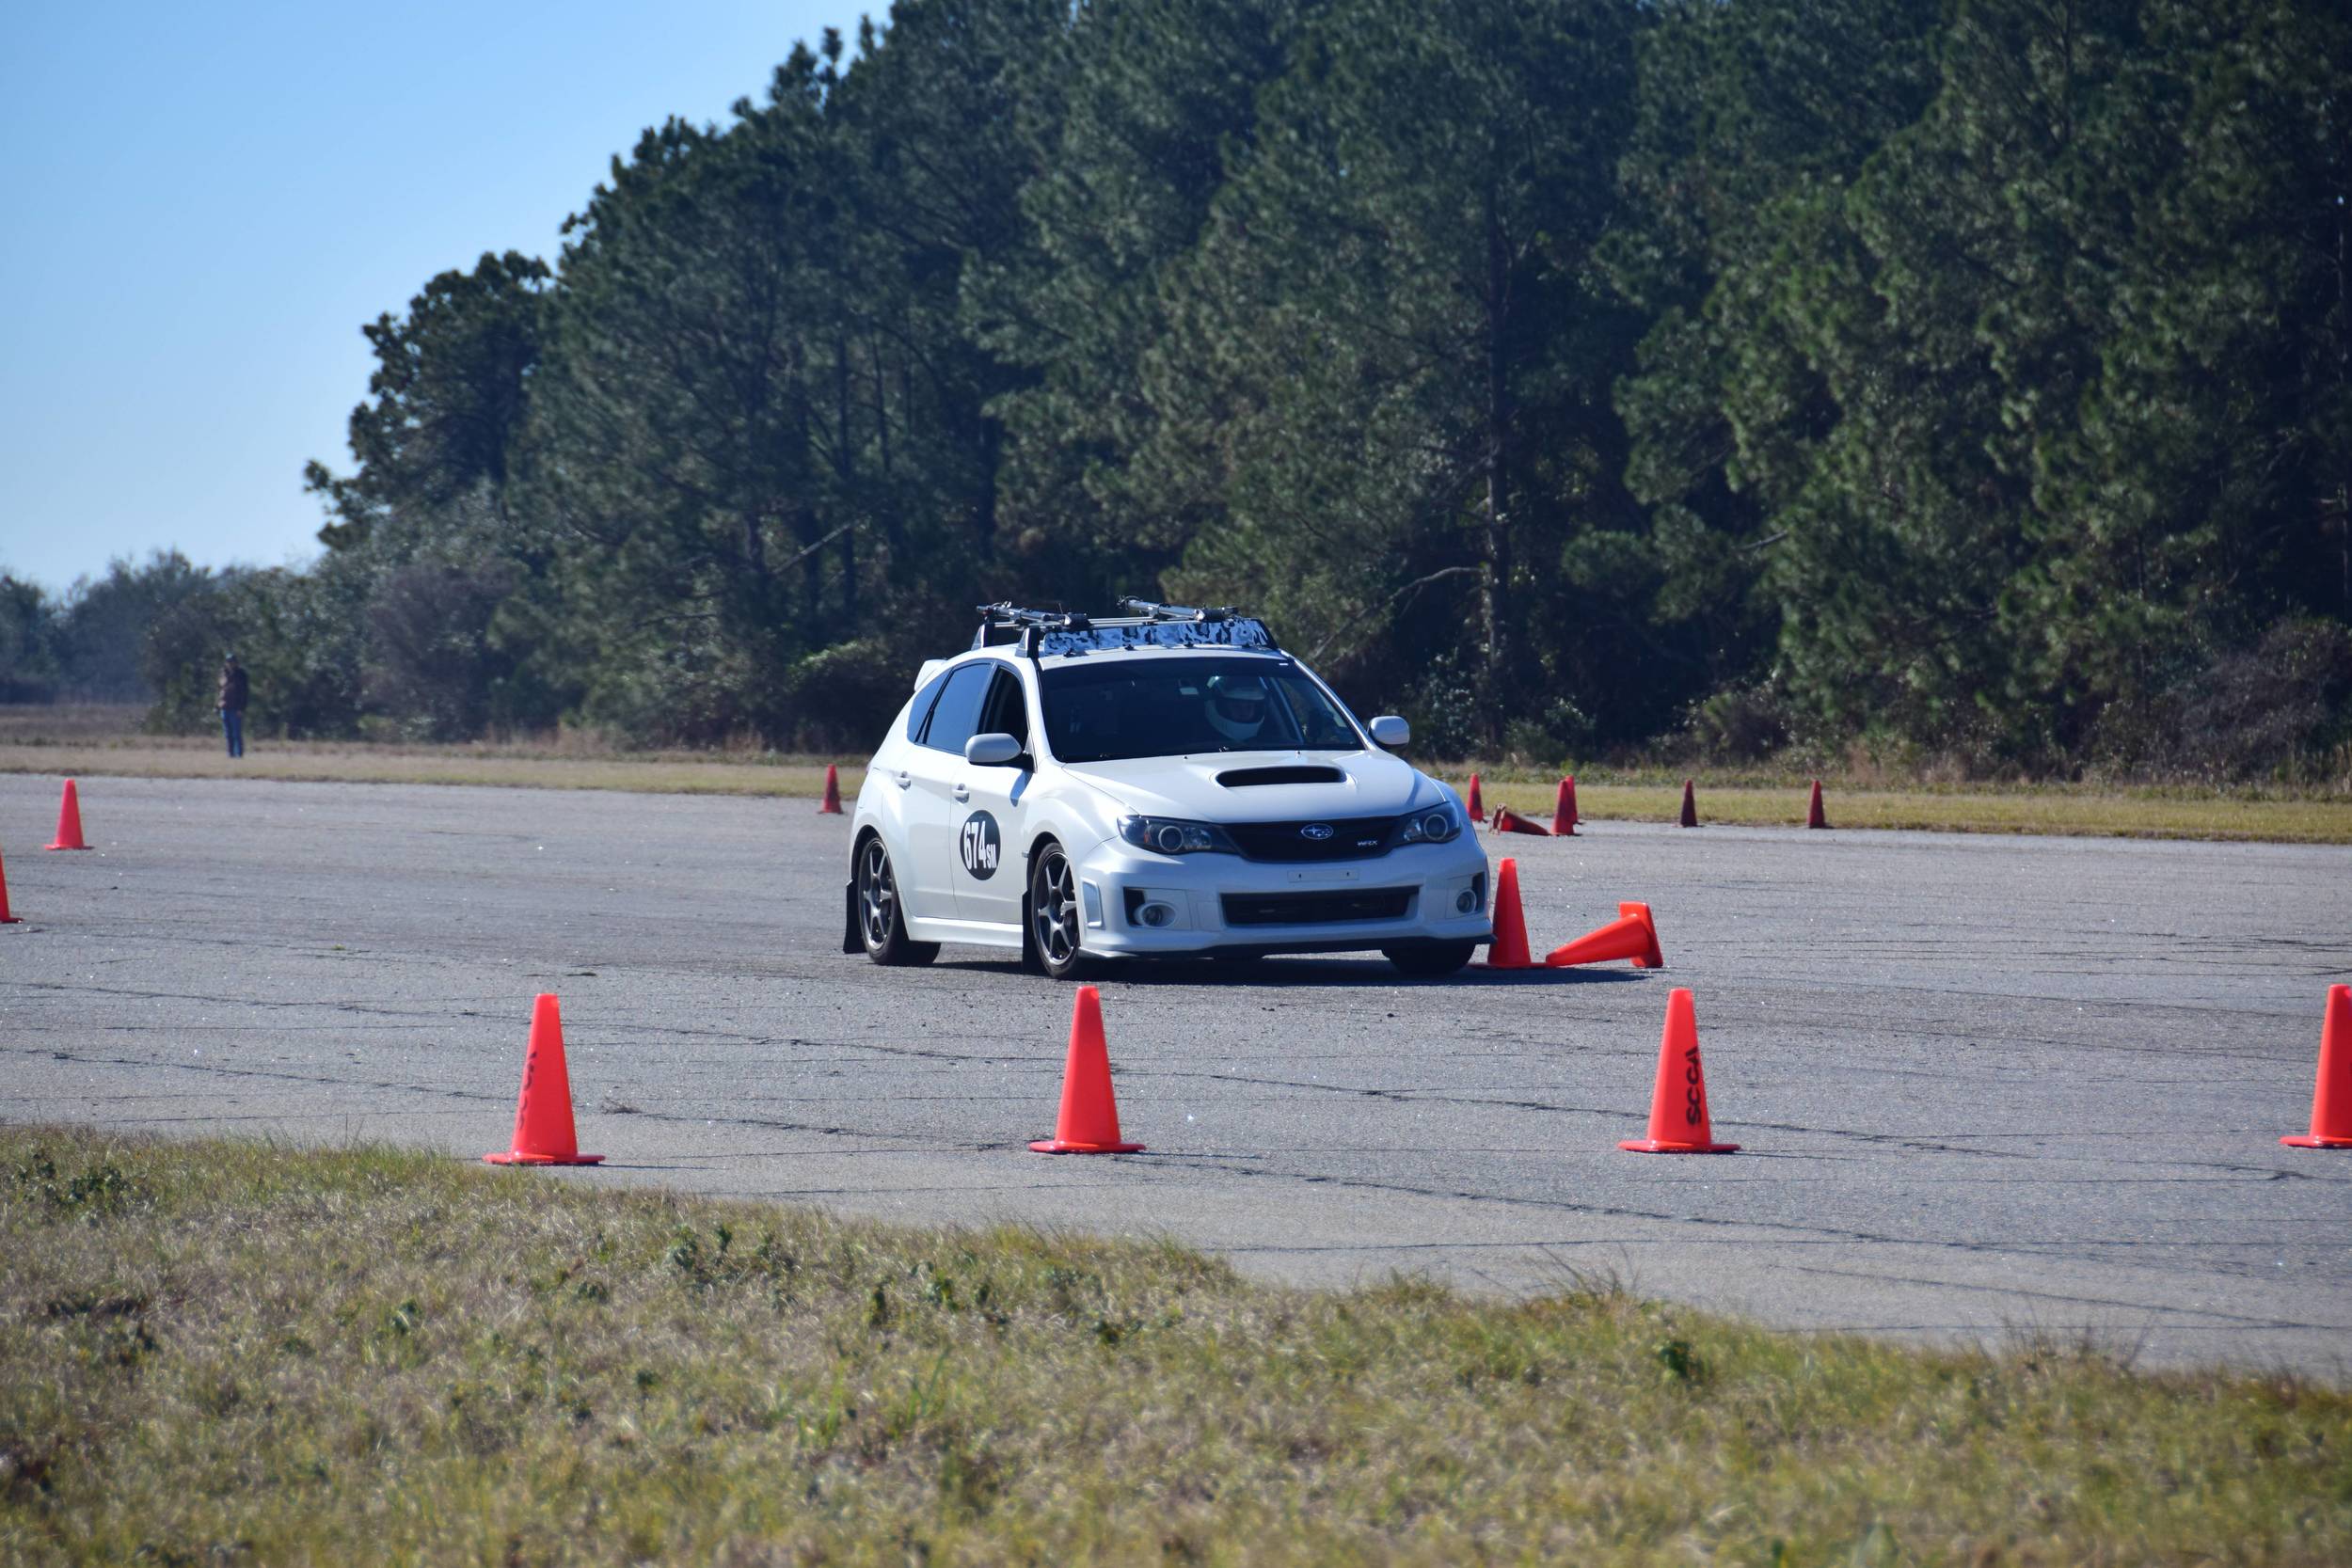
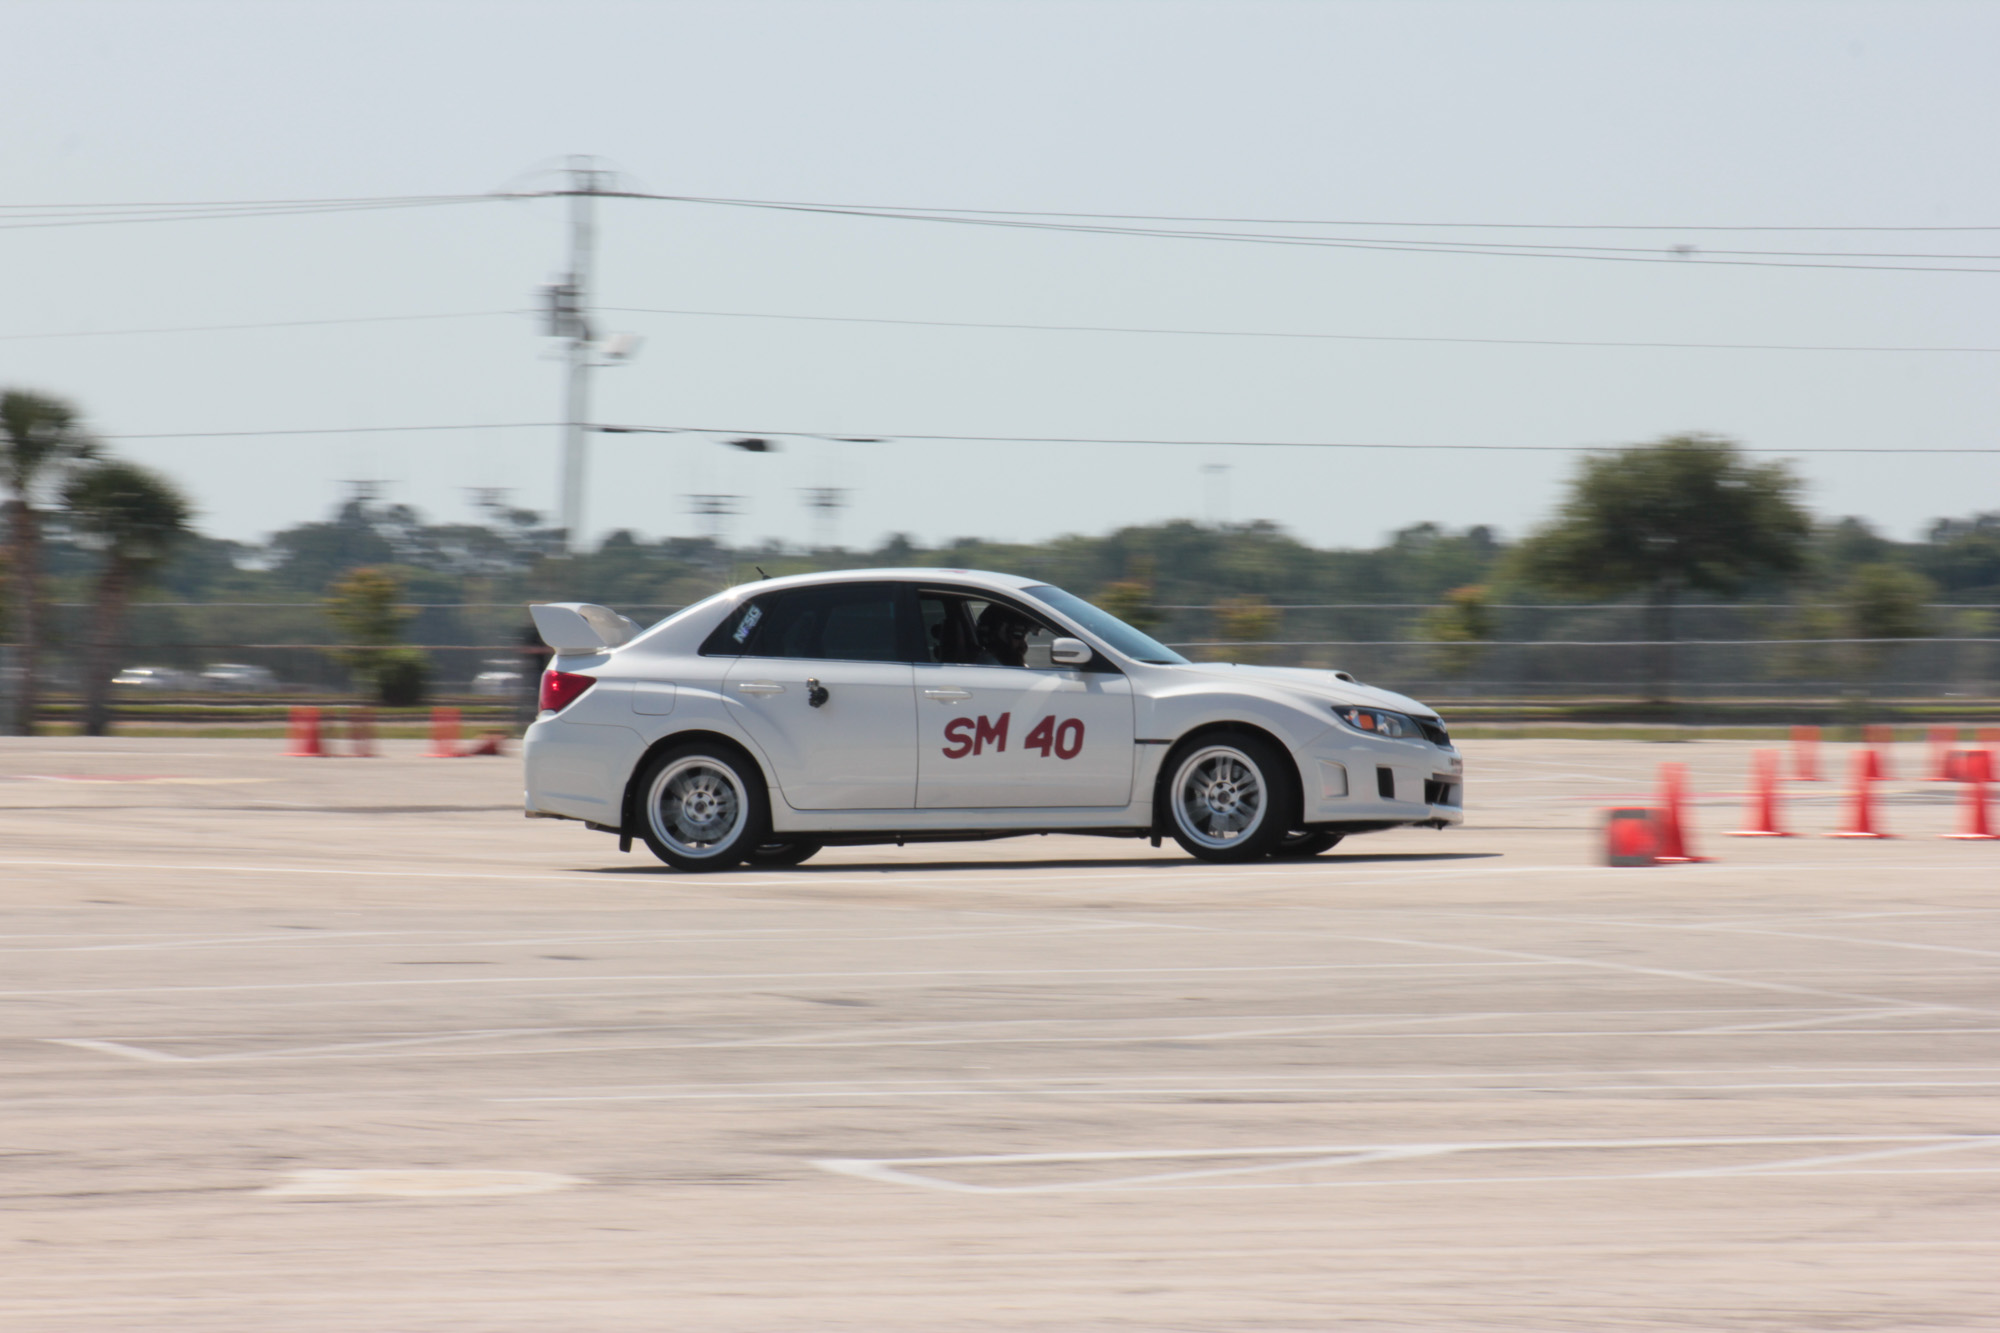
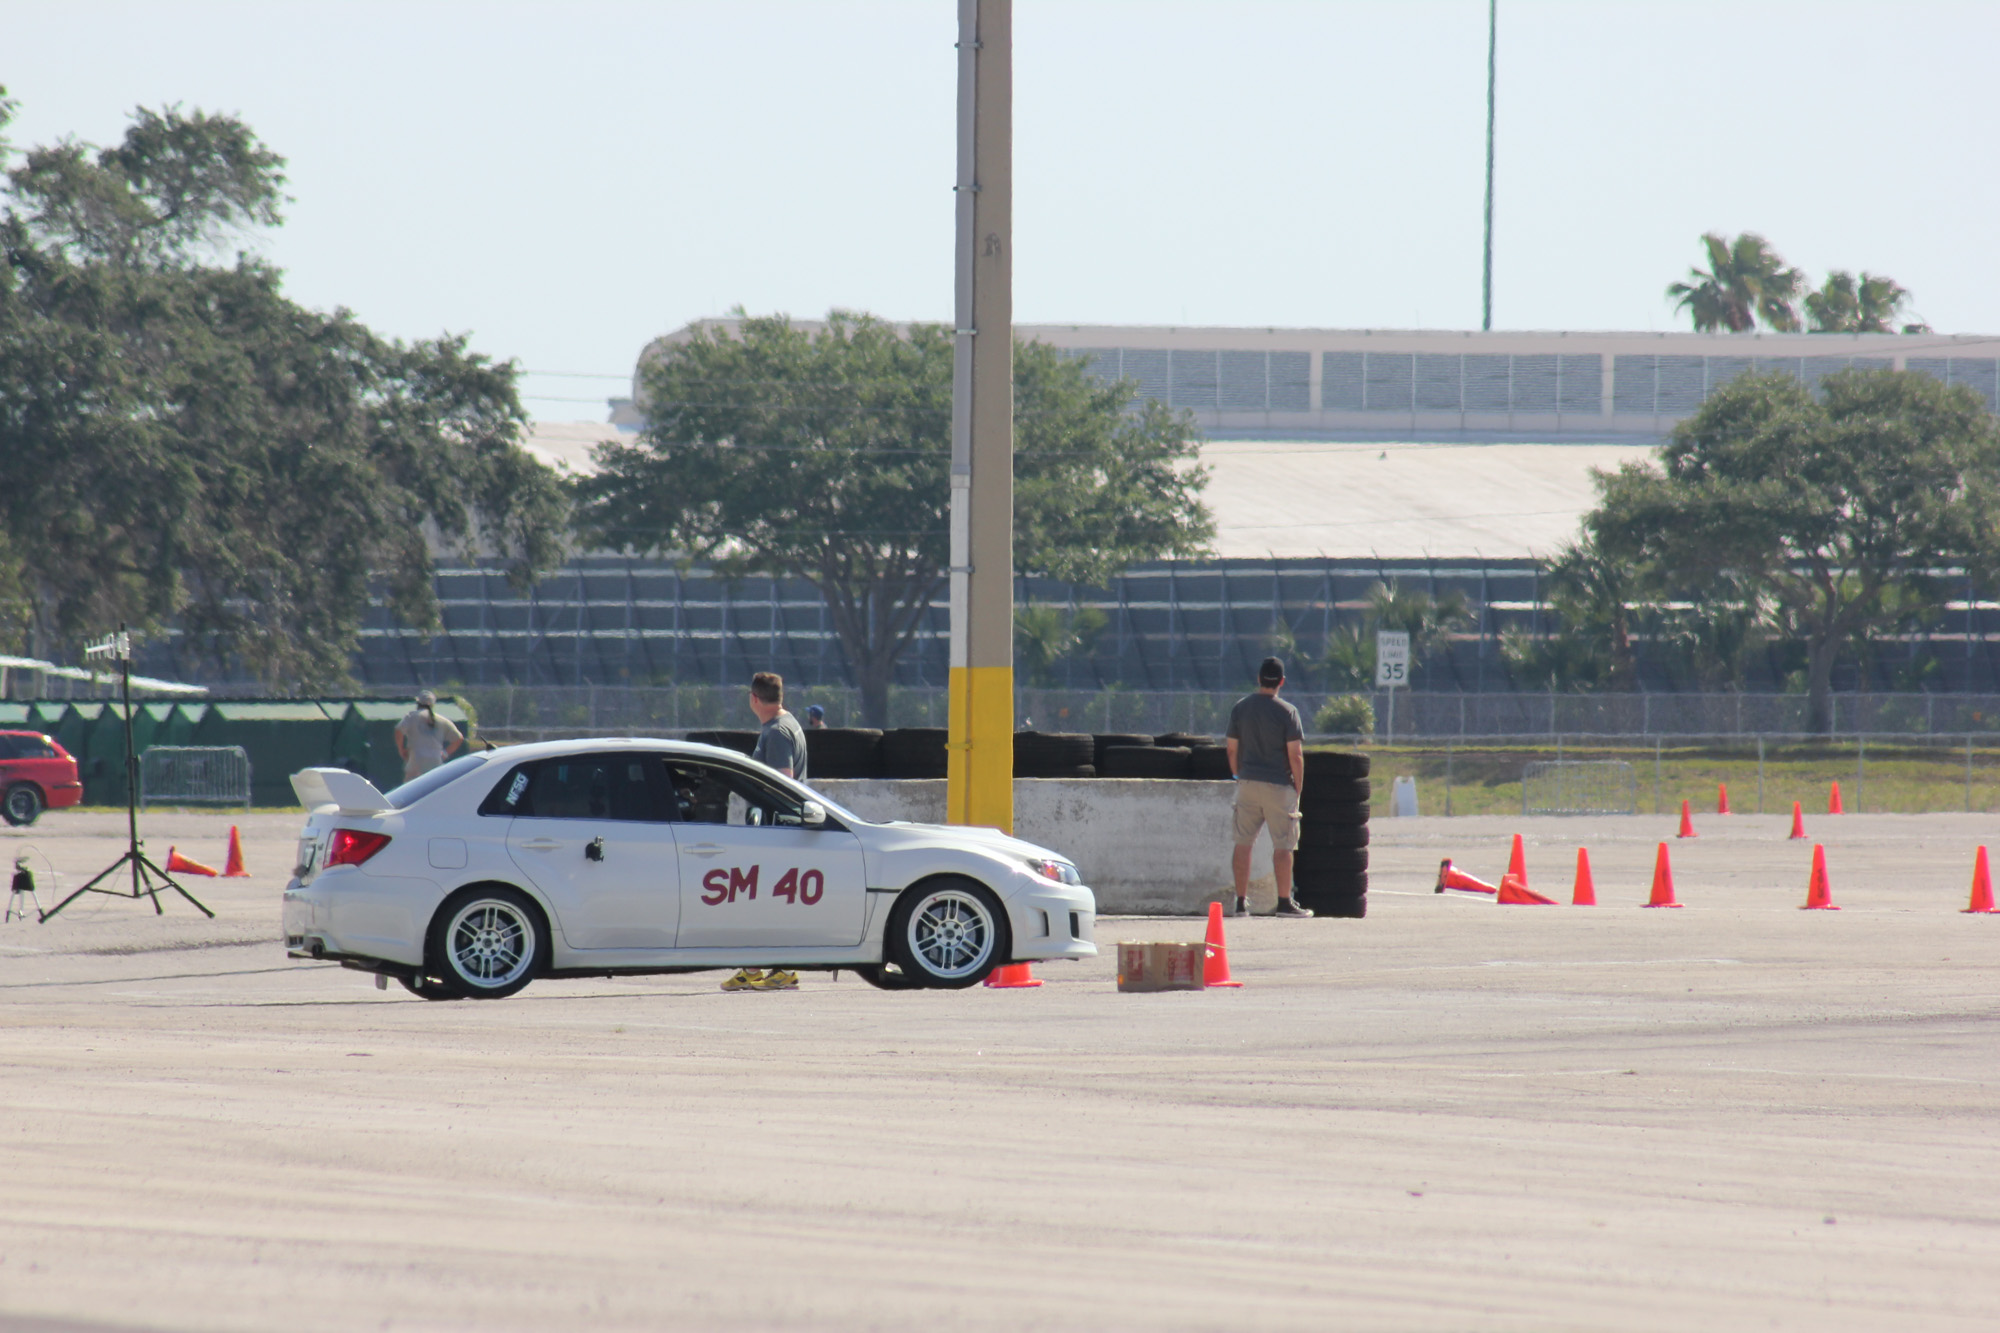
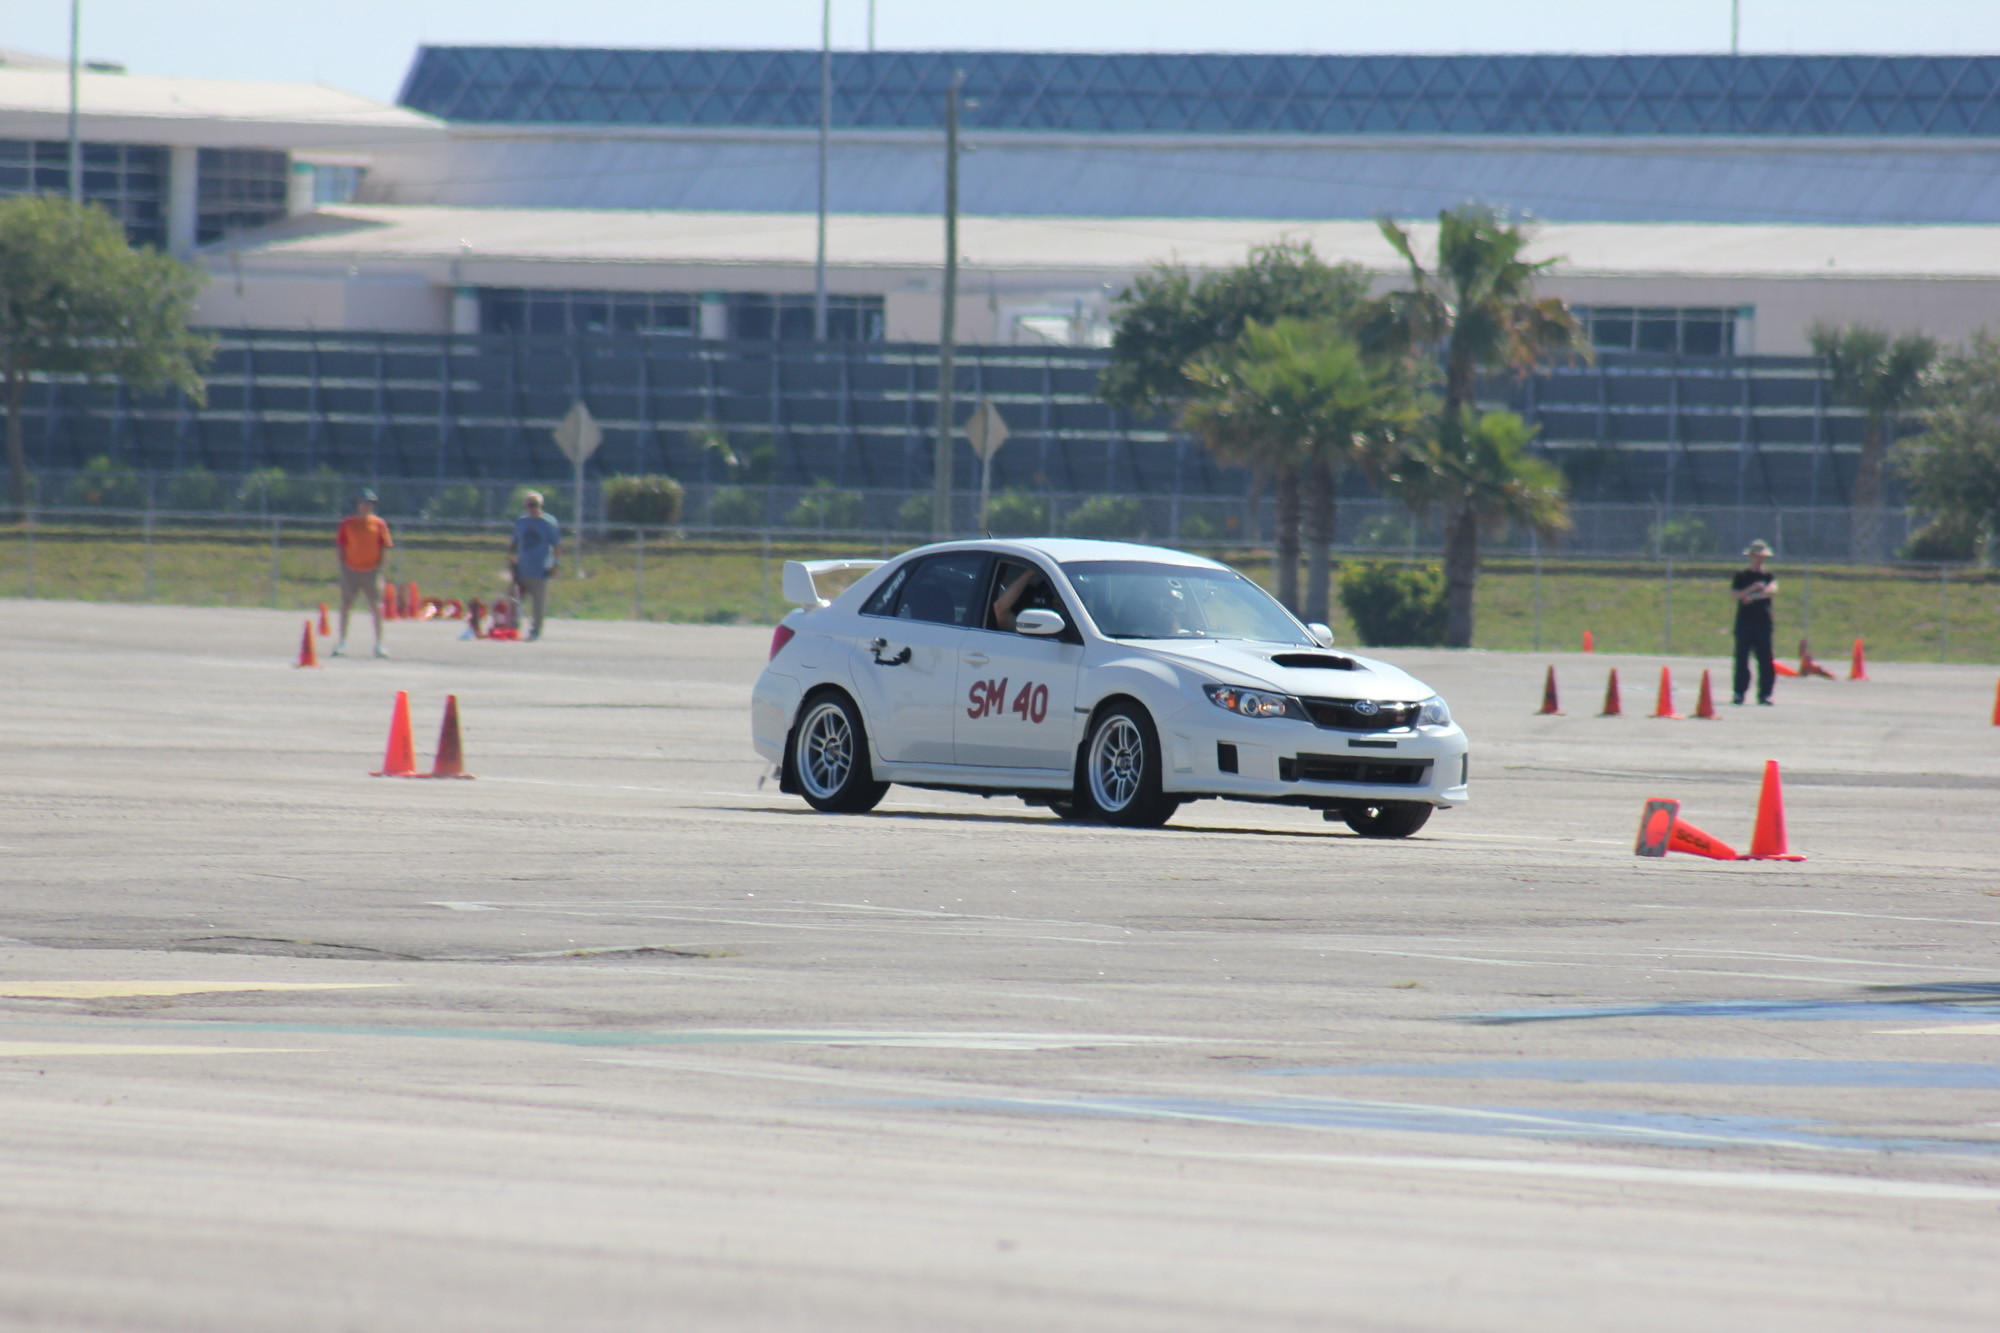
2013 Subaru WRX Premium 5-speed
SCCA CLASS: STREET MOD (TIRE MODIFIER)
UPDATED: 5/26/16
Engine:
Accessport V3 w/ Protune (tuned by Circuit Motorsports)
Grimmspeed catted DP w/ Cobb turbo heatshield
Nameless catback exhaust w/ 3" midpipe and resonator
Turbosmart recirculating BPV
DW65c fuel pump
ID1000 top feed fuel injectors
Cobb SF intake
Process West TMIC
Grimmspeed EBCS
Mishimoto X-Line (3 core) radiator
Perrin Setrab oil cooler
Perrin pitch stop mount
Circuit Motorsports clutch master cylinder brace
Grimmspeed master cylinder brace
Beatrush aluminum cooling undertray
Perrin brake fluid reservoir koozie (best mod on the car)
Suspension/brakes:
RCE Tarmac Zero coilovers
Cusco front strut tower bar
Cusco rear lateral links (camber adjustable)
Cusco front pillow ball upper mounts (camber adjustable)
Eibach adjustable 22mm rear swaybar
Eibach adjustable 25mm front swaybar
Kartboy front and rear endlinks
Brembo Gran Turismo big brake kit (4 piston front calipers, 2 piston rear calipers, SS brake lines, slotted Brembo rotors)
Drivetrain:
ACT HDSS clutch w/ ACT Streetlite flywheel
Moore blast plates
Autocross wheels/tires: Kosei K6R's 17x8 w/ Dunlop Direzza ZII Star Specs
Daily wheels/tires: Enkei TS9 18x9.5 +45 w/ Continental DWS06 265/35/18
Winter/snow tires: stock wheels w/ 5mm spacer, Bridgestone Blizzak 235/40/17
Black Rays lugnuts
Exterior:
Rallyarmor UR mudflaps
Lamin-x tail light covers
OEM roof racks w/ Yakima Forklift front fork bike racks
HPT Motorsports CS style front lip
Custom painted/blacked headlight housings
Orion v4 LED 105mm angel eyes
Morimoto Elite 5000K HID retrofit w/ TSX-R clear lenses
6000k LED fog lights
6000k LED rear plate lights
Interior:
2012 STi front and rear seats
2012 STi shifter trim swap
SMY Cluster Maker dual 52mm gauge pod
Defi Oil Pressure gauge
AEM UEGO Wideband controller
Red LED interior lights
Dyno numbers on CFT's Mustang Dyno:
352whp/392wtq on E85 @ 21.5PSI
308whp/337wtq on 93 octane @ 18.5PSI
![GOPR2196.MP4_snapshot_01.22_[2016.04.10_19.51.32].jpg](https://images.squarespace-cdn.com/content/v1/567ec62d7086d78817b3fc69/1464828727991-QLDTAYT7M2U7QLYWCDIJ/GOPR2196.MP4_snapshot_01.22_%5B2016.04.10_19.51.32%5D.jpg)
![GOPR2196.MP4_snapshot_03.13_[2016.04.12_19.17.59].jpg](https://images.squarespace-cdn.com/content/v1/567ec62d7086d78817b3fc69/1464828770084-ECV3J0LRB0ZJAX8CGG3T/GOPR2196.MP4_snapshot_03.13_%5B2016.04.12_19.17.59%5D.jpg)
![GOPR2196.MP4_snapshot_01.05_[2016.04.10_19.50.57].jpg](https://images.squarespace-cdn.com/content/v1/567ec62d7086d78817b3fc69/1464828784589-Q78Y2FOJFPZFVTAW8RP9/GOPR2196.MP4_snapshot_01.05_%5B2016.04.10_19.50.57%5D.jpg)

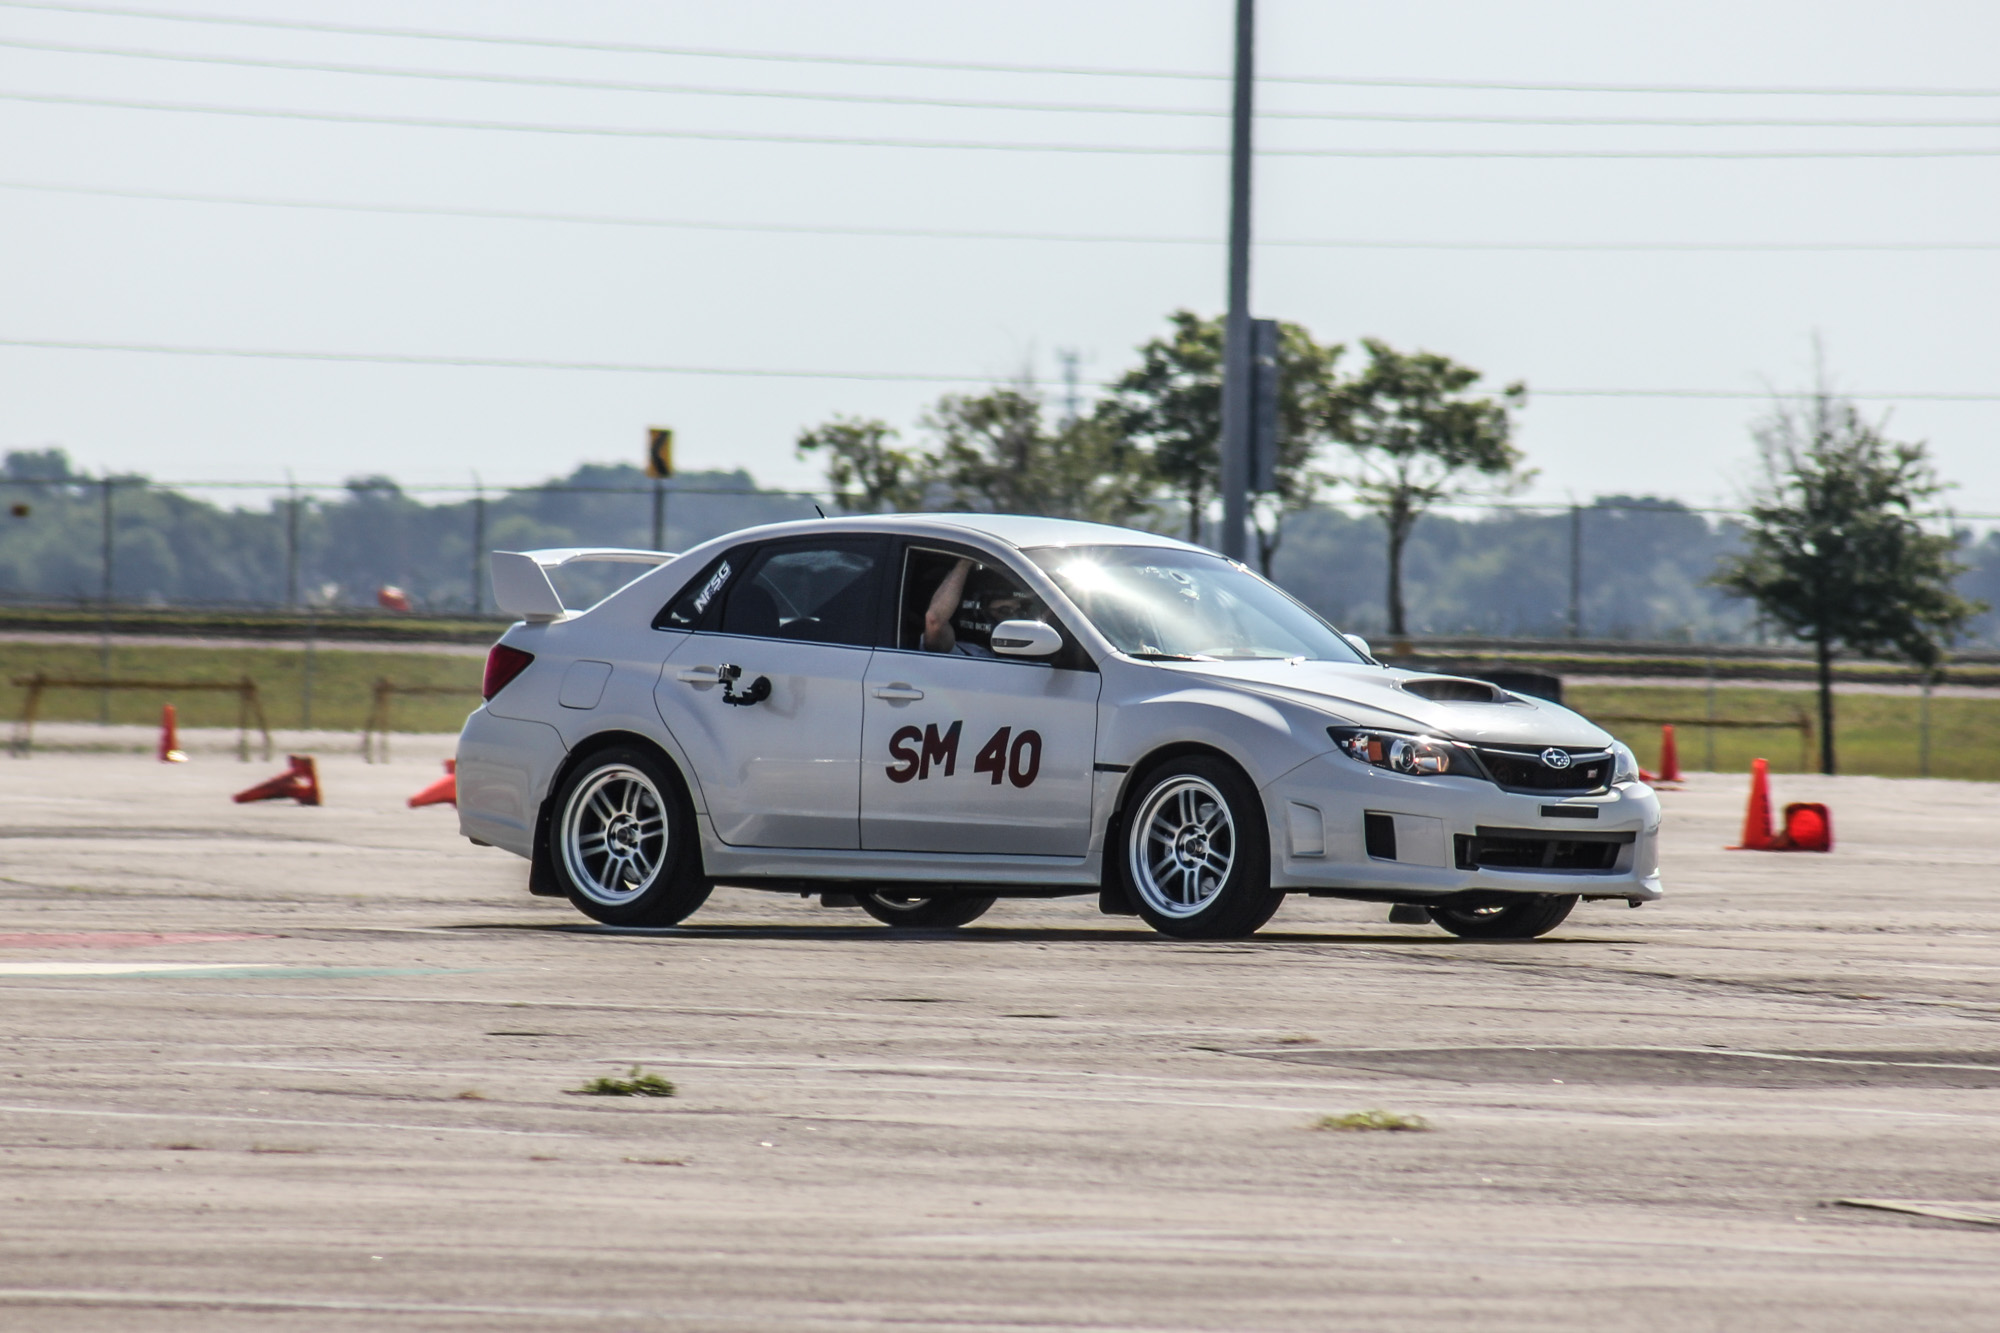
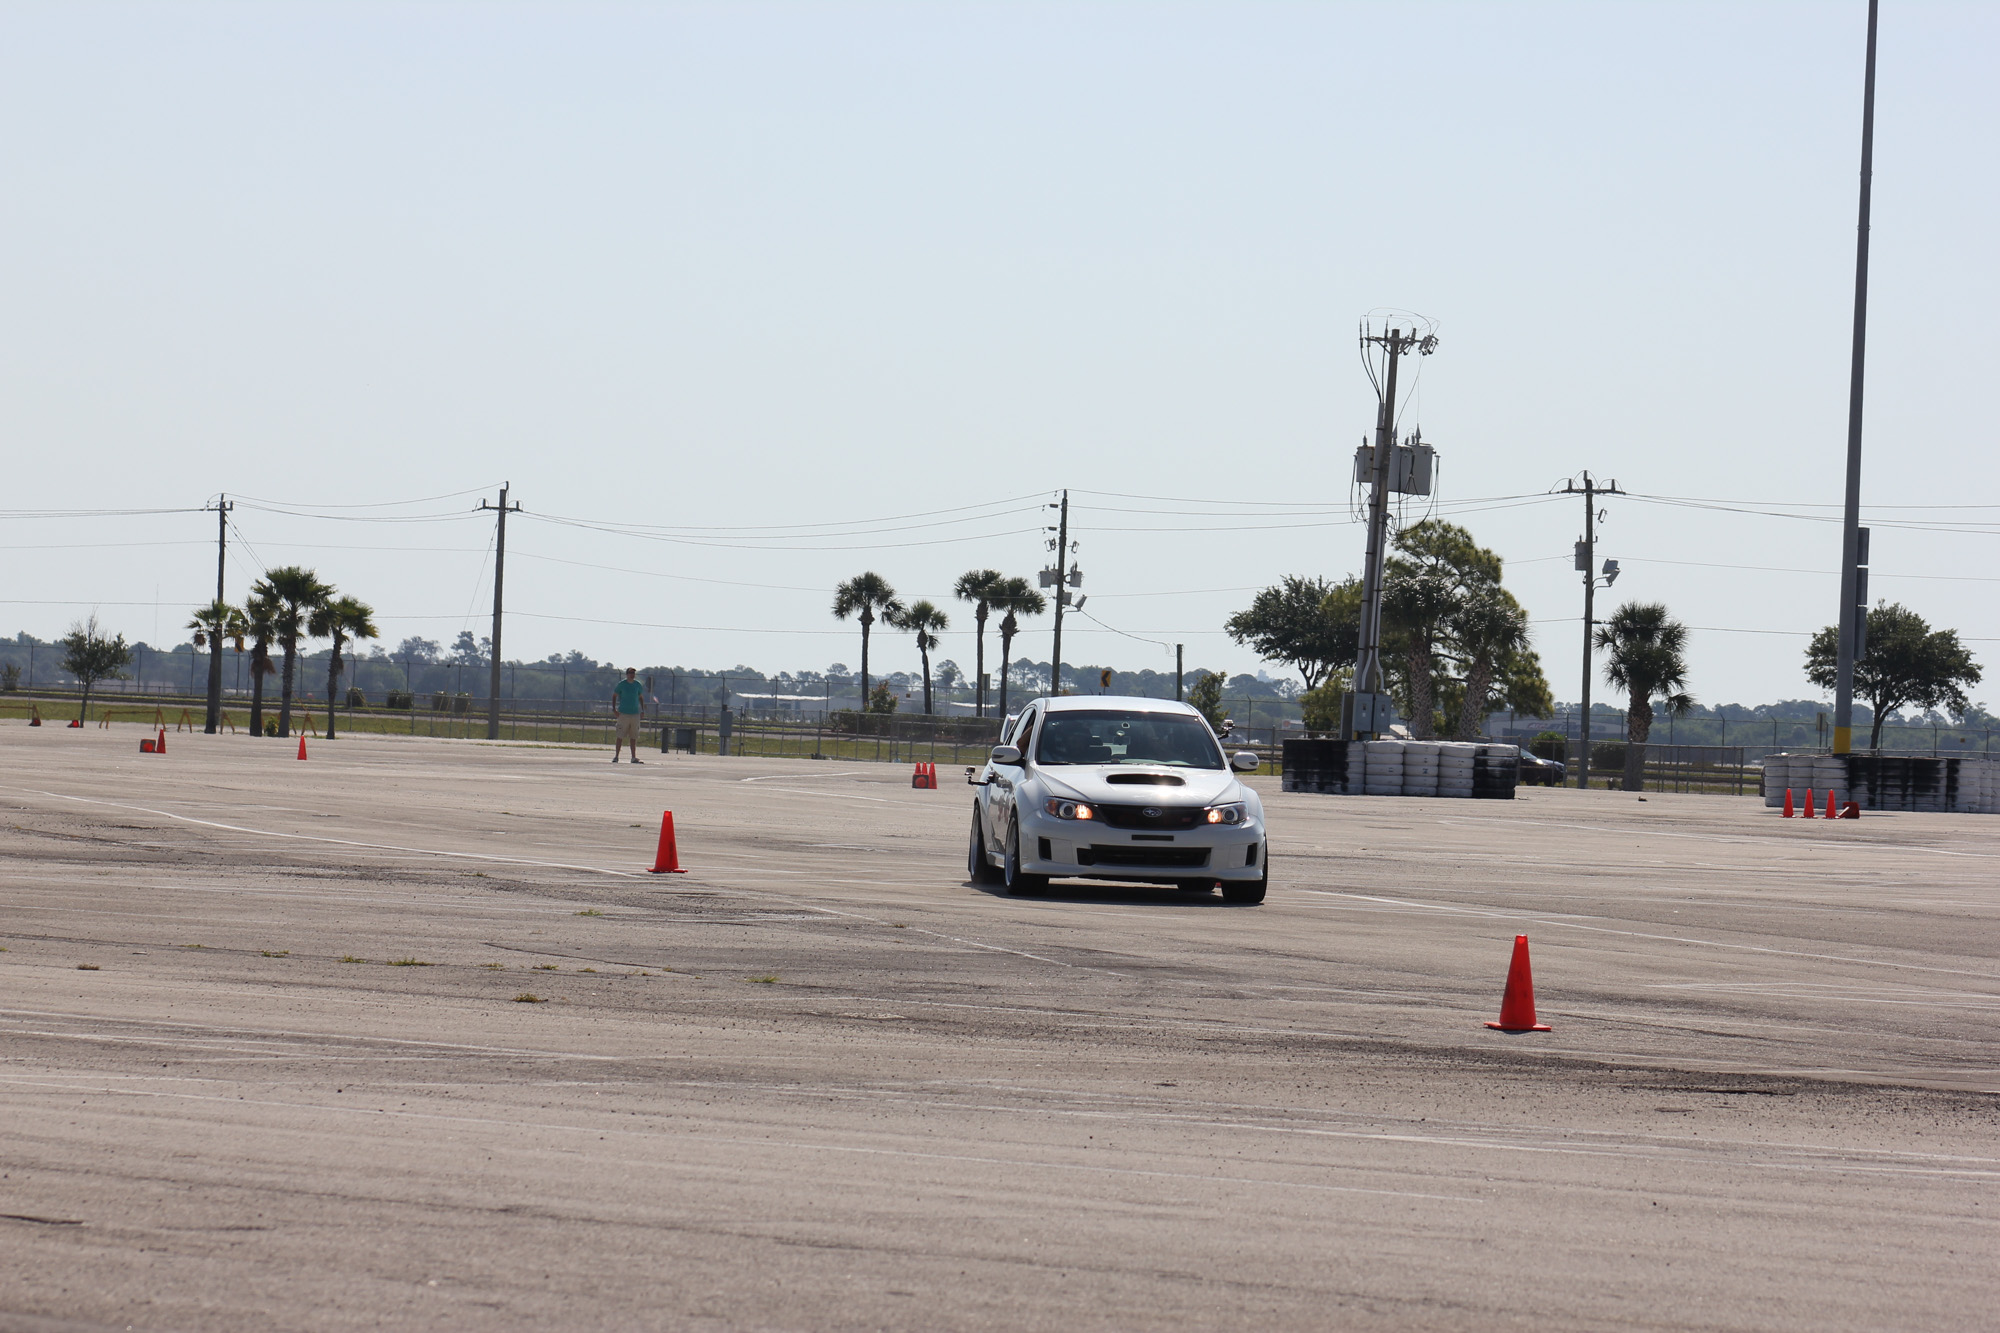
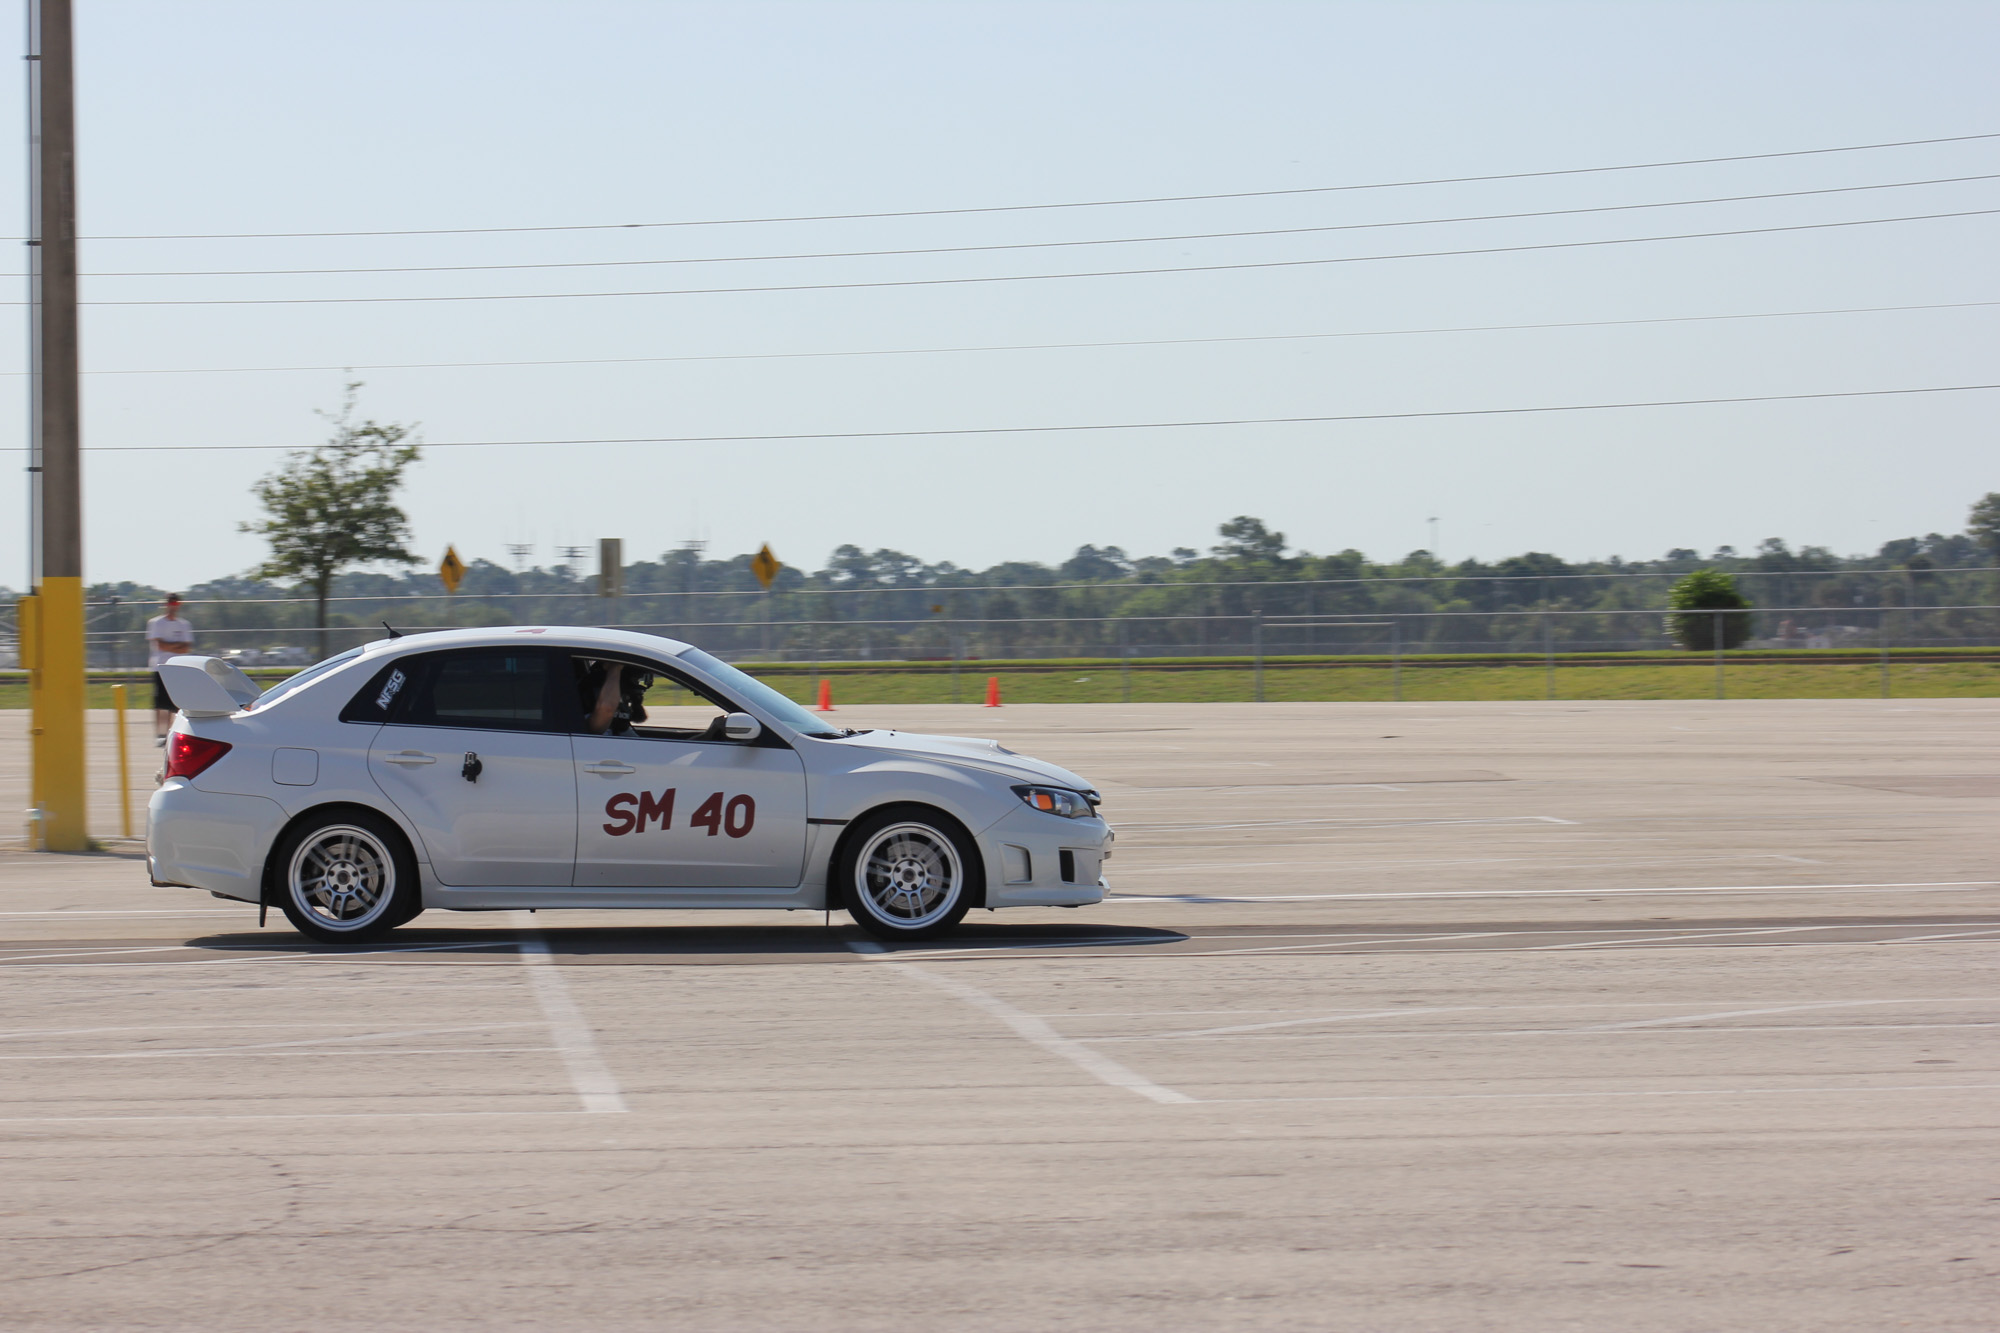
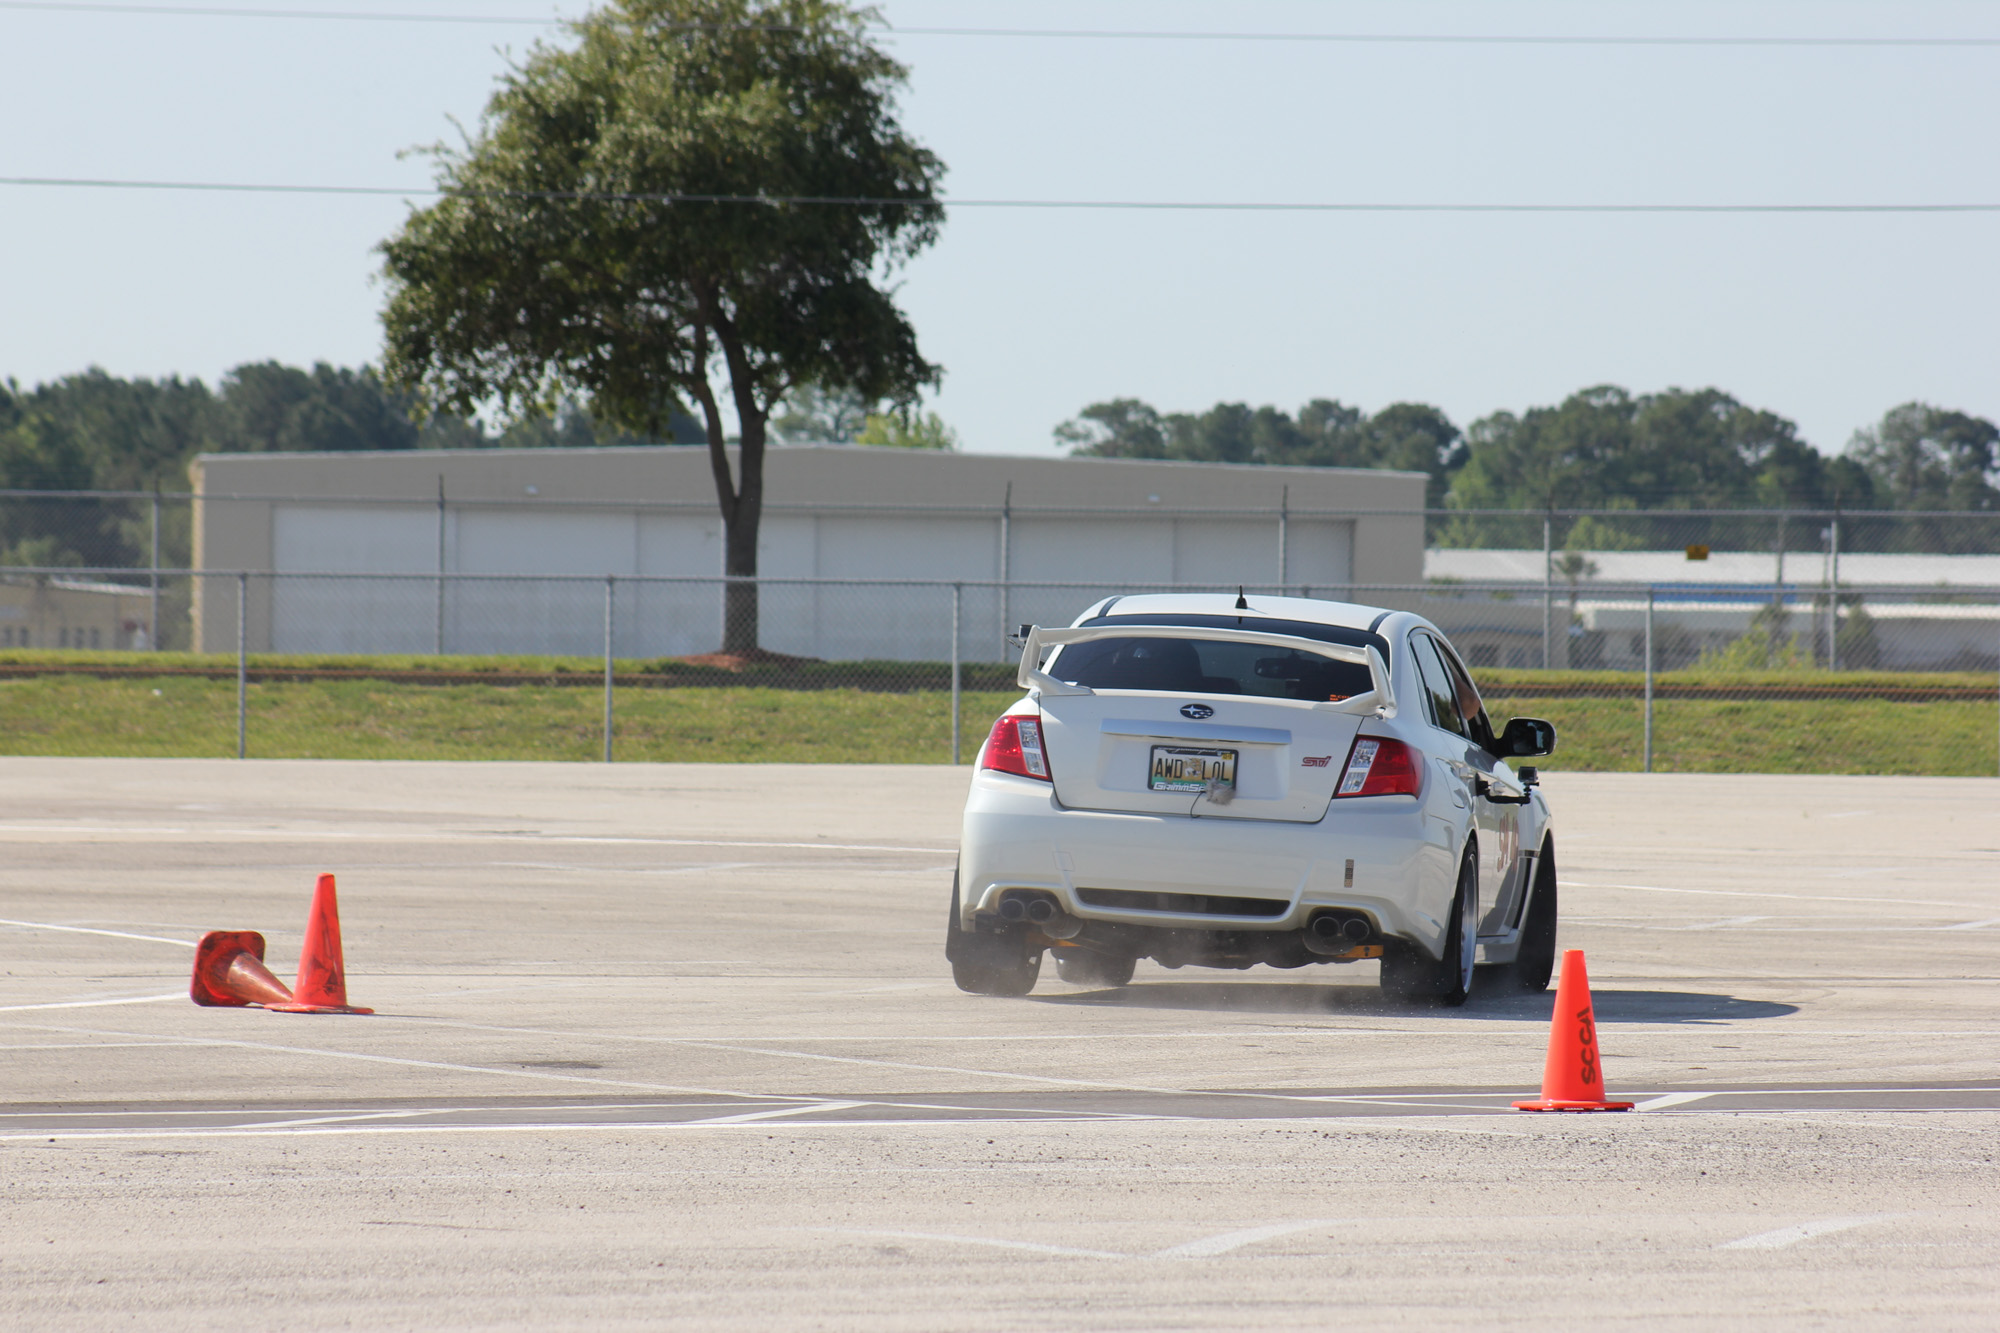
2011 Subaru STI
SCCA CLASS: STREET MOD (TIRE MODIFIER)
Build List
Updated 6-1-16
==ENGINE==
Stock EJ257 long block
Blouch Dominator 2.5XT-R, 10cm^2 hotside, 2.4" inlet, coated
TurboXS 4" downpipe
TurboXS cat delete race pipe
Lachute Performance catback, quad tips w/ resonator deleted
Killer B Motorsports Equal Length Header, Swaintech coated
GrimmSpeed lightweight crank pulley
GrimmSpeed v-band EWG uppipe
GrimmSpeed 3-port EBCS
GrimmSpeed coated TMIC
GrimmSpeed ported/coated TGV deletes
GrimmSpeed 3mm phenolic spacers
GrimmSpeed Air/Oil Separator
IAG Competition Air/Oil Separator
TurboSmart 40mm CompGate EWG
TurboSmart Kompact BPV
Injector Dynamics 1000cc injectors
Deatschwerks DW65C pump
Perrin adjustable FPR
AMR 3" hard inlet
PTP Lava turbo blanket
Samco intercooler coupler
Cobb AccessPort V3
KillerB Windage Tray
KillerB Oil Pickup
Tuned by Mikey Botti @ Dirty Racing Products in Green Cove Florida on an MD500 Mustang. 340whp/360wtq.
==DRIVETRAIN==
ACT XTSS Xtreme Duty street clutch
ACT Prolite Flywheel
Circuit Motorsports Billet Clutch Master Cylinder Brace
Kartboy short shifter
Kartboy front shifter bushings
Kartboy rear shifter bushing
Kartboy 12mm extended exhaust hangers
Kartboy pitch stop
TurninConcepts linkage bushings
TurninConcepts shifter pivot bushings
TurninConcepts transmission crossmember bushings
STI Group N transmission mount
STI Group N motor mounts
Motul fluids
==BRAKES==
DBA 5000 2-piece front rotors
DBA 4000 rear rotors
Ferodo DS2500 pads
Stoptech stainless steel brake lines
GrimmSpeed brake master cylinder brace
Motul RBF600 fluid
==SUSPENSION==
Motion Control Suspension 2-way coilovers with remotes
Swift 11k front springs, 16k rear springs
ISC Suspension V2 Lower Control Arms
Vorshlag Front Camber Plates
Vorshlag Rear Mounts
Whiteline 24mm 3-way adjustable front sway bar
Whiteline Rear Sway Bar brace
Kartboy front and rear end links
Cusco Rear Strut Tower Brace
Whiteline camber bolts
==WHEELS AND TIRES==
18x9.5 +38 Enkei RPF1s
265/35/18 Potenza RE71R tires
Mach V +10mm hub centric spacers and ARP extended lugs (front only)
==ELECTRONICS==
SMY Performance Dual 52mm Gauge Cluster
PLX MD-100 gauge (52mm)
PLX boost/vac sensor modules
PLX oil pressure sensor
PLX EGT sensor
PLX DM-5 AFR wideband
==MISCELLANEOUS==
RallyArmour Urethane Mud Flaps
GrimmSpeed front license plate delete
GrimmSpeed Brake Fluid Coozie
KillerB Motorsports alternator cover
Perrin 2" short antenna
Stealth Auto chrome/mirror turn signal bulbs #7440
JDM Black STI R205 ornaments
WC Lathe Werks titanium shift knob
Fumoto oil drain valve
Cosmetic body damage - thanks suicidal raccoons and cones
Full Review of this SICK car
2007 Subaru Forester STI
2007 Subaru Forester XT Converted to STI Specs and beyond


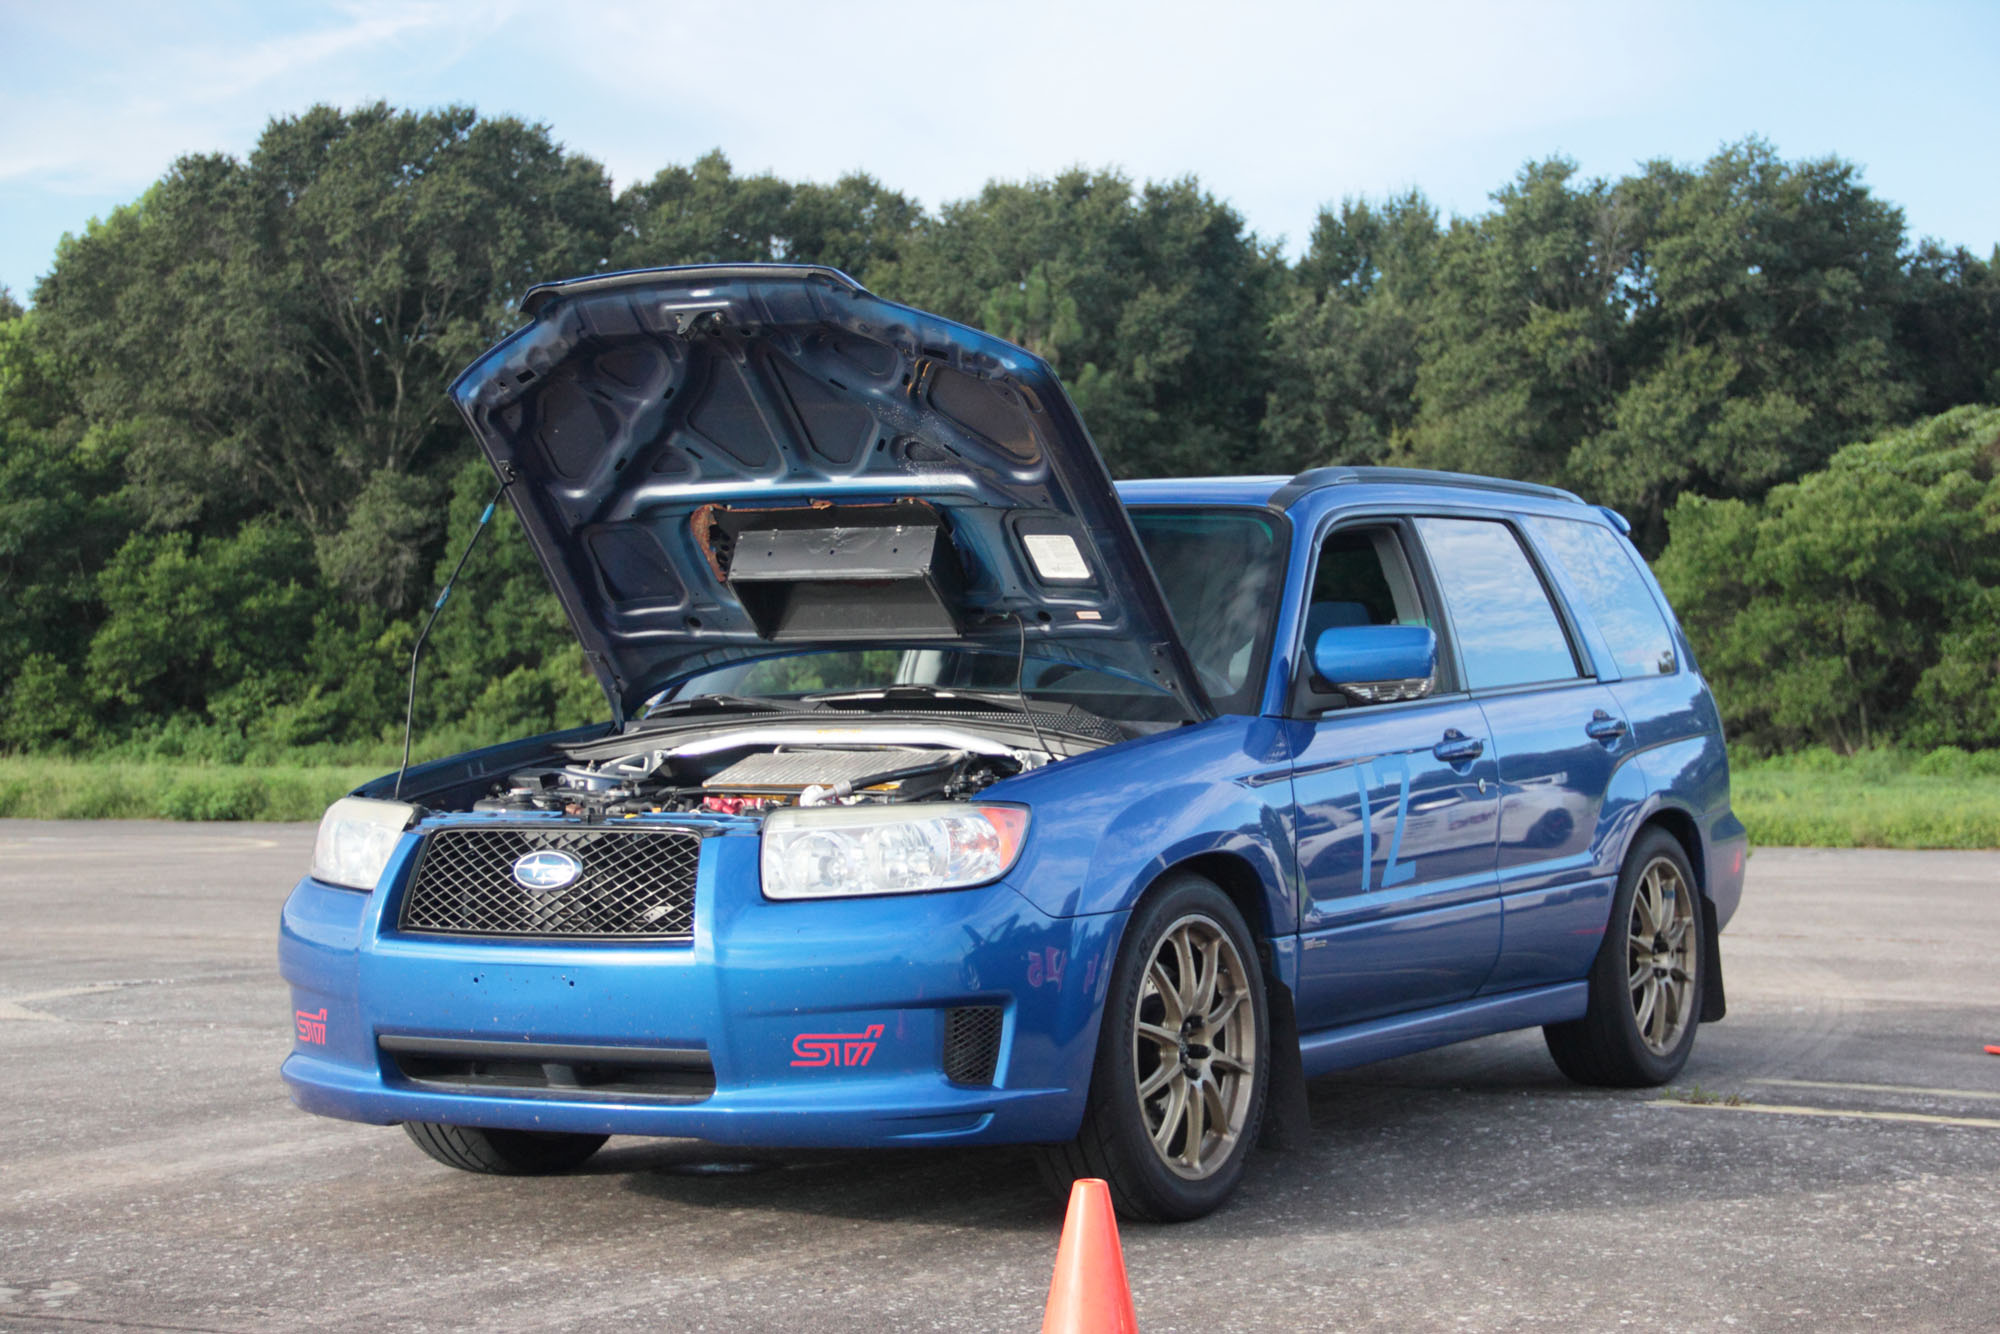
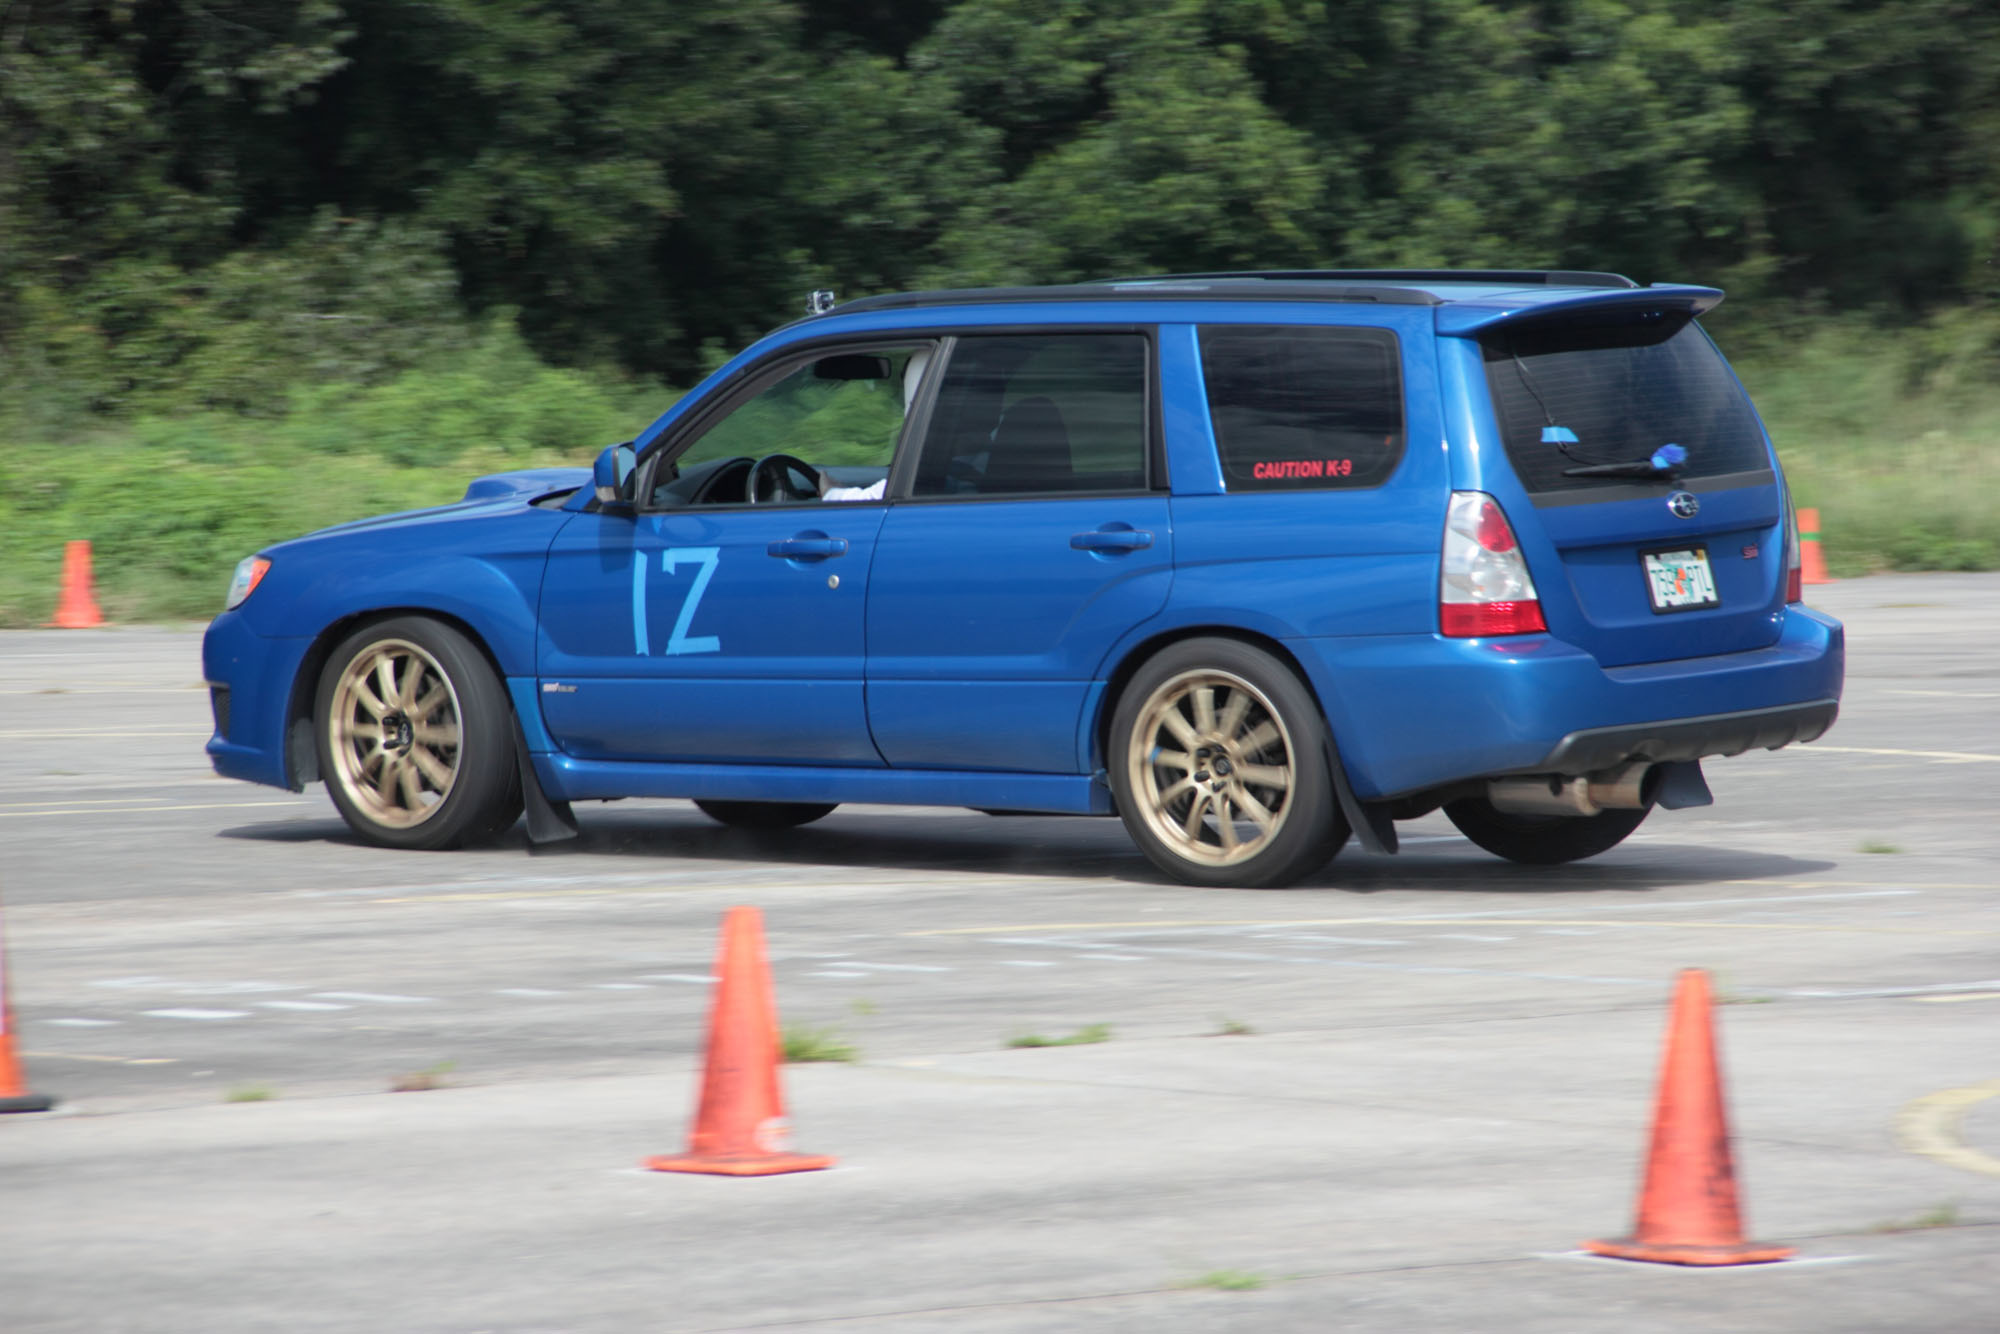
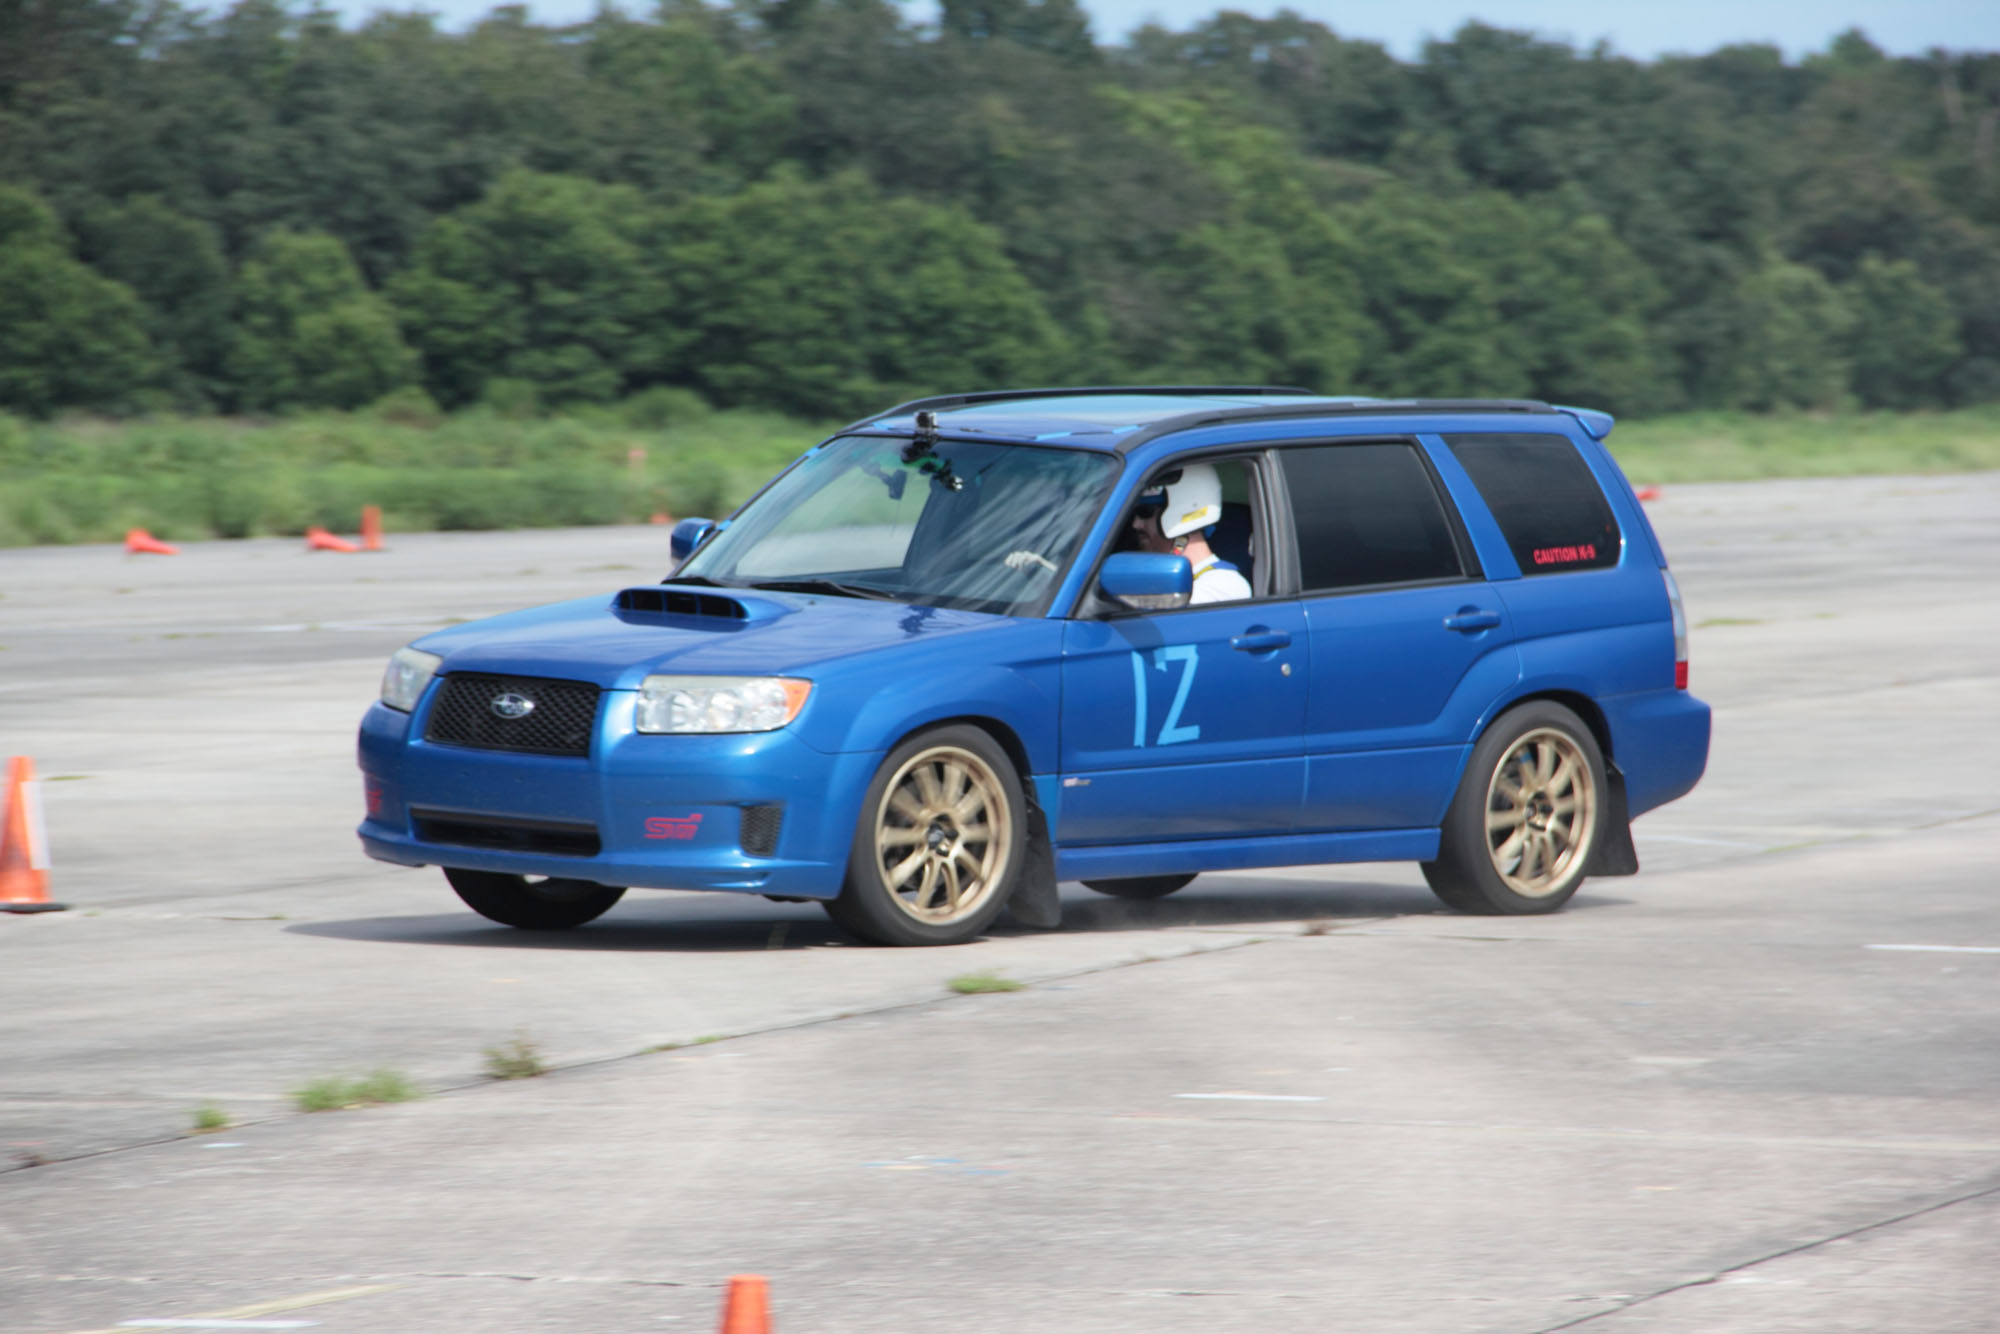


Build Info
- VF39
- STi TMIC
- STi header (i believe he switched an equal length header now)
- Catless uppipe
- Catted Invidia downpipe
- Nur Spec R catback (modified to fit Forester)
- Tuned by Clark Turner Tuning
- BC Coilovers
- Whiteline 24 mm F&R sway bars
- Whiteline front strut brace
- 18" wheels with Hankook RS-3 tires
- Legacy GT brakes, Stoptech rotors (cryo treated, cross-drilled), Hawk HP+ pads
See the full video overview

1992 CAMARO RS - THE CAMARO CHIMERA
THE STORY:
It all started after the first Autocross, intro video below.
Being that it was the first time I drove the car very spiritedly, I began to hear a knocking sound at ever left and right hard turn. Since it was the first sign of trouble I've decided it also be the first upgrade. Ultimately other than the body of the car all the suspension components from the springs to the sway bars are the foundation of every car and before giving this car any more power I wanted to ensure it can put that power down efficiently. So now that I knew where to start a friend recommended I get in contact with BMR Suspension and luckily I live local enough to pay them a visit, but before driving out I decided to at least call ahead. The call went a little something like this; Me: "Hi I'm looking to replace and upgrade my entire suspension system." BMR: "What's the year Model of your car?" Me: "1992 Camaro RS, I want parts now can I come get them?" BMR: "You live local, we've been looking for a 3rd Gen F-Body to test some new products on, is your car stock, clean and good shape?" Me: "Sounds awesome yea the car is in great shape, when can I come by!?" Afterwards I raced to my car and I was off to BMR.
SUSPENSION:
ORIGINAL EQUIPMENT & UPGRADE STATUS: Shocks - Upgrade Complete! / Springs - Upgrade Complete! / Sway Bars - Upgrade Complete! / Torque Arm - Upgrade Complete! / Rear Lower Control Arms - Upgrade Complete! / Panhard Bar - Upgrade Complete! / Sub-Frame Connectors - Upgrade Complete! / A-Arms - Upgrade Complete!
UPGRADE: Shocks - Koni Yellows Sport On-Car-Adjustable / Springs: BMR Lowering Springs / Sway Bars: BMR Custom Setup with Stabilizer Bar / Panhard Bar - Watts Linkage (Instead of traditional Panhard Bar) / Sub-Frame Connectors: BMR Bolt to rear weld in front (stock exhaust delete) / A-Arms - BMR with spring cup.
DESIRED RESULT: With a lower ride height, overall stiffer suspension and a controlled rear live axle car will better handle corners and power
ESTIMATED COST: $1.5k to $2.5k / SPENT: $2.5k
AFTER THOUGHTS: Still testing more to follow, highly recommend BMR! When Engine Swap starts will likely be moving to a Coilover setup.
ADDITIONAL UPGRADE: Shocks & Springs - Viking Coilovers with Road Course Damping / A-Arms - BMR with no spring cup / K-Member - BMR K-Member using 98-02 Camaro engine mount brackets and K-Member did require modification to clear A/C Compressor / Crossmember - BMR T56 Swap Crossmember highly modified to work with TR6060
LINKS: BMR 3rd Gen Page http://www.bmrsuspension.com/?page=products&vehicleid=5&superpro=0
In this video I visit BMR and get a hook up with Springs to test them out.
WHEELS / TIRES:
ORIGINAL EQUIPMENT & UPGRADE STATUS: Wheels - Stock 16" x 7.5" with 2mm offset 5 x 120.65 Lug Pattern M12 x 1.5 / Tires - BF Goodrich Traction T/A 235-55-R16 - Upgrade Complete!
UPGRADE: Wheels - IROC Replica Wheels 18'" x 8" with 0mm offset 5 x 120.65 Lug Pattern M12 x 1.5 / Tires - Bridgestone Potenza RE-71R 255-40-ZR18
DESIRED RESULT: More tire patch on the pavement and enhanced sporty look.
ESTIMATED COST: $1.5k to $2k / SPENT: $1.6k
AFTER THOUGHT: Will be looking to send in wheels to Weldcraft Wheels to make them wider.
ADDITIONAL UPGRADE: (IN THE WORKS) Wheels - Custom IROC Replica Wheels by US Mags FRONT 18”x9.5” with -25mm offset 5 x 120.65 Lug Pattern M12 x 20 - REAR 18”x11” with -6mm offset 5 x 120.65 Lug Pattern M12 x 1.5 / Tires BF Goodrich FRONT 275-35-ZR18 - REAR 315-30-ZR18
LINKS: SRQ Speed & Performance https://srqspeedandperformance.com/
In this video see what performance tires have to offer.
In this next video below the Camaro returns to the FIRM with some new parts. This was before installation of Torque Arm, Rear Lower Control Arms, and Watts Link.
In this next video below same FIRM event as above a little fun Grudge Racing 1/8 miles featuring the Fastest Car at Event VS Slowest Car at Event, rest assured THE CAMARO CHIMERA WILL HAVE ITS REVENGE!
In this next video below the Camaro takes passengers and goes out for its first AutoX with complete suspension! The lack of brakes and 75% power going to that Right Rear Wheel is becoming more evident.
DIFFERENTIAL:
ORIGINAL EQUIPMENT & UPGRADE STATUS: Open Differential 3.08 Gears
UPGRADE: Moser GM 12 Bolt 3.73 Gears - Upgrade Complete
DESIRED RESULT: No more one wheel tire burnouts and ready to handle more power when engine is upgraded, also more predictable while powering out of turns.
ESTIMATED COST: $3.3k to $3.8k / SPENT: $3.5k
AFTER THOUGHT: Moser needs to add adjustable lower control arm connections standard so you don't have to mess with relocation brackets. I specifically built this over the phone to avoid future headaches but they never mentioned to me that this was an option and it is not on their online build sheet. Also their placement of vent hole on the driver side axle tube is frustrating as it leaks everywhere, I have the watt-link setup and it covers the vent hole so I can't install a vent tube there, but instead I installed one on the rear end cap attaching a tube to the fill hole, and plugging the vent on the axle tube. This has been the best method so far.
BRAKES:
ORIGINAL EQUIPMENT & UPGRADE STATUS: Rotors - 10.5" discs Front & 9.5" x 2.375" drums Rear / Calipers & Pads - Stock
UPGRADE: Rotors - 12" discs Front & 11" discs Rear Wilwood Forged Dynalite Drilled Rotors / Calipers - 4 Piston Red Calipers with Wilwood Pads - Upgrade Complete
DESIRED RESULT: Better reliable braking to withstand track use, and quicker stopping in tight autocross events.
ESTIMATED COST: $2k to $2.5k / SPENT: $1.9k
AFTER THOUGHT: If I had the extra money would have went with 6 piston up front mostly for looks...mostly. "Also will probably need Willwood Booster and Master Cylinder as it feels brakes are being applied unevenly on very hard braking right front seems to always be the first to lock up." Discovered why the statement in "quotations" was an issue, turns out the shop did not install them 100% tight, all in the details see the video below titled Best way to bleed Wilwood Brakes. Will still be getting new booster, master cylinder, and stainless steel brake lines complete probably during engine swap time.
In this video a recap of everything complete in the first year. Also some of the issues that need to be addressed so the car can truly be race ready again.
Nothing worse then when your car isn't working. After attending Pro Solo National Event I came to the conclusion I'm not letting anyone touch my car again.
Had to redo some little (big) things mostly brake and rear end related.
Once it got to working again as it should a celebration was in order.
When you tell him PEDAL TO THE METAL at 3..2..1..GO but you hit it at 1, he was not amused.
COMING UP NEXT:
Winter is coming! Decided I will keep my racing season between October to May when the Florida weather isn't HELLA HOT. An alignment update and some new camera equipment, the Soloshot 3!
After plenty of do it yourself car projects, one literally broke this camels back and although a setback on money that could have been spent on car parts, this will totally pay off later with easier time installing fun parts and regular maintenance!
The list is getting shorter, so that's good! When you look at it this way seems like a piece of cake right? More to follow as soon as anything changes!
ENGINE / TRANSMISSION:
ORIGINAL EQUIPMENT & UPGRADE STATUS: L03 5.0 V8 - 170 bhp @ 4000 rpm and 255 lb-ft @ 2400 rpm / T-5 5-Speed Manual Gear Ratio 1st 2.95, 2nd 1.94, 3rd 1.34, 4th 1.00, 5th 0.62 Final 3.08
UPGRADE: LSA 6.2L V8 - 580 bhp @ 6000 rpm and 556 lb-ft @ 4200 rpm / TR-6060 6-Speed Manual 1st 2.66, 2nd 1.78, 3rd 1.30, 4th 1.00, 5th 0.80, 6th 0.63 Final 3.73
DESIRED RESULT: Sleeper "old" Camaro that will surprise just about every car it rolls up to at a red light ;) also to intensify mullet growth.
ESTIMATED COST: $12k to $17k
Most of the heavy modding was in progress in the next Vlog below that LSA with TR6060 really is THE STICK OF TRUTH!
INTERIOR / EXTERIOR
ORIGINAL EQUIPMENT & UPGRADE STATUS:
Interior - In great condition very little work required if any / Exterior - Very good for its age some work required to be showroom worthy
COMPLETED: Interior - Replaced broken A/C vent / Exterior - Removed rear window louvers
TO DO / WISH LIST: Interior - Upgrade to digital (analog) instrument cluster (Will wait on Engine Swap to determine needs) Recaro Seats front and back from 5th Gen ZL1
Exterior - Replace front lights & signal lights, replace grille with Z28 style, add fog lights, replace hood or custom hood to accommodate LSA, respray entire car same color with painted stripes instead of stickers, possibly add fender flares for more tire patch.
More details to come, desired 100% completion date December 19th 2019. Realistically probably wont be 100% till 2020 because I wont to drive it to work out all the mechanical kinks before making it pretty. Projected Completion Est Cost $55k, idea is to keep cost as close as possible to what the 5th Gen ZL1 was when it was new.
Follow me at mo_spectroracing for pictures of the latest updates on my cars, and others!


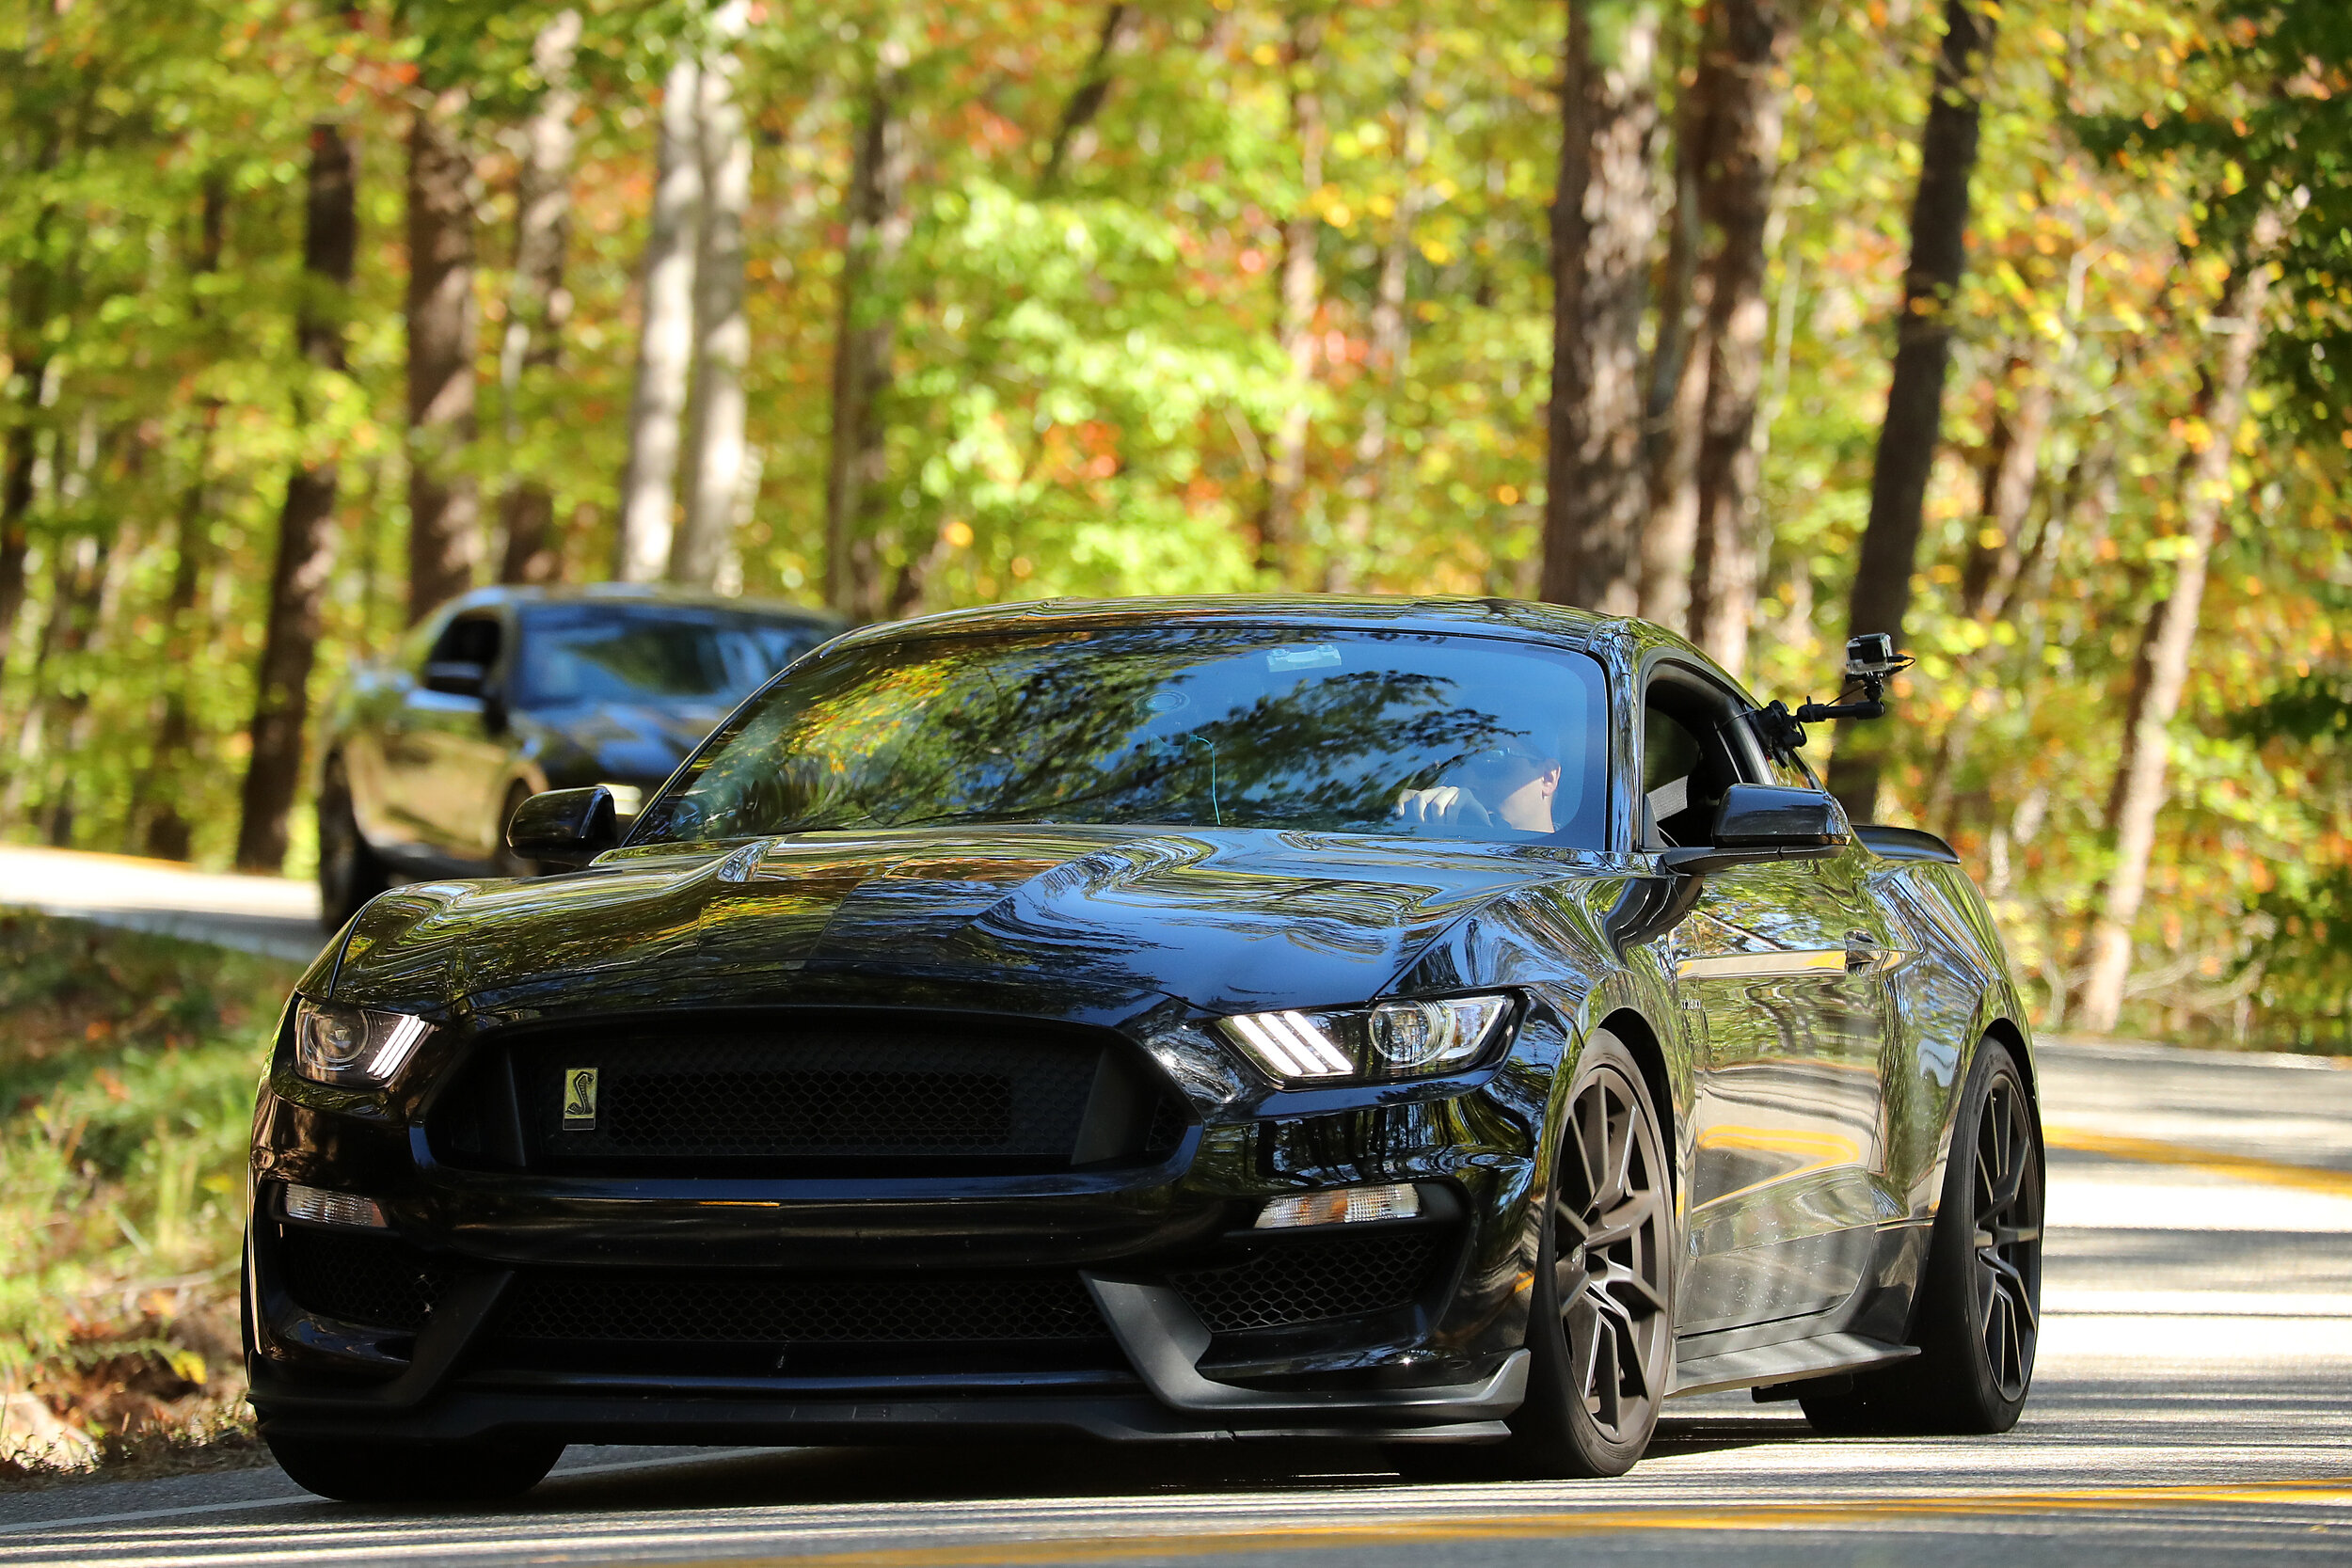
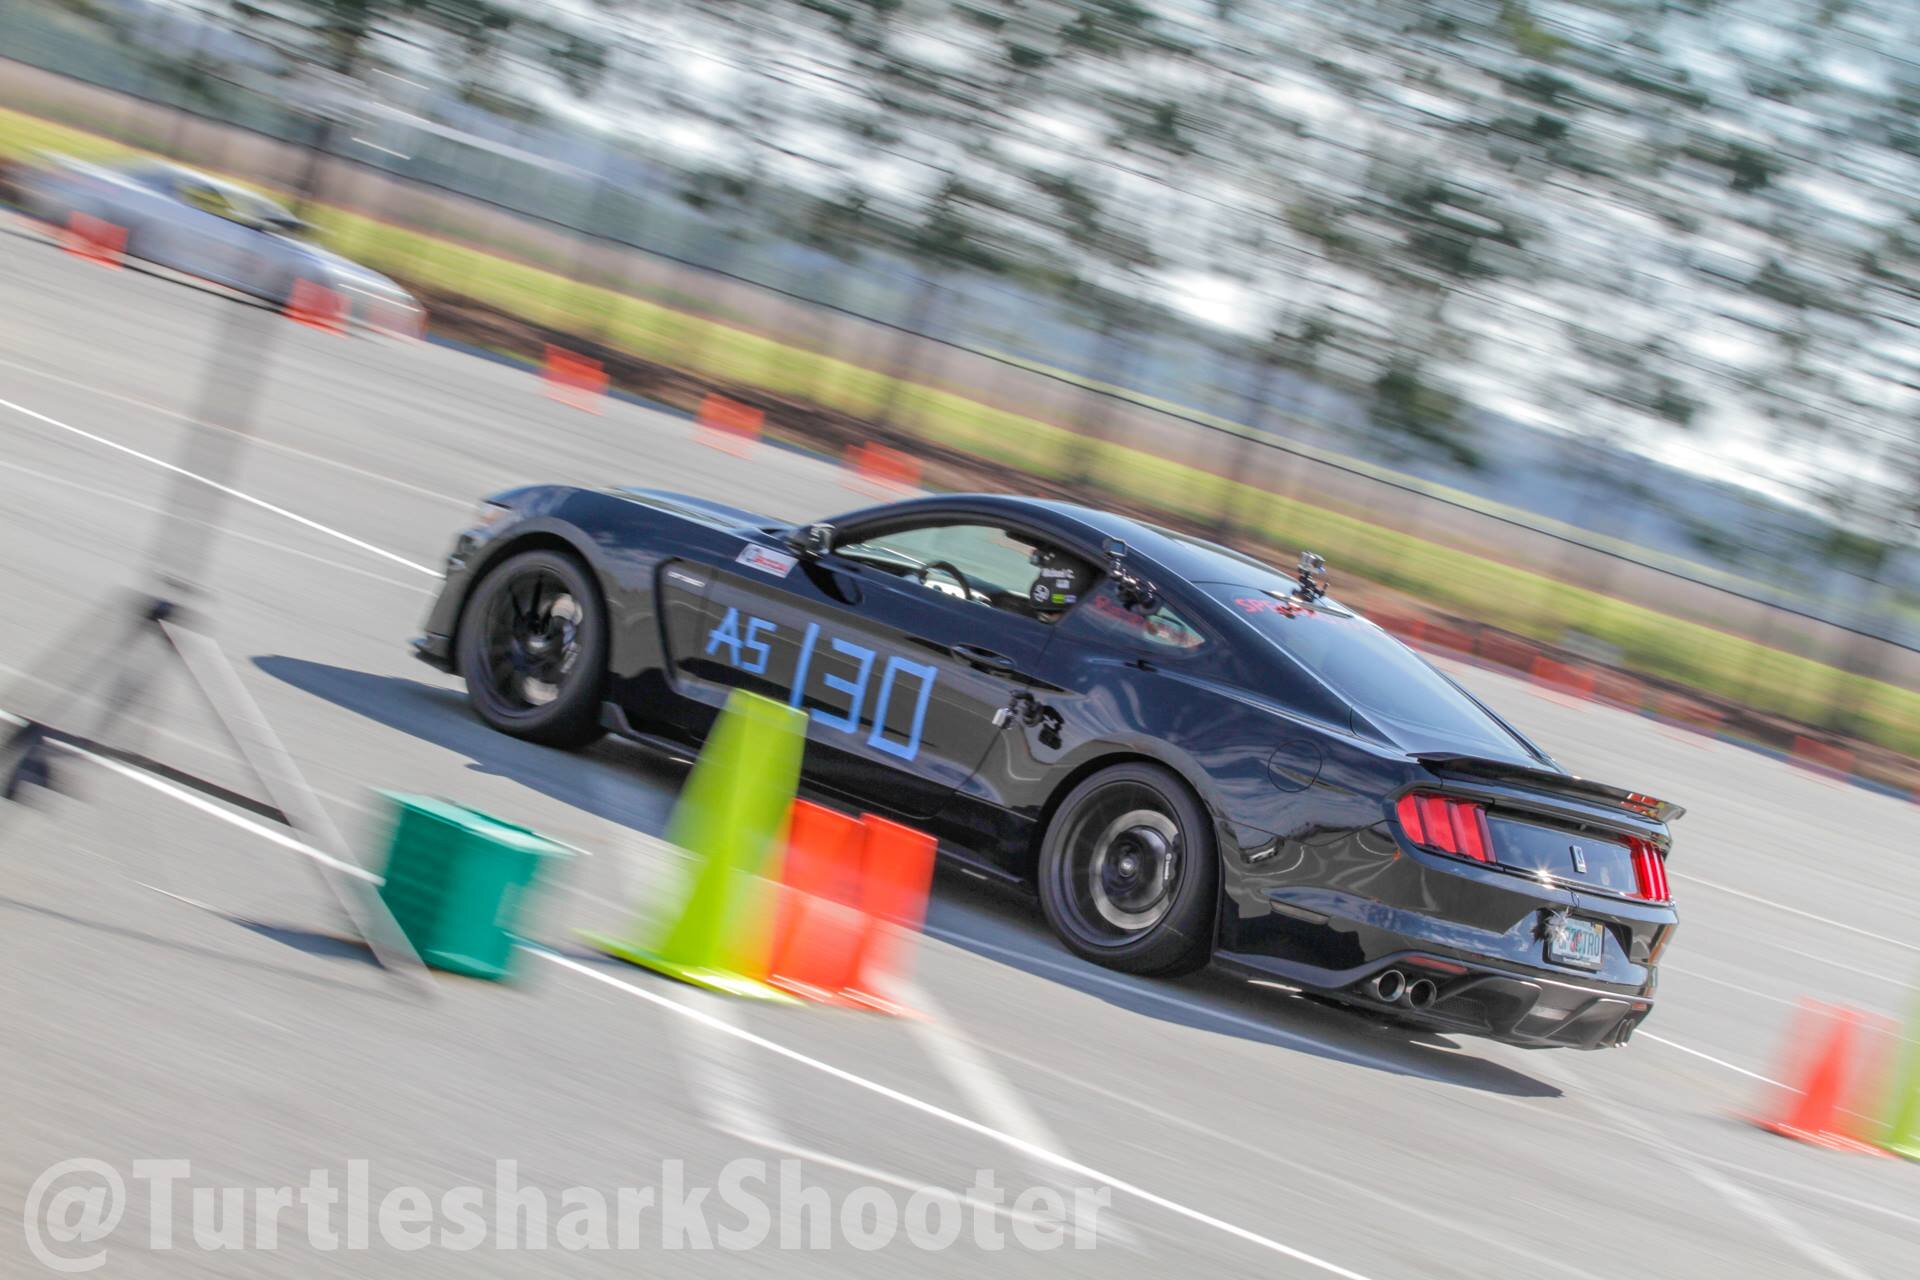
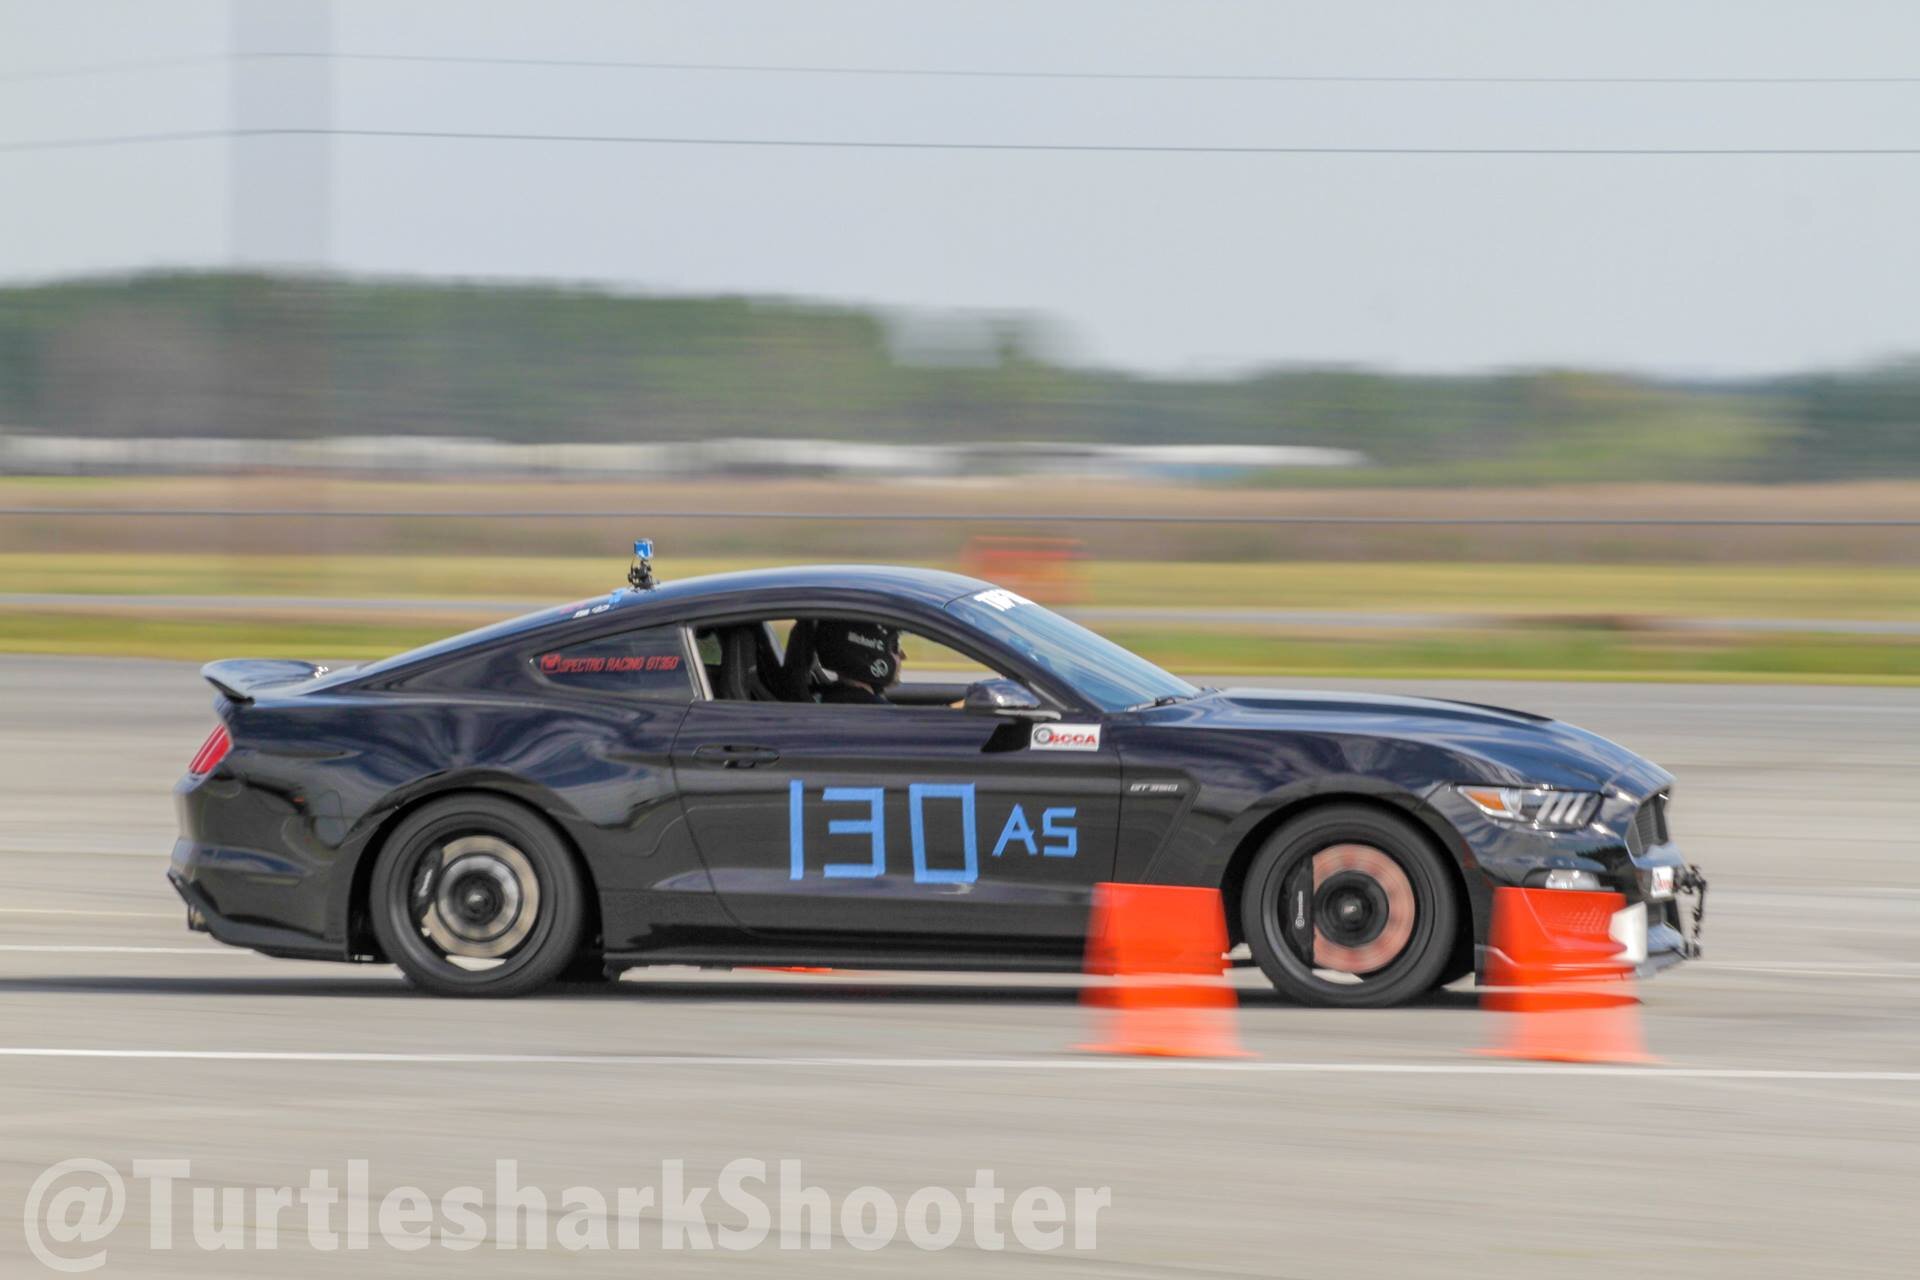
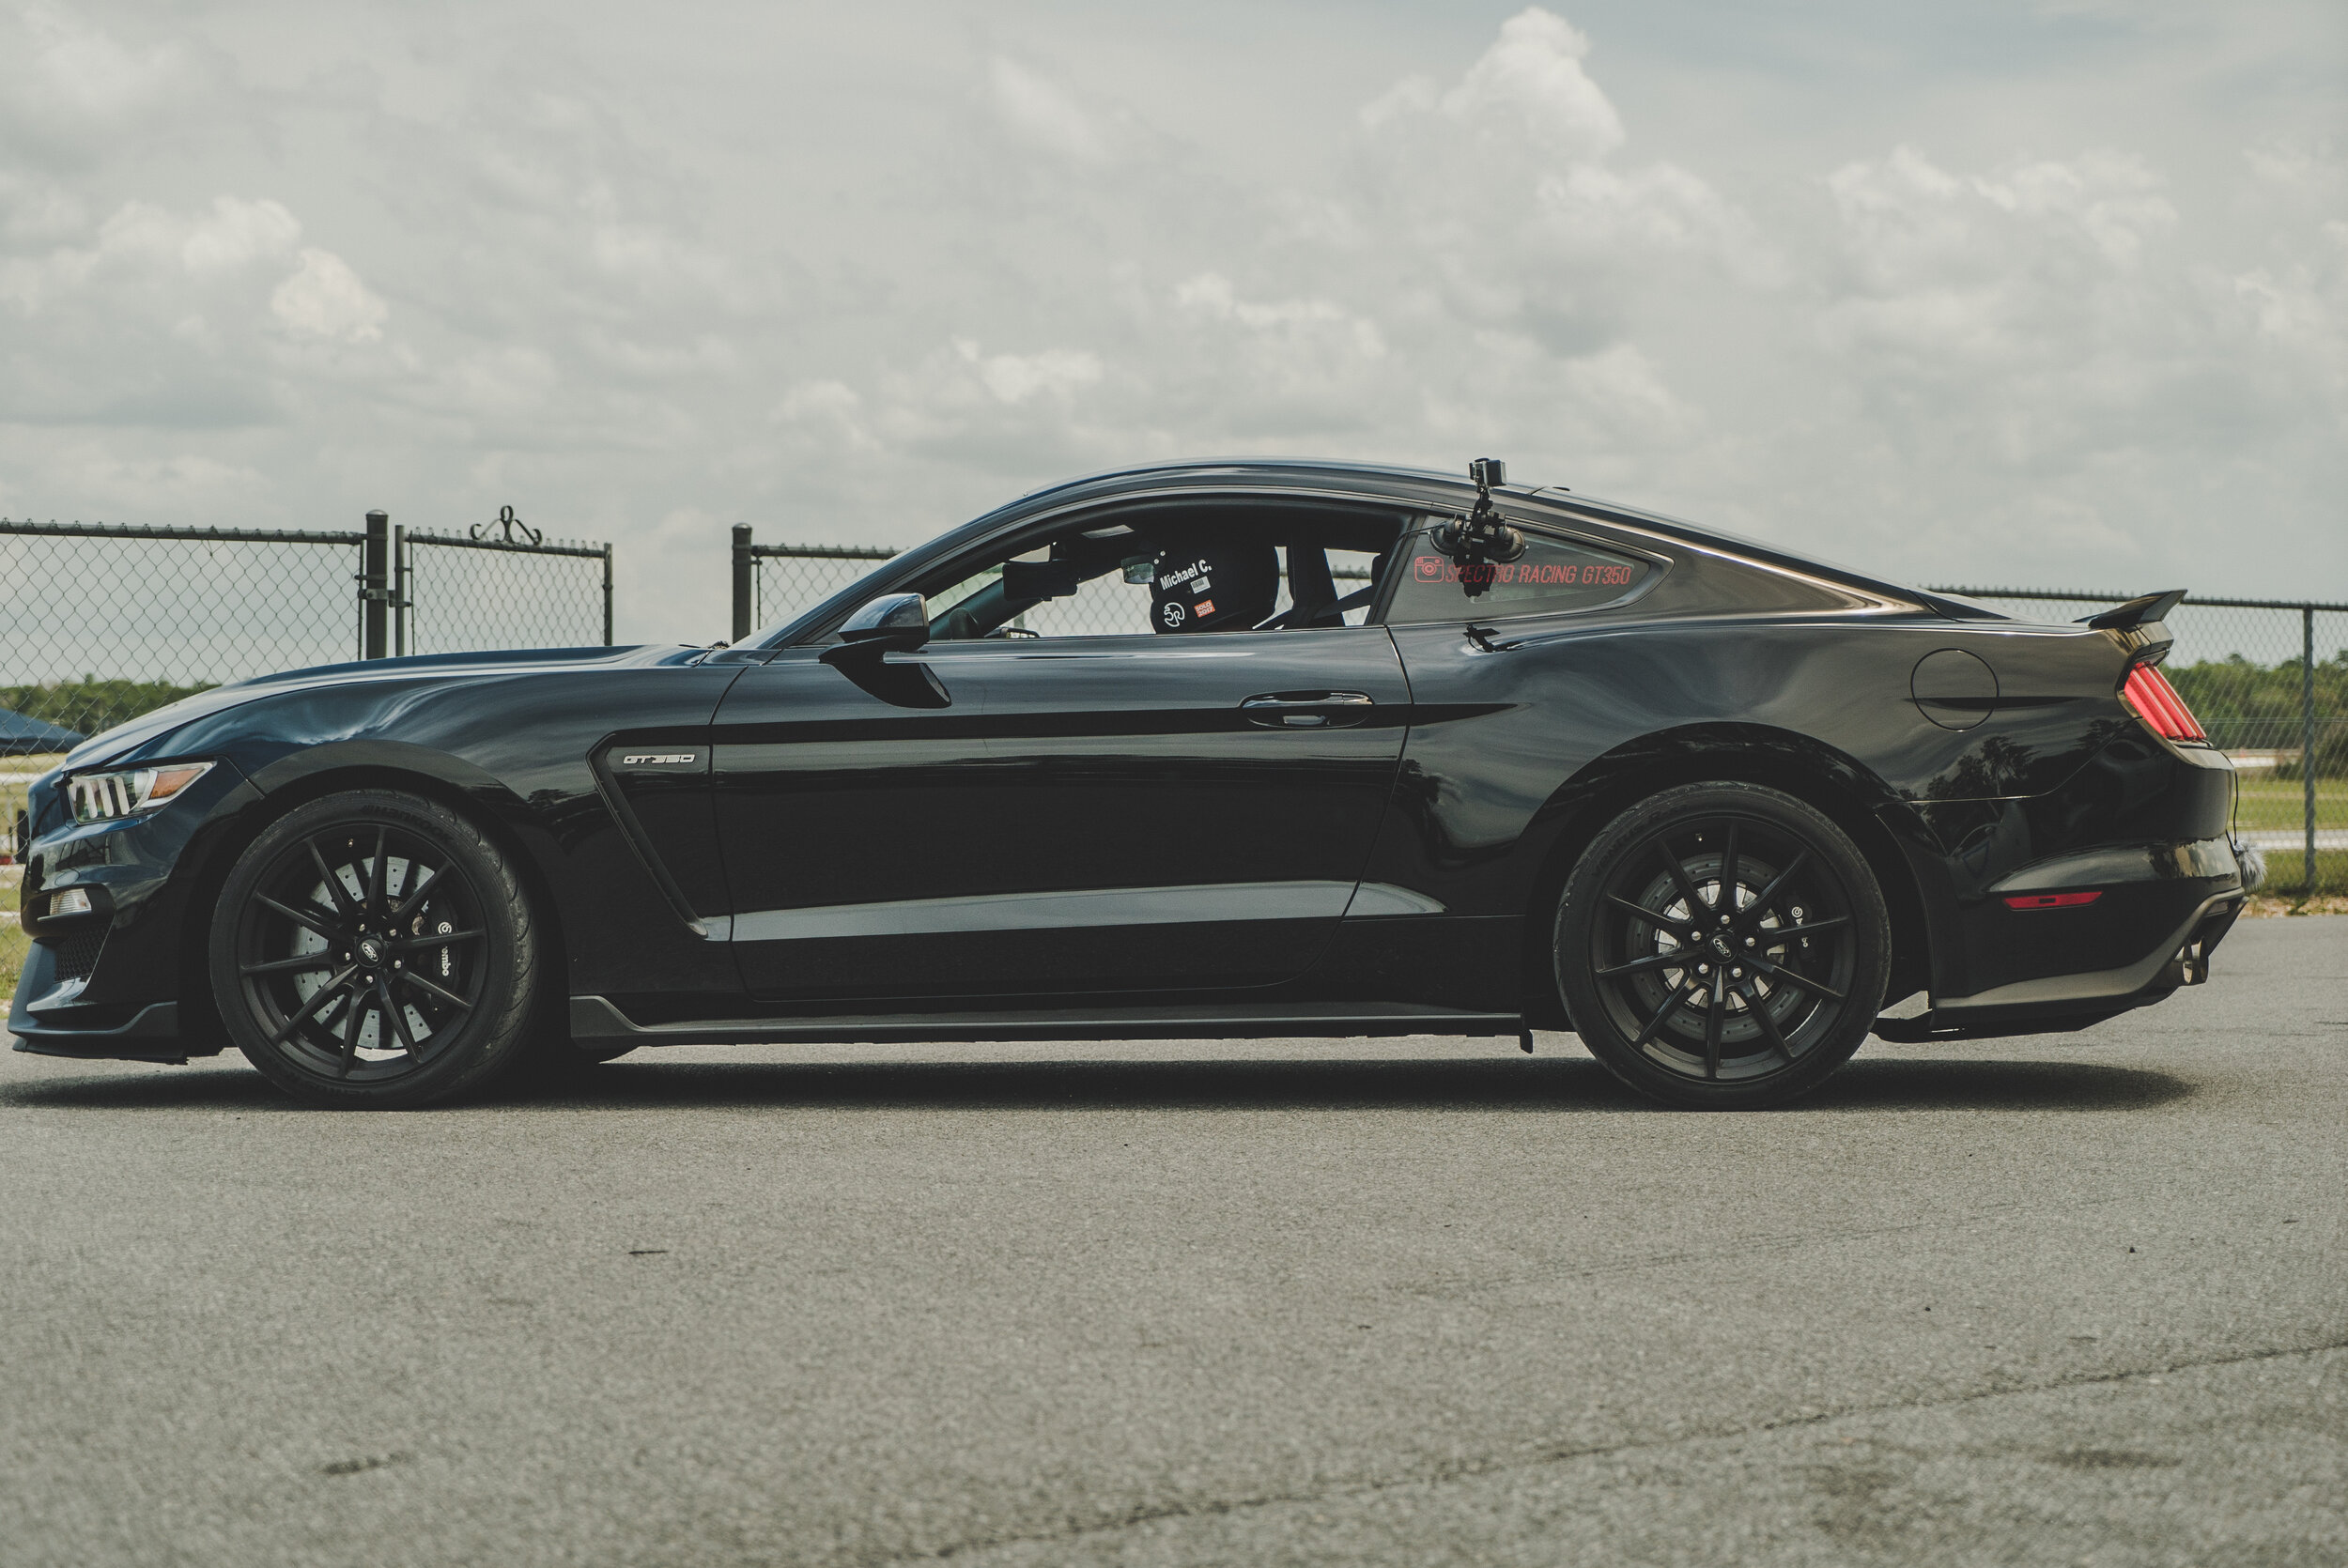
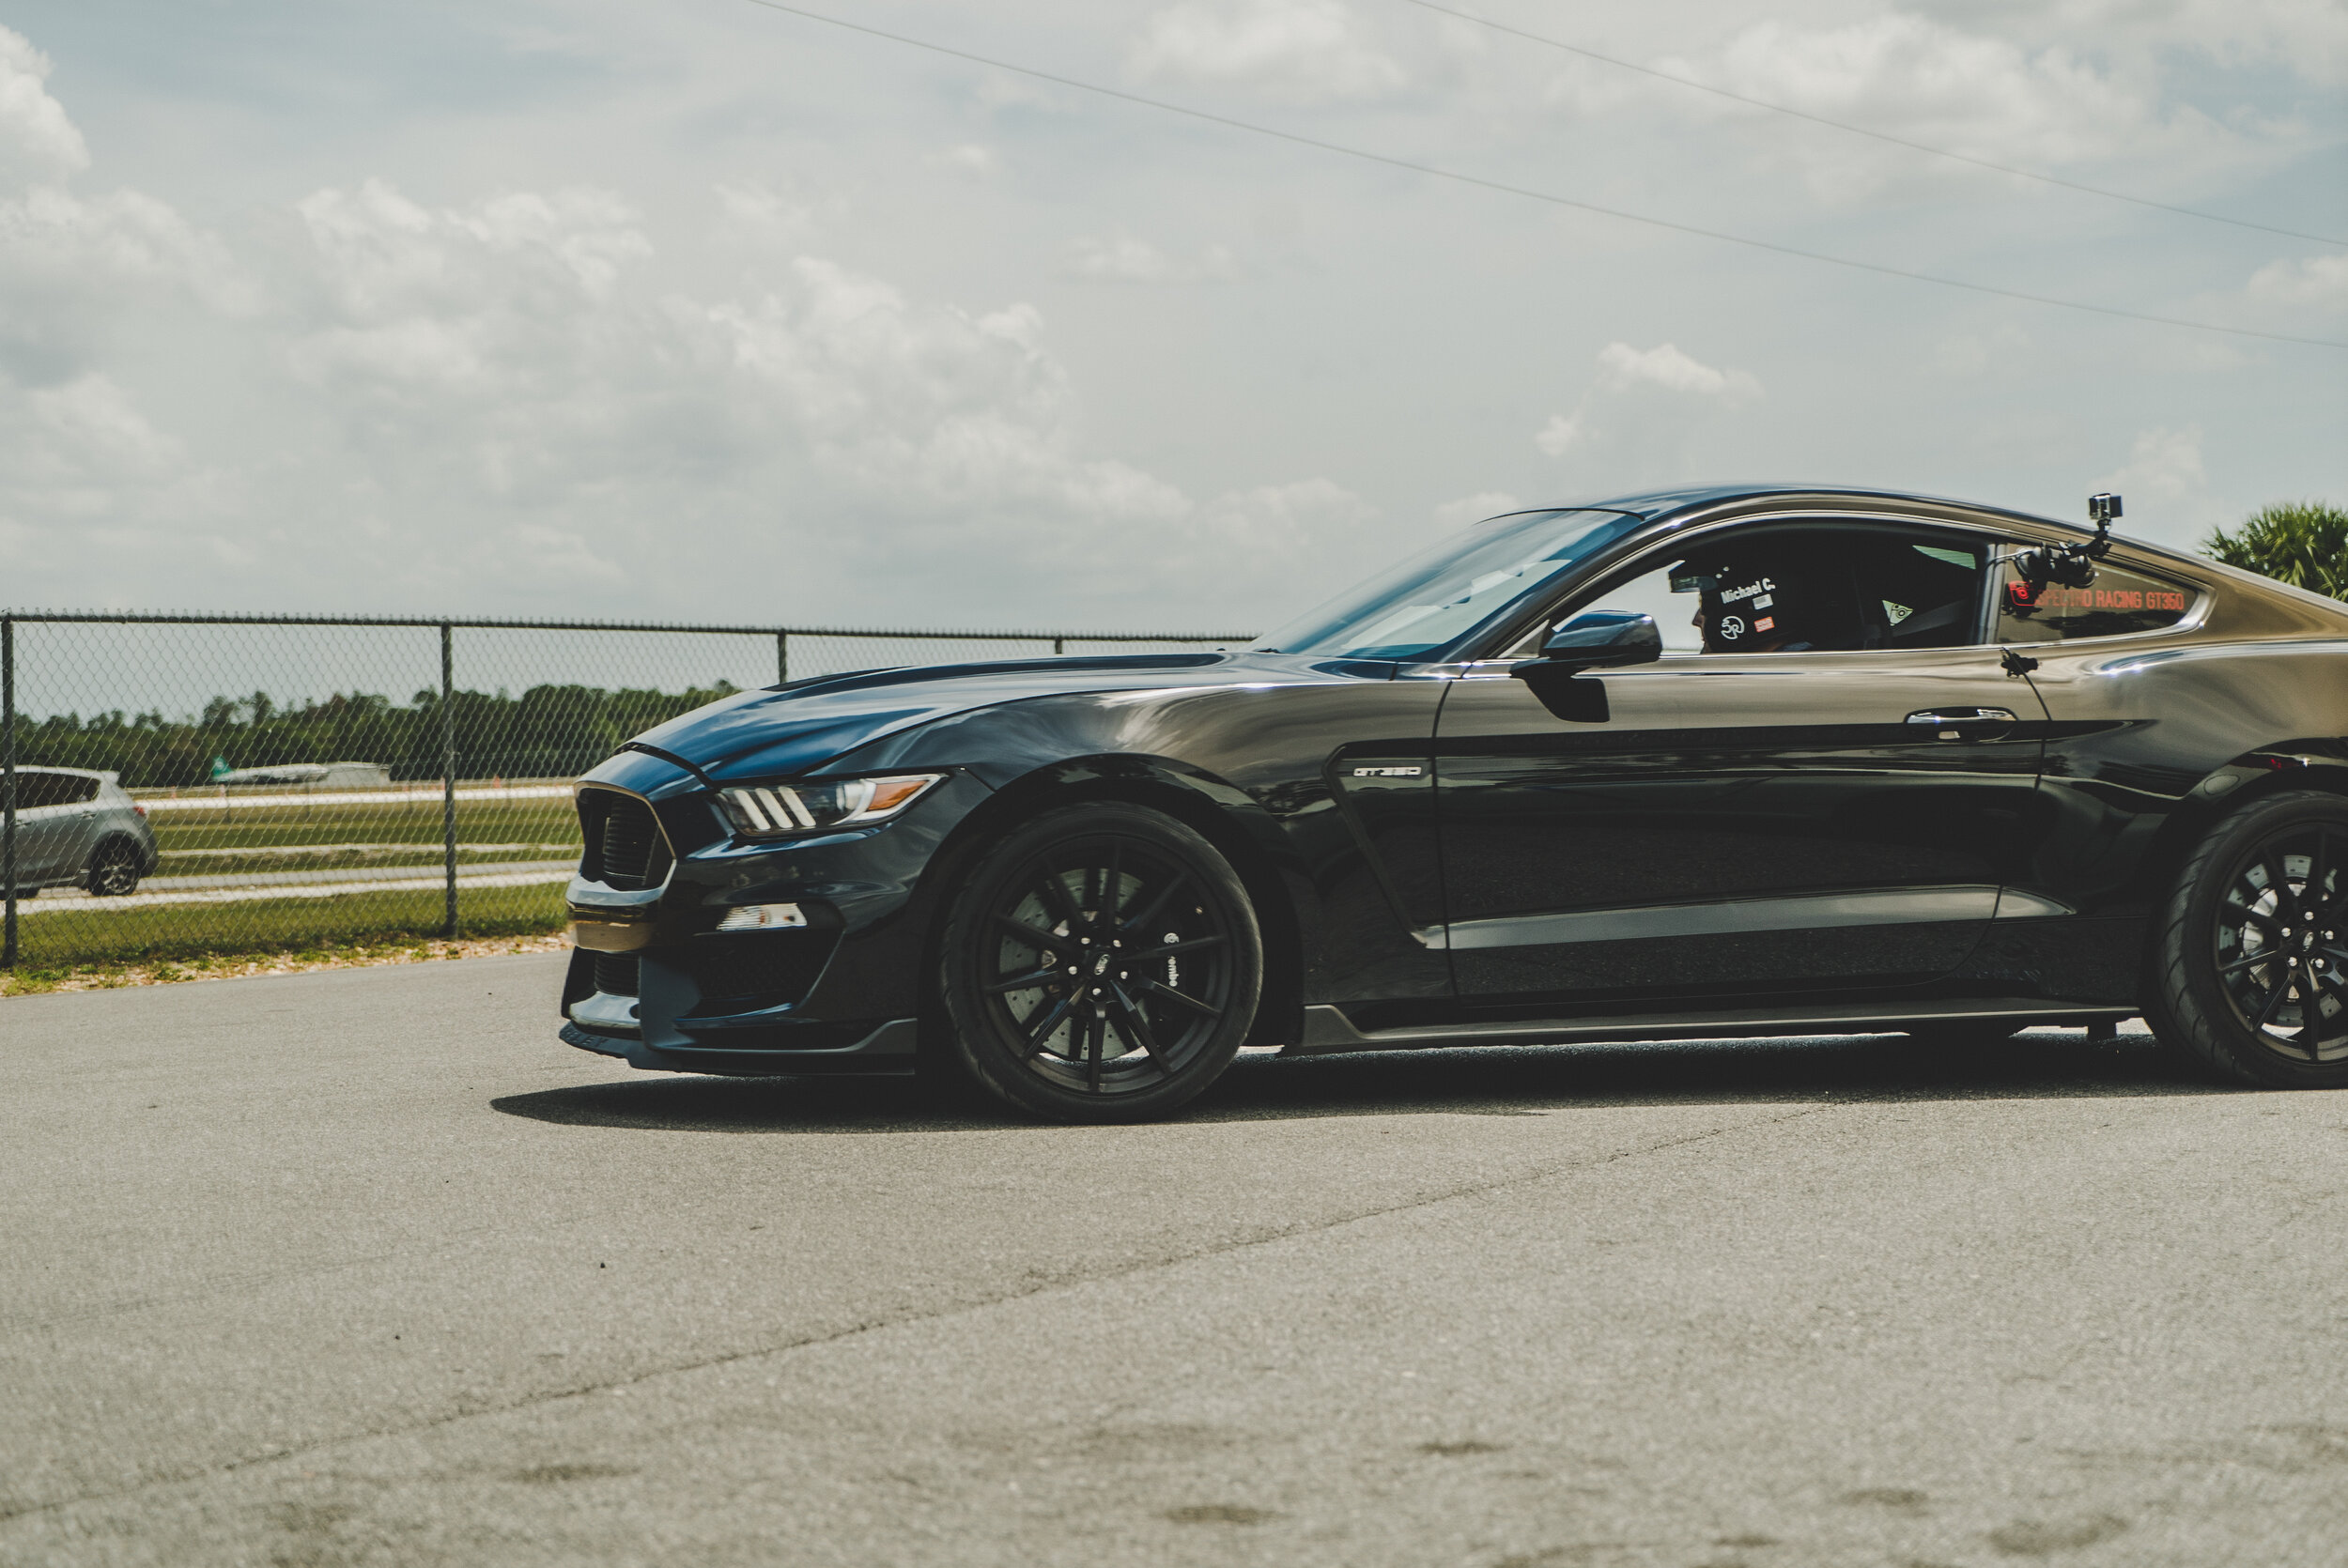
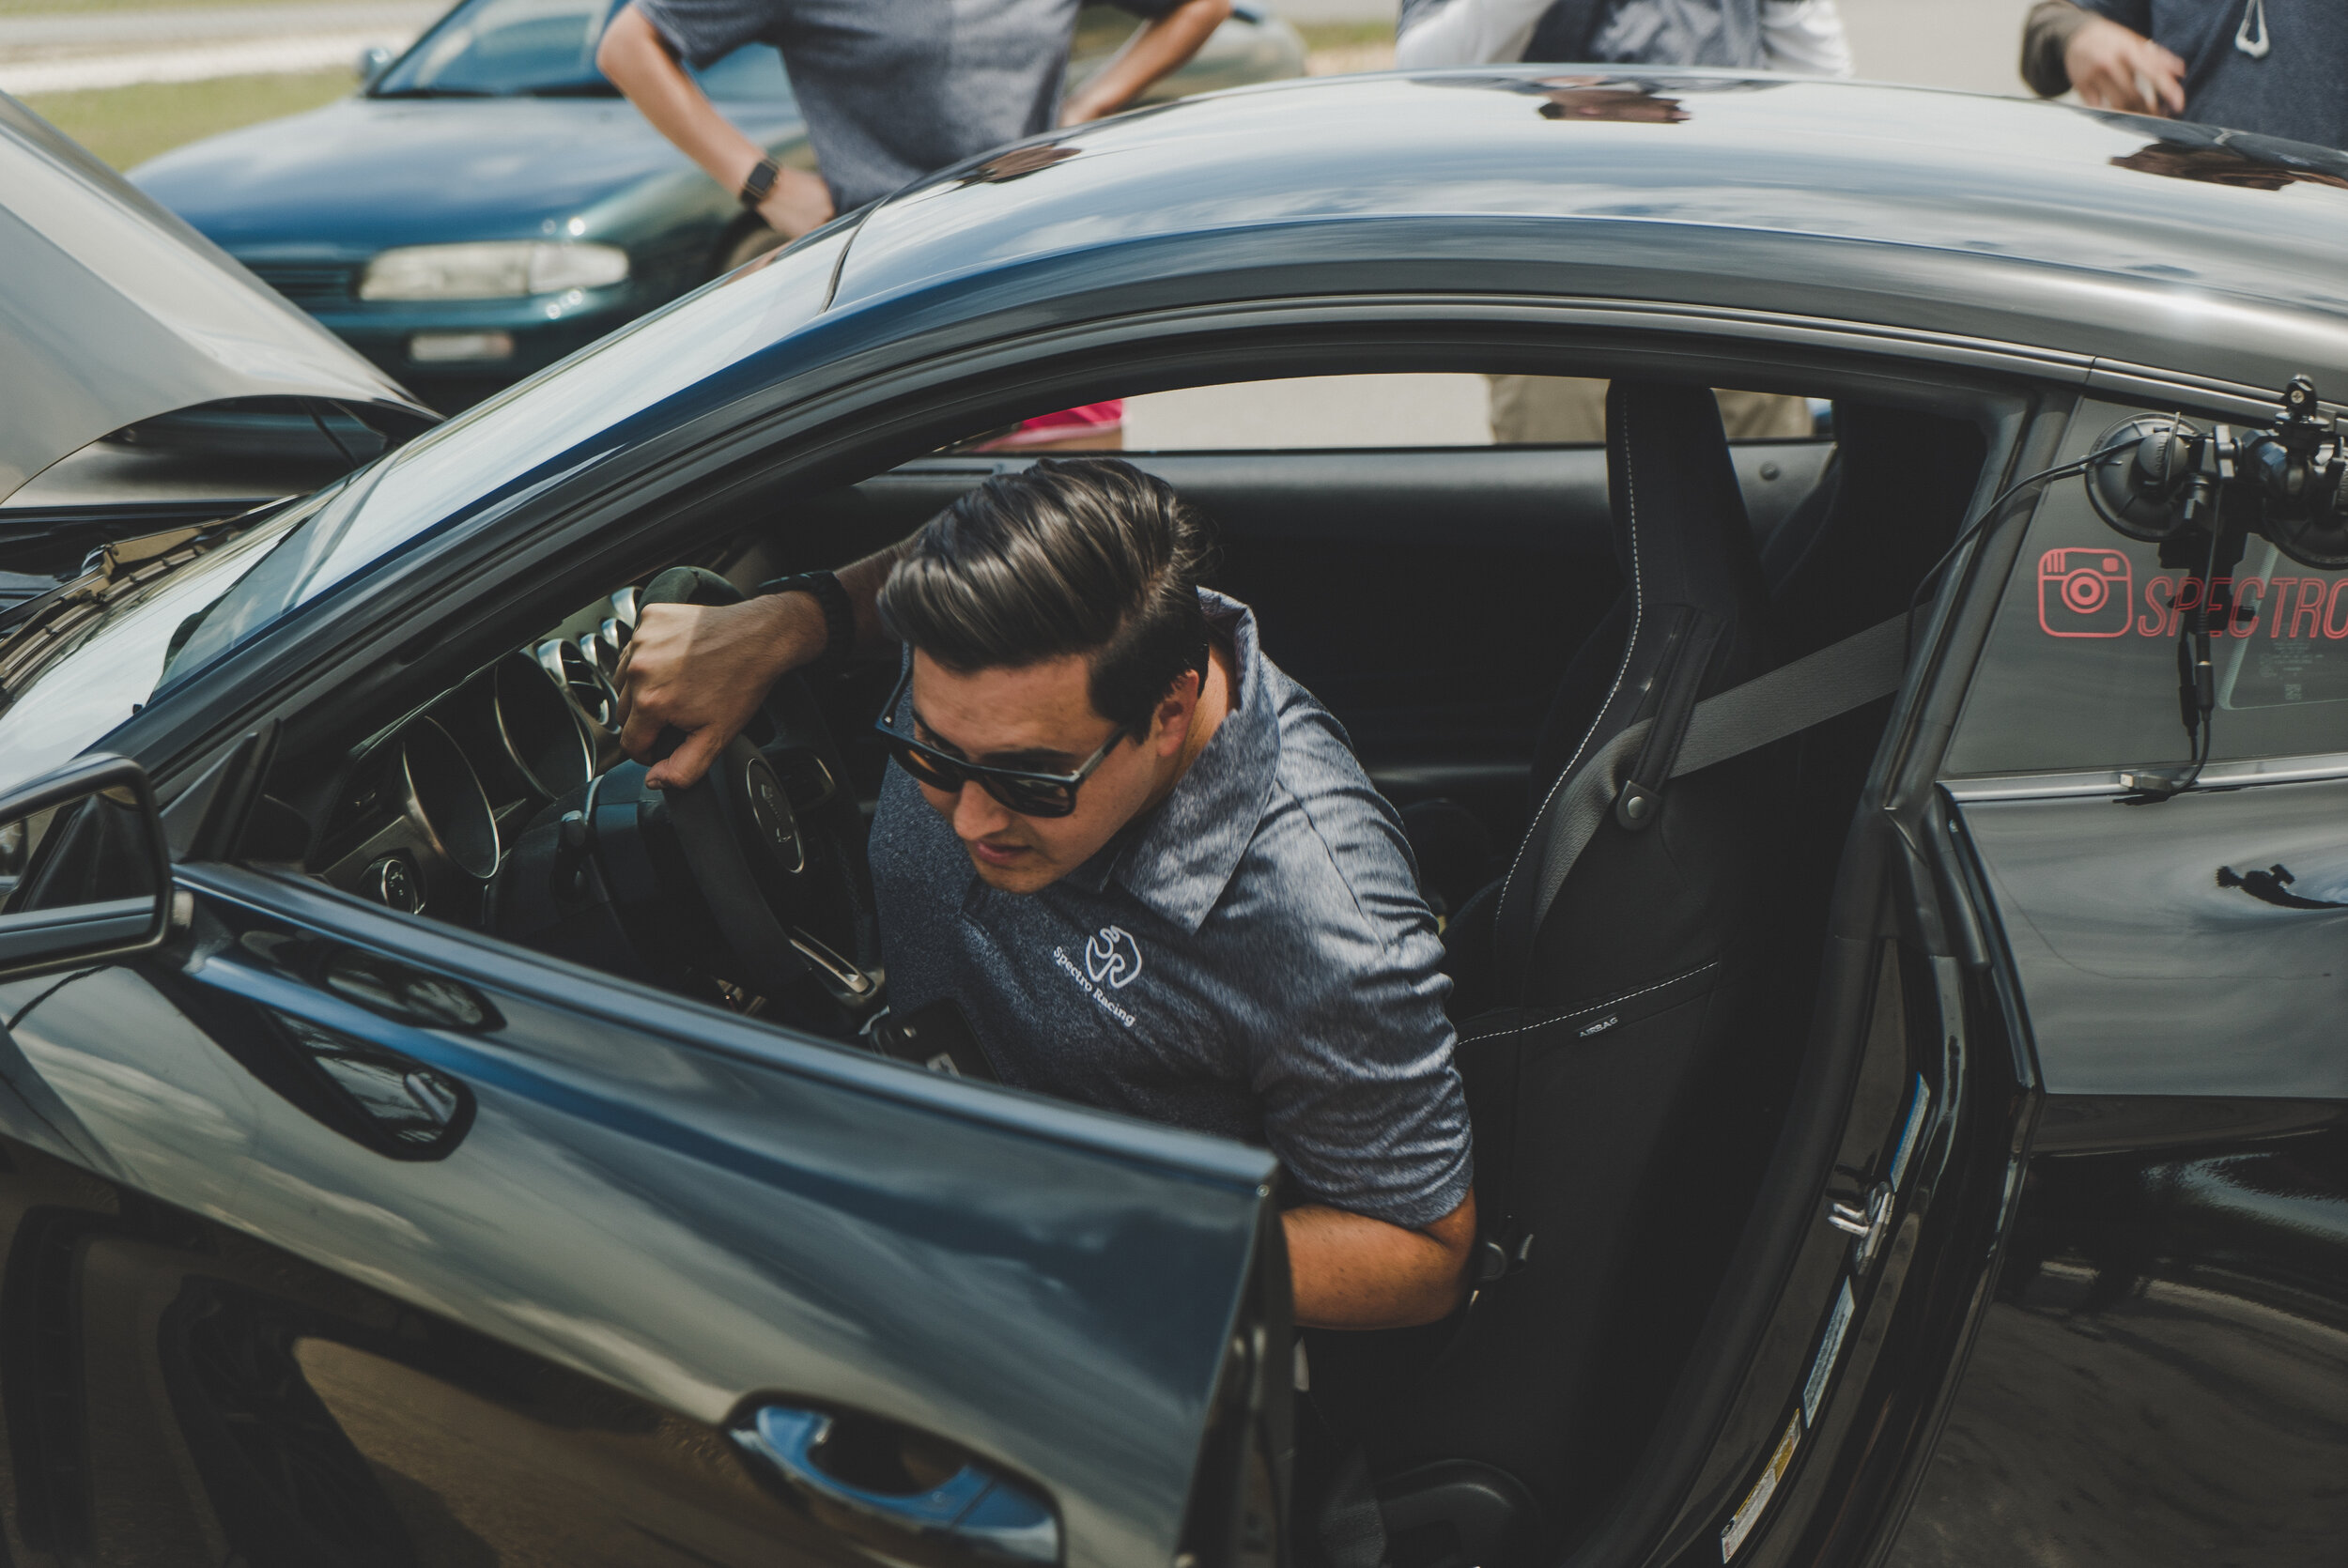
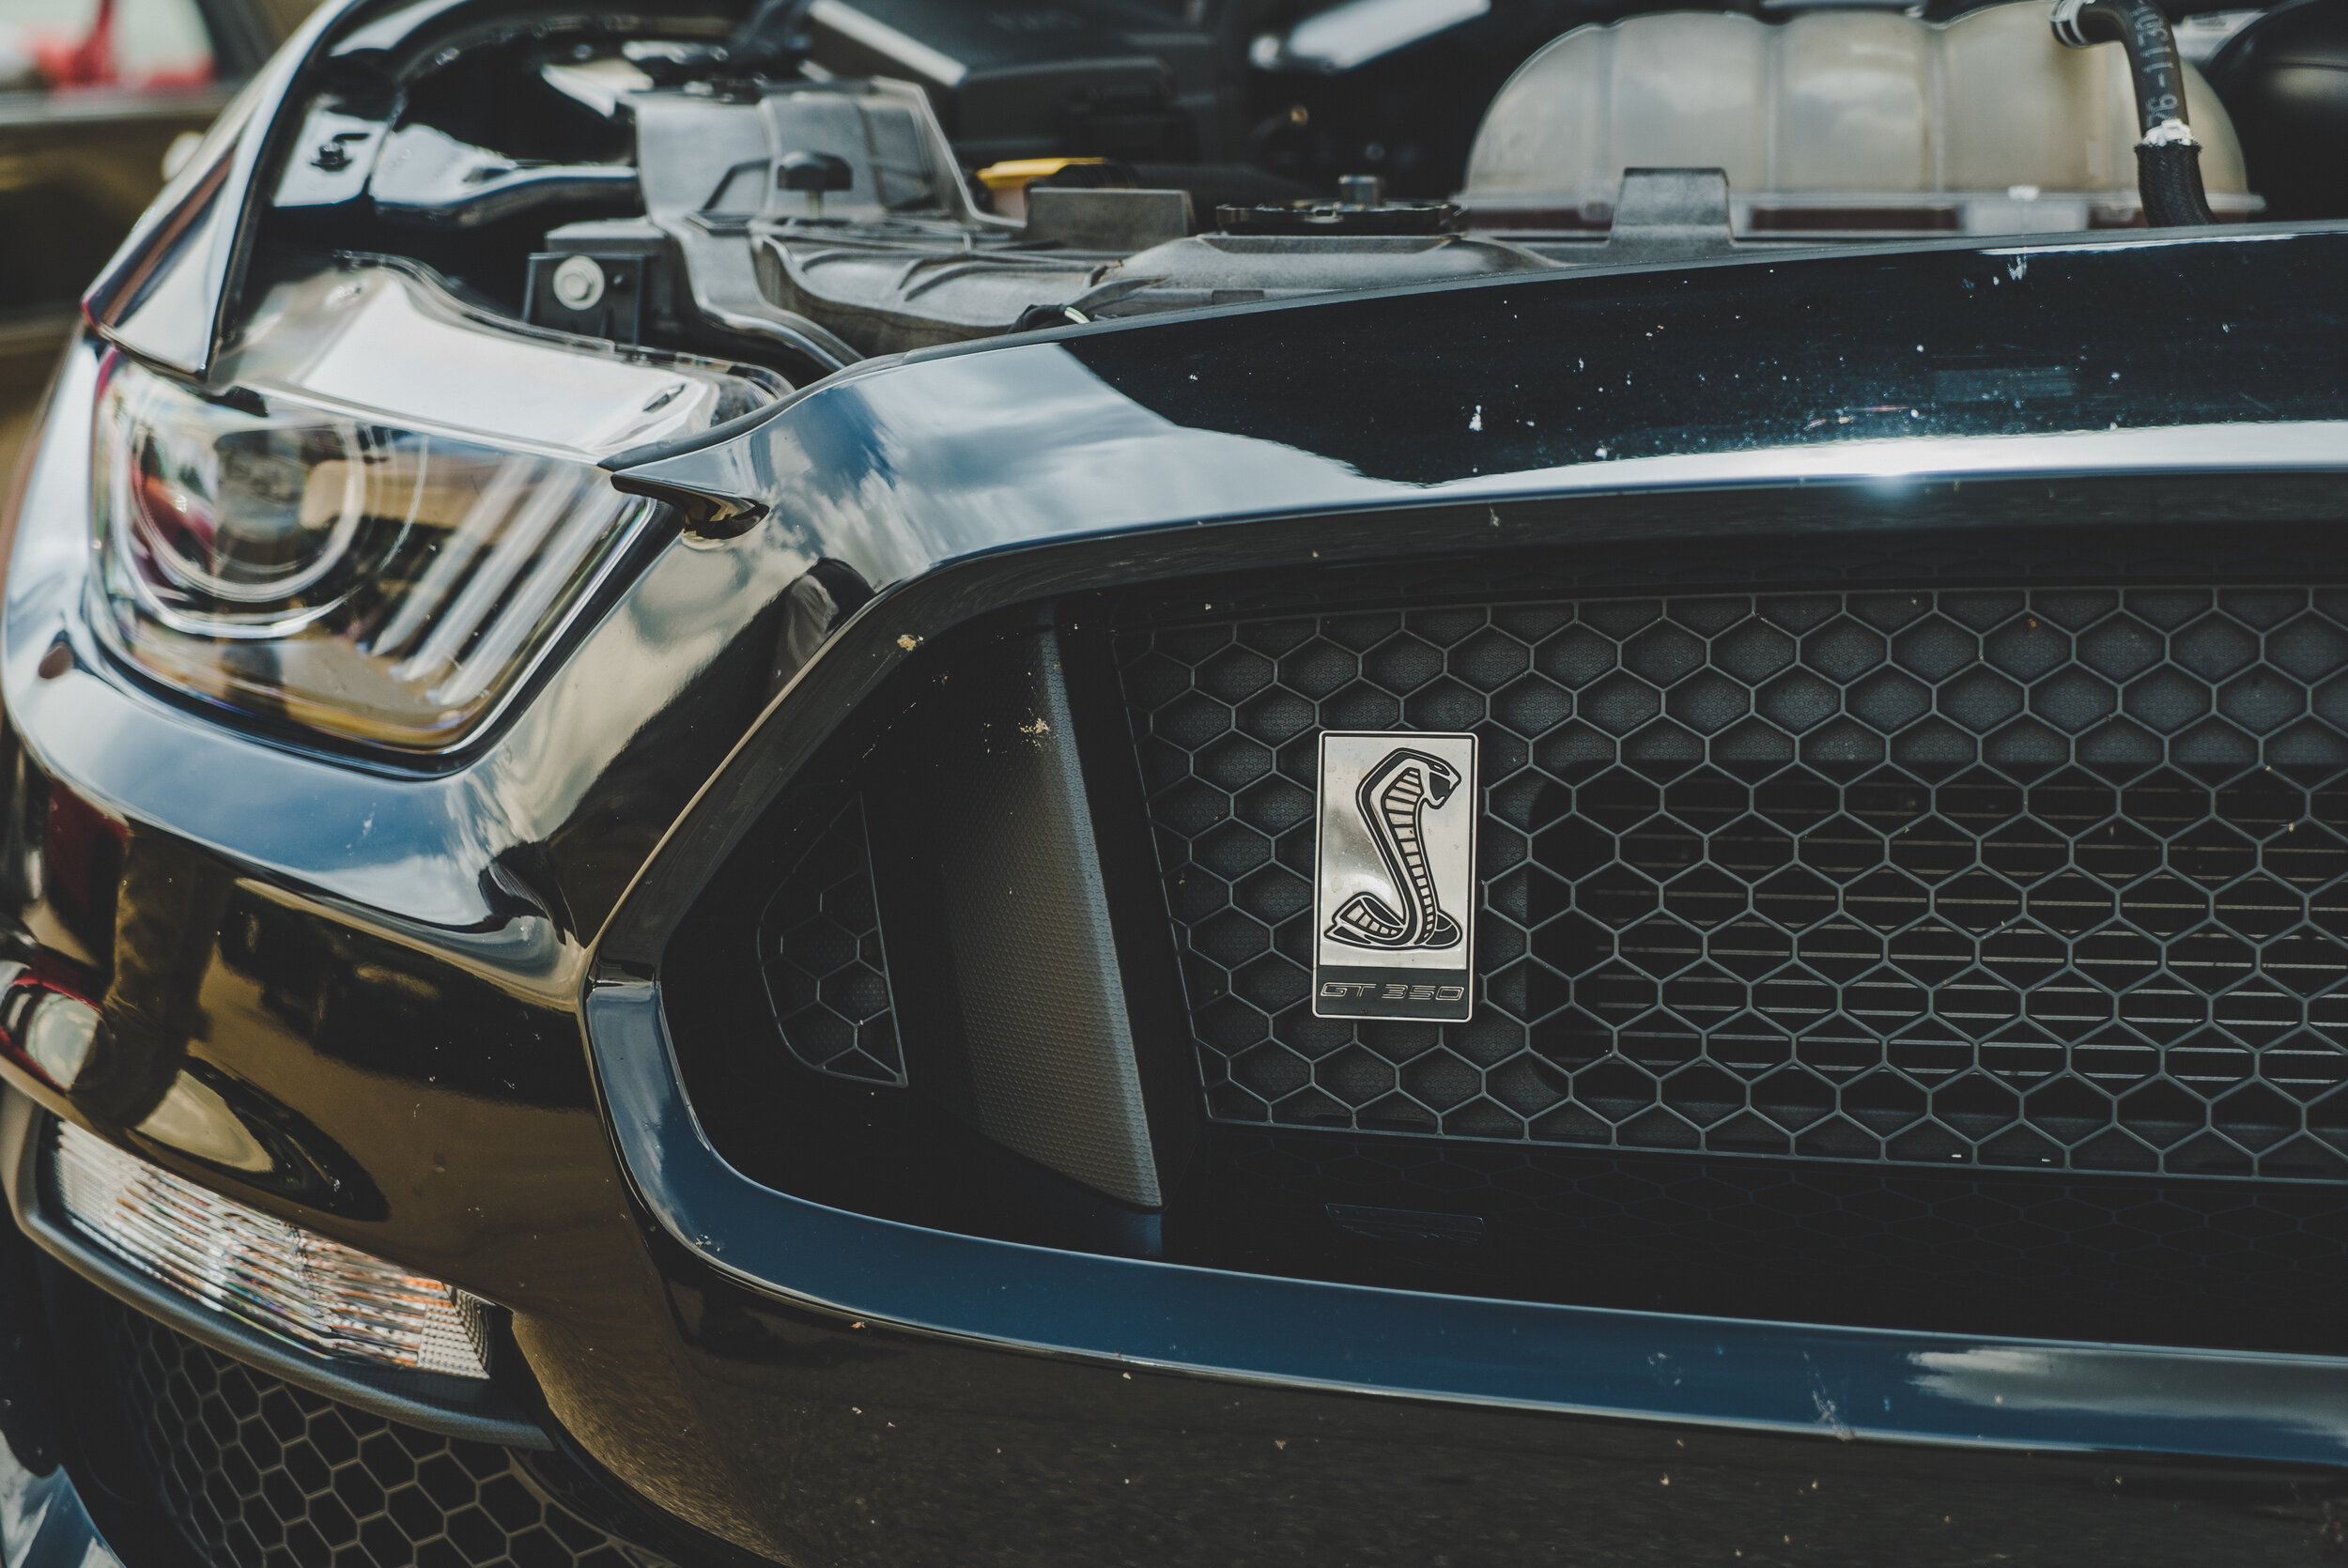
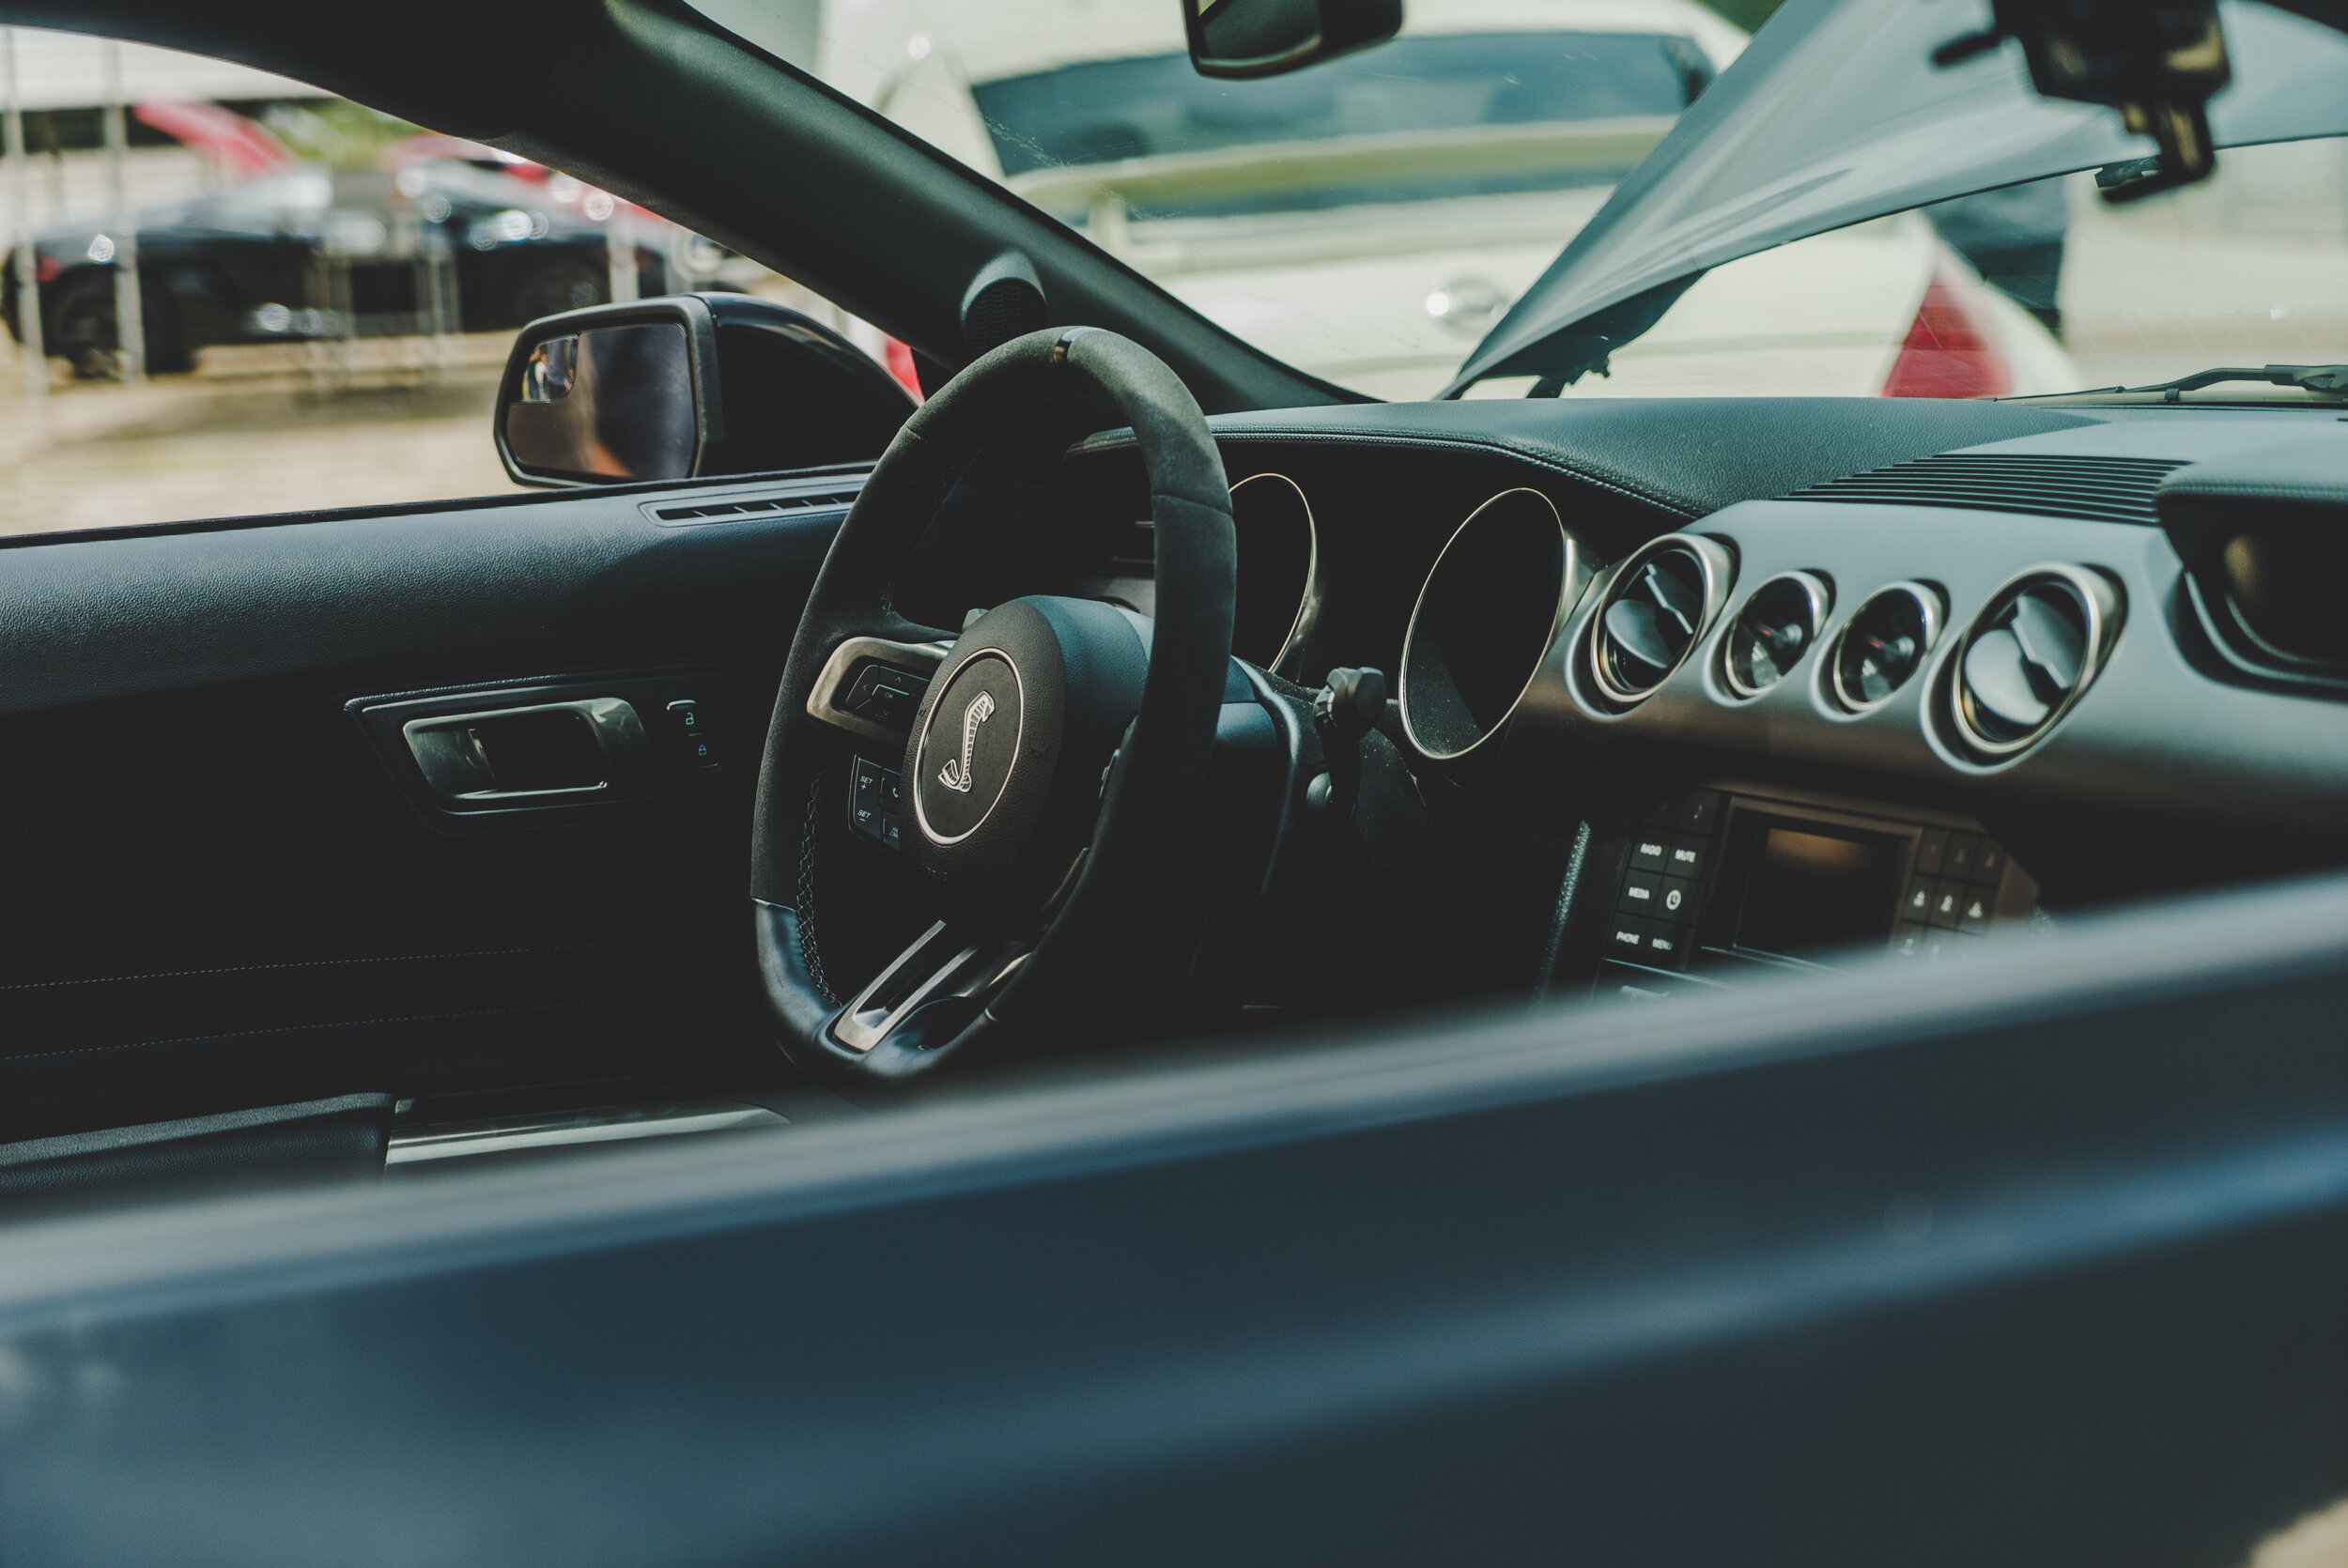
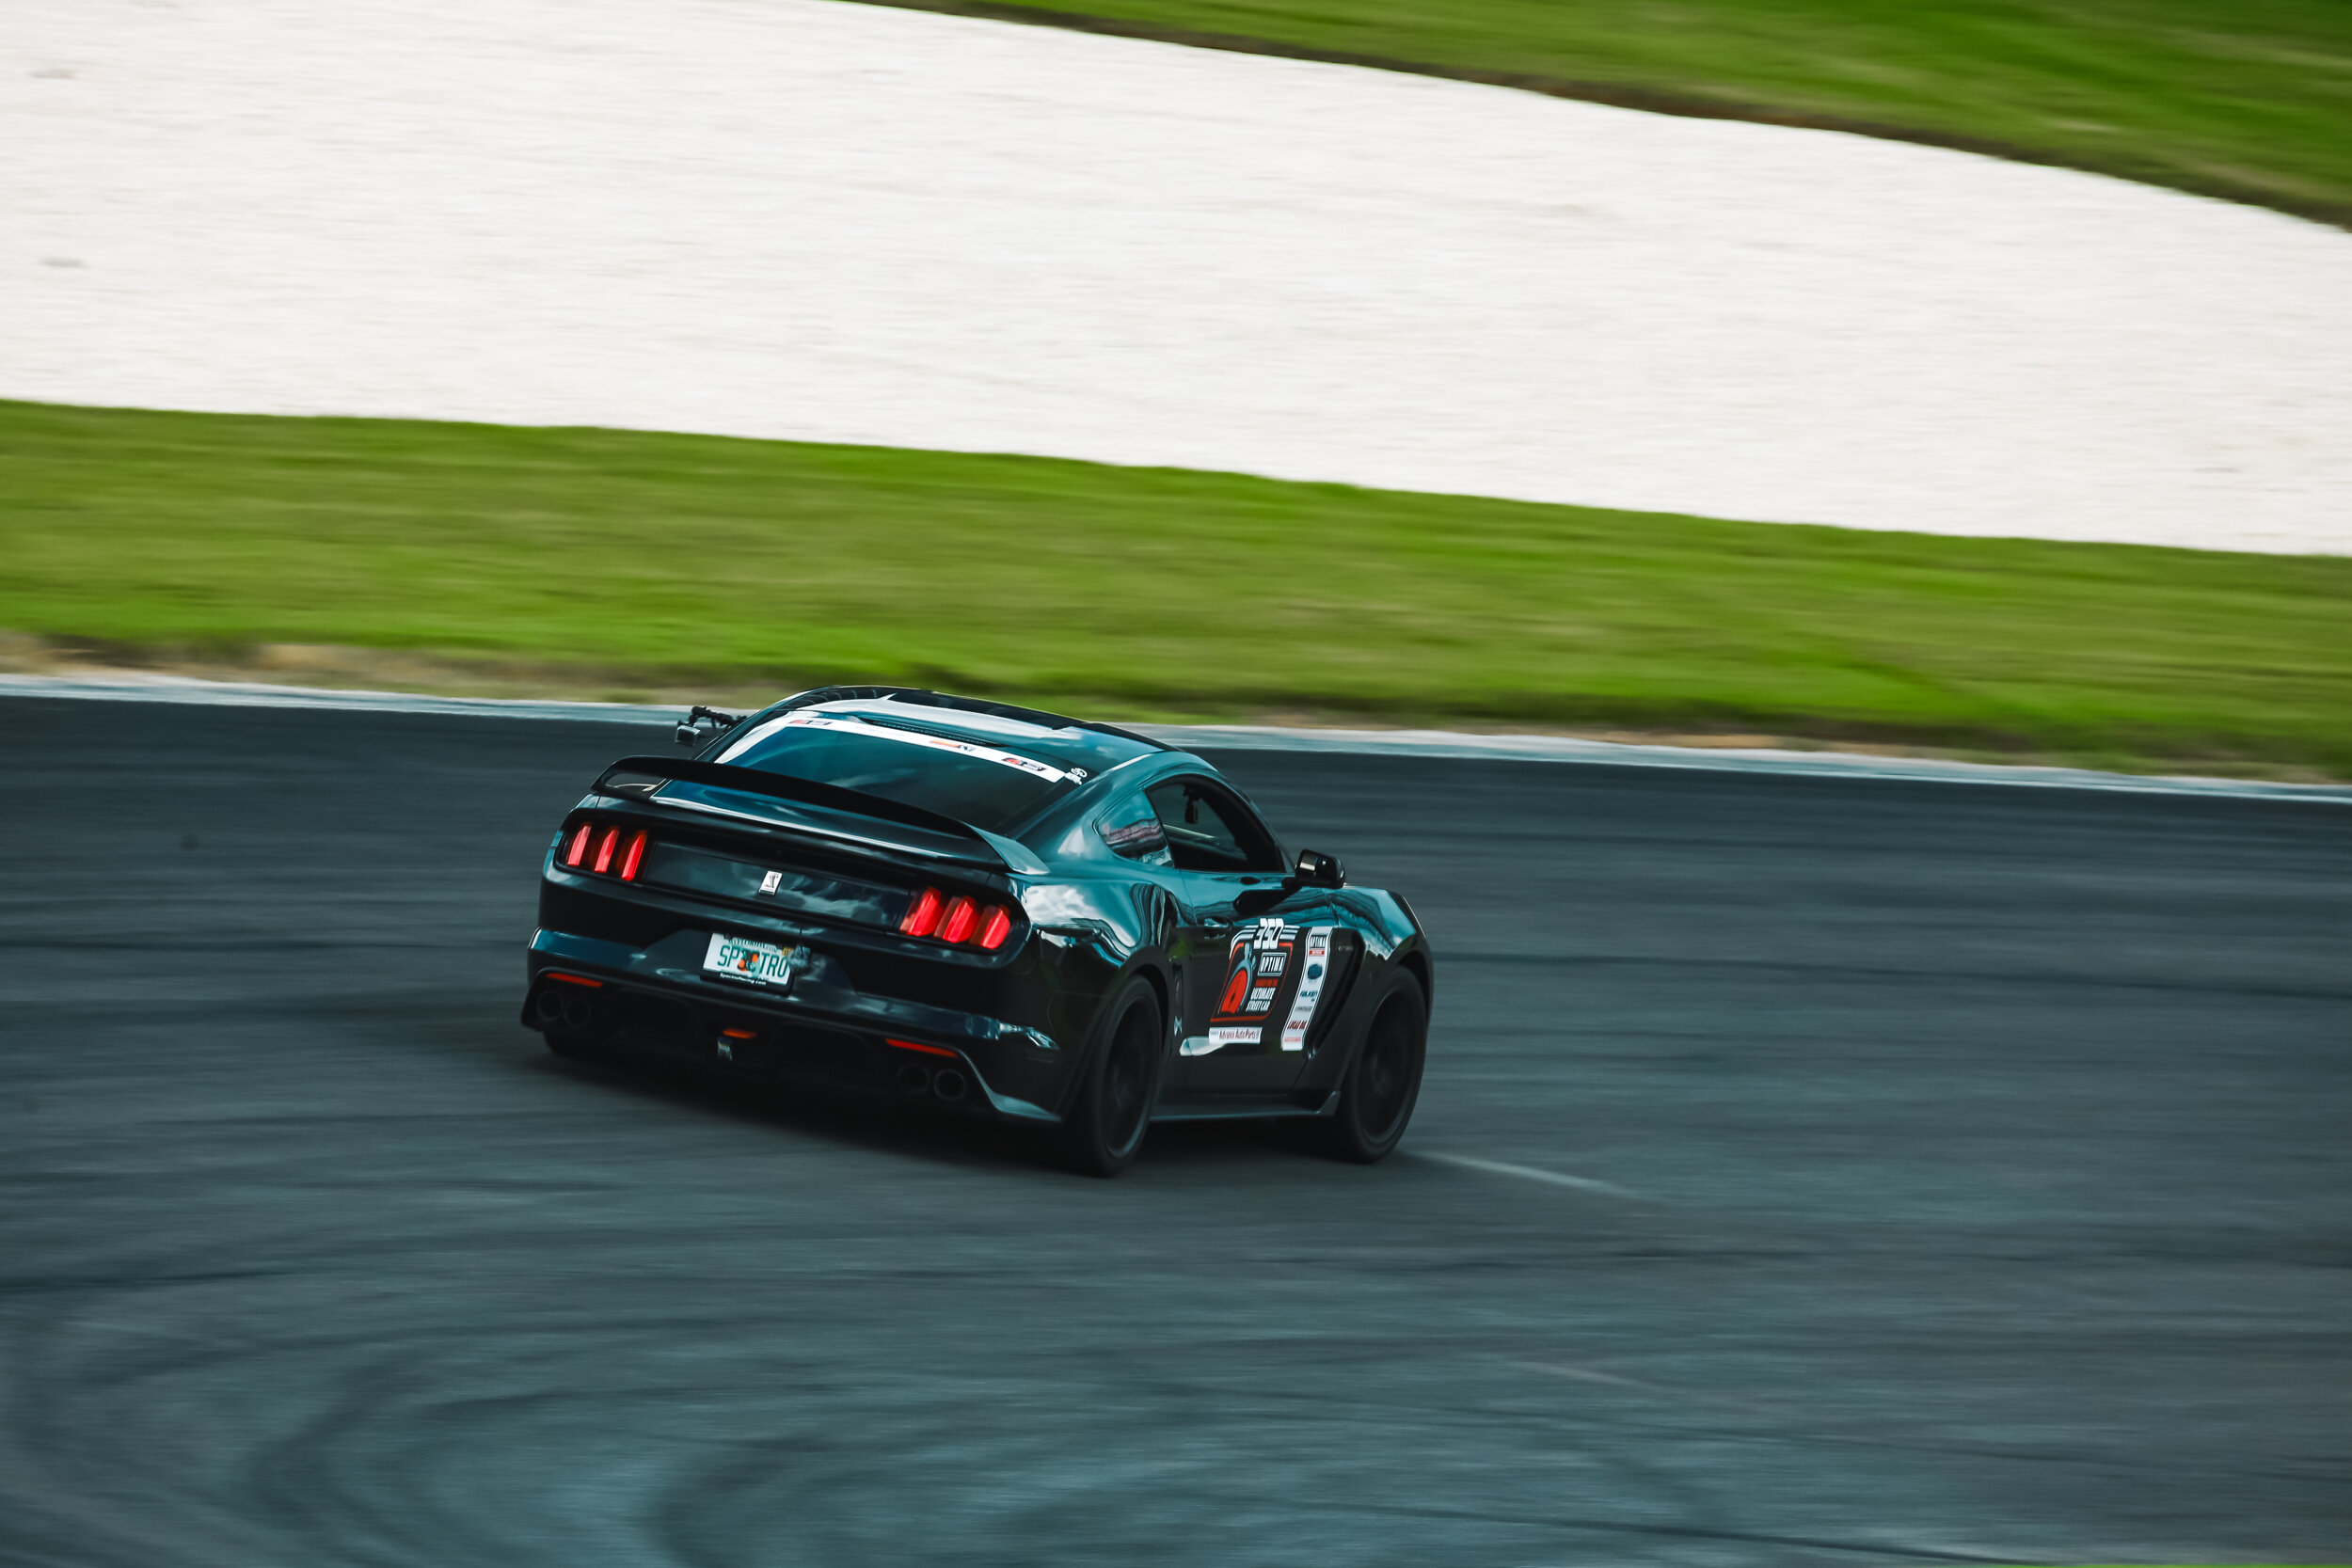
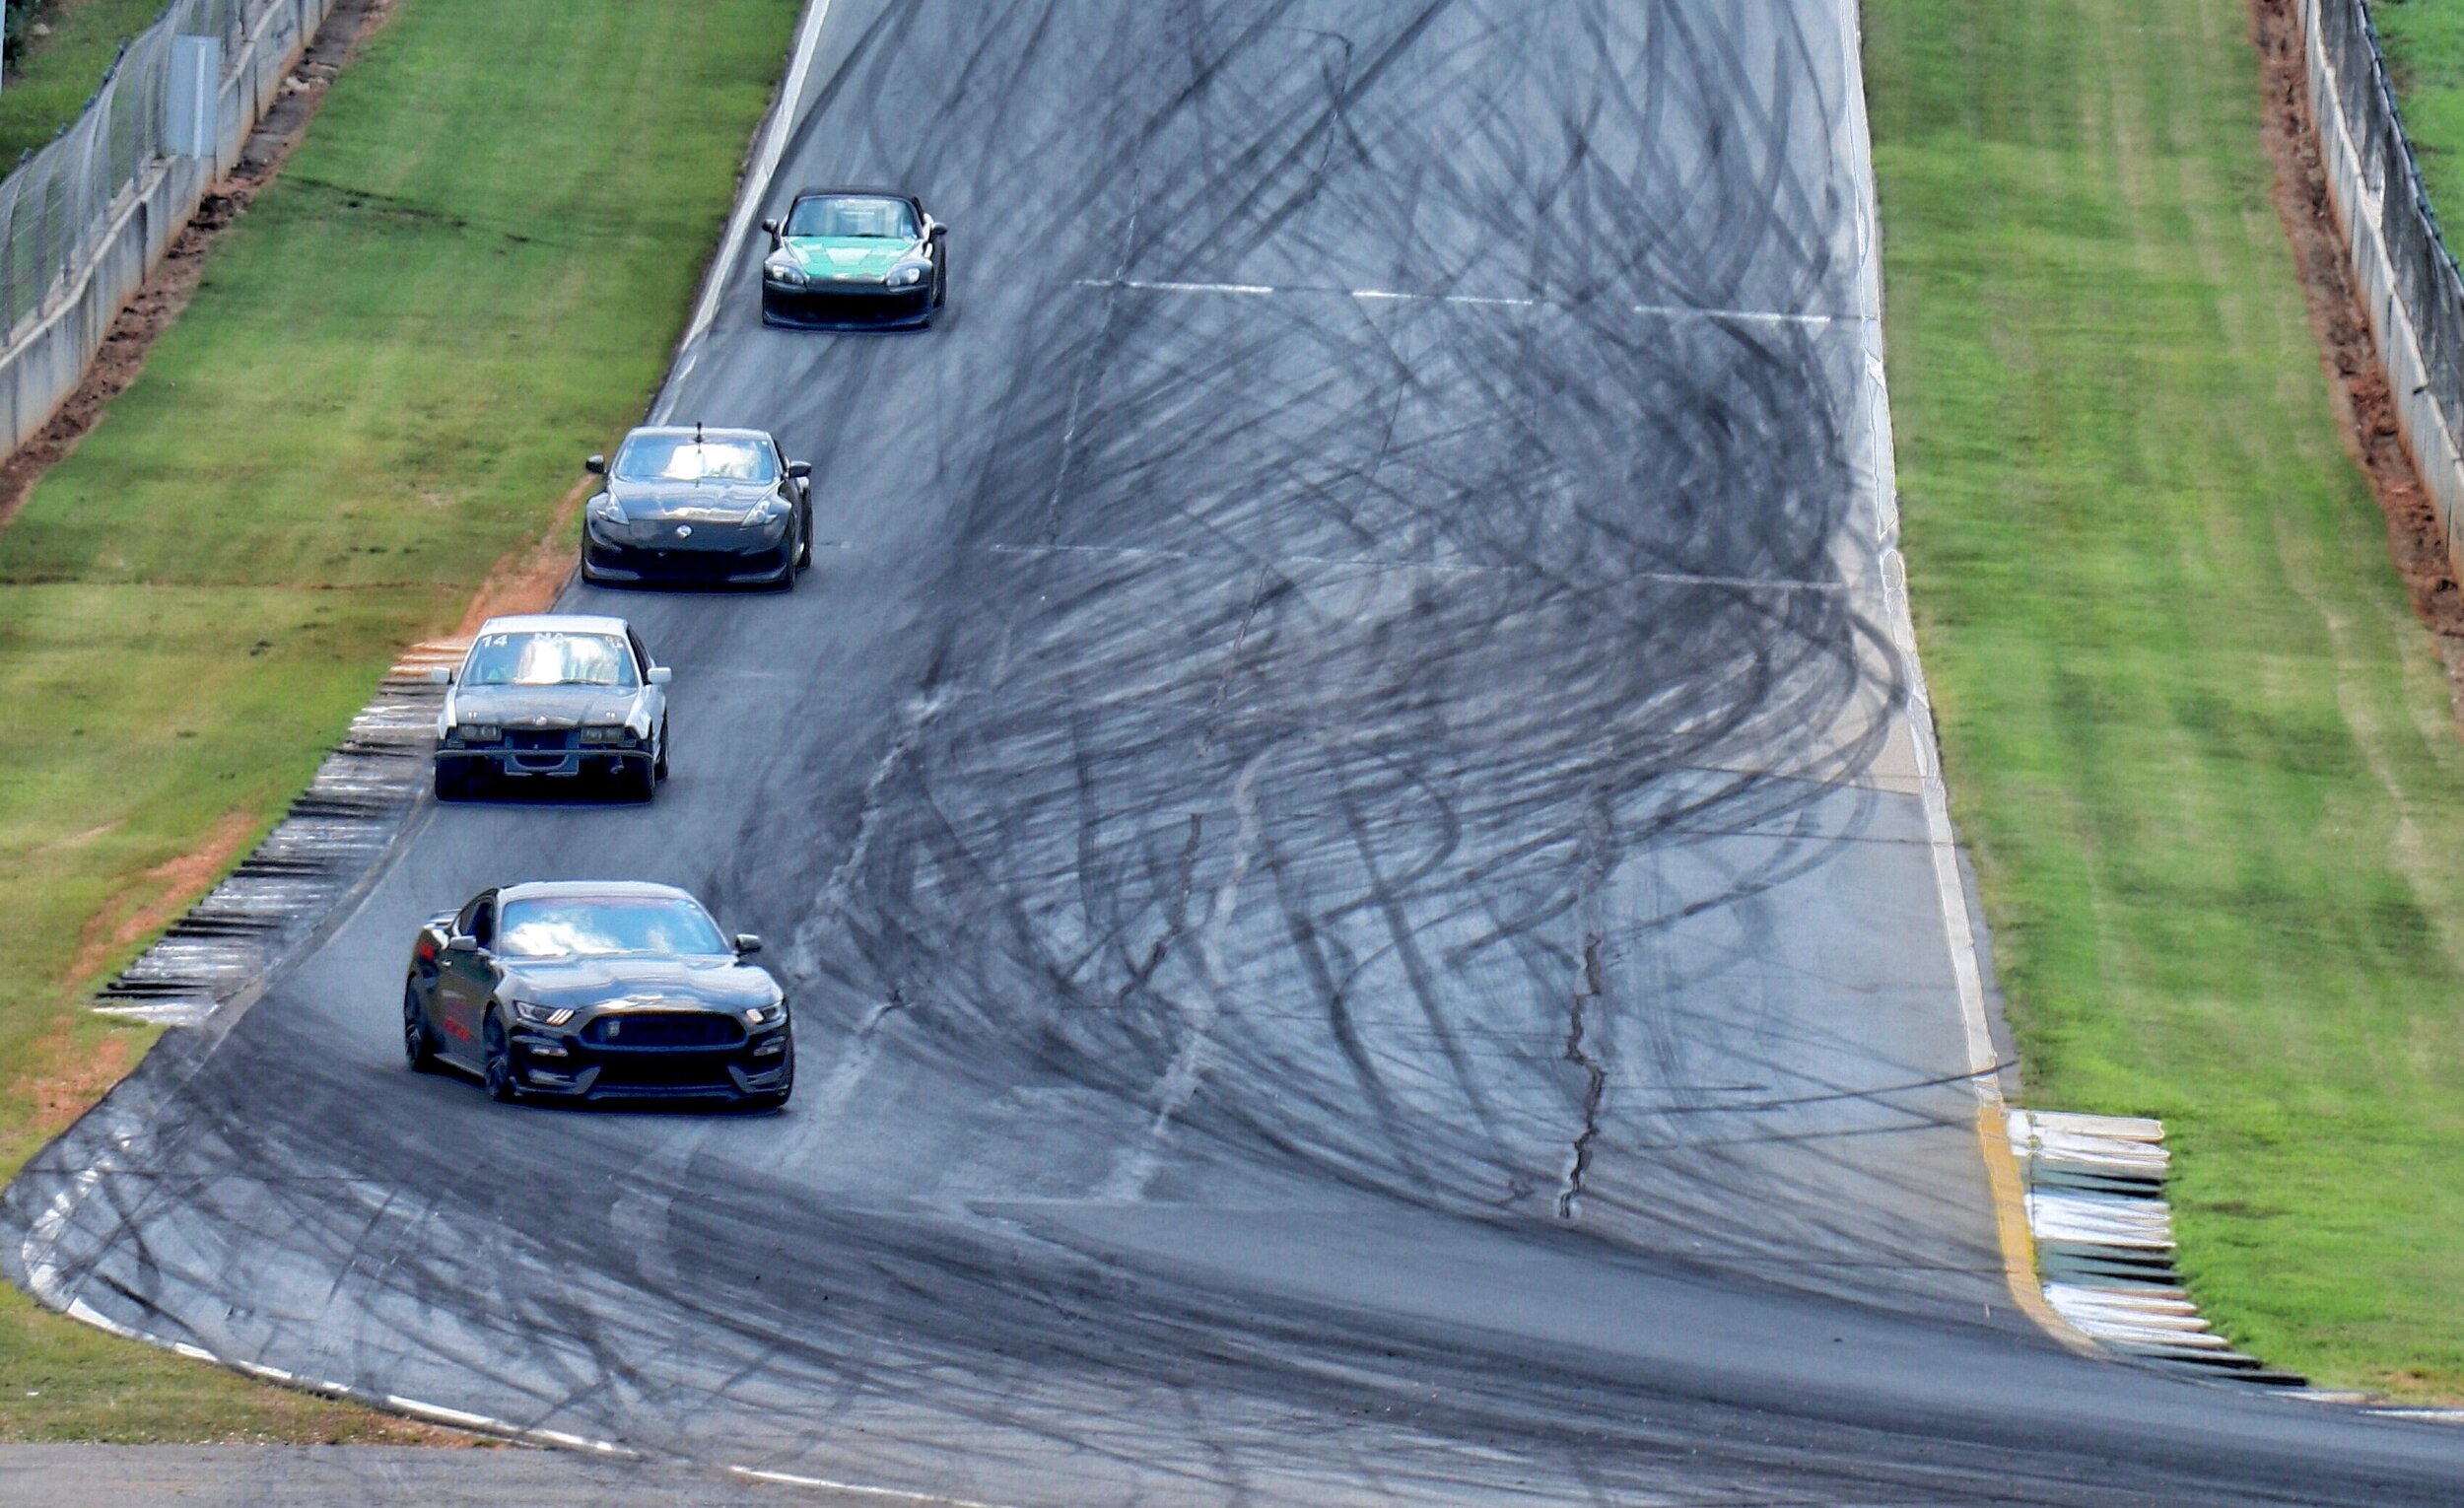
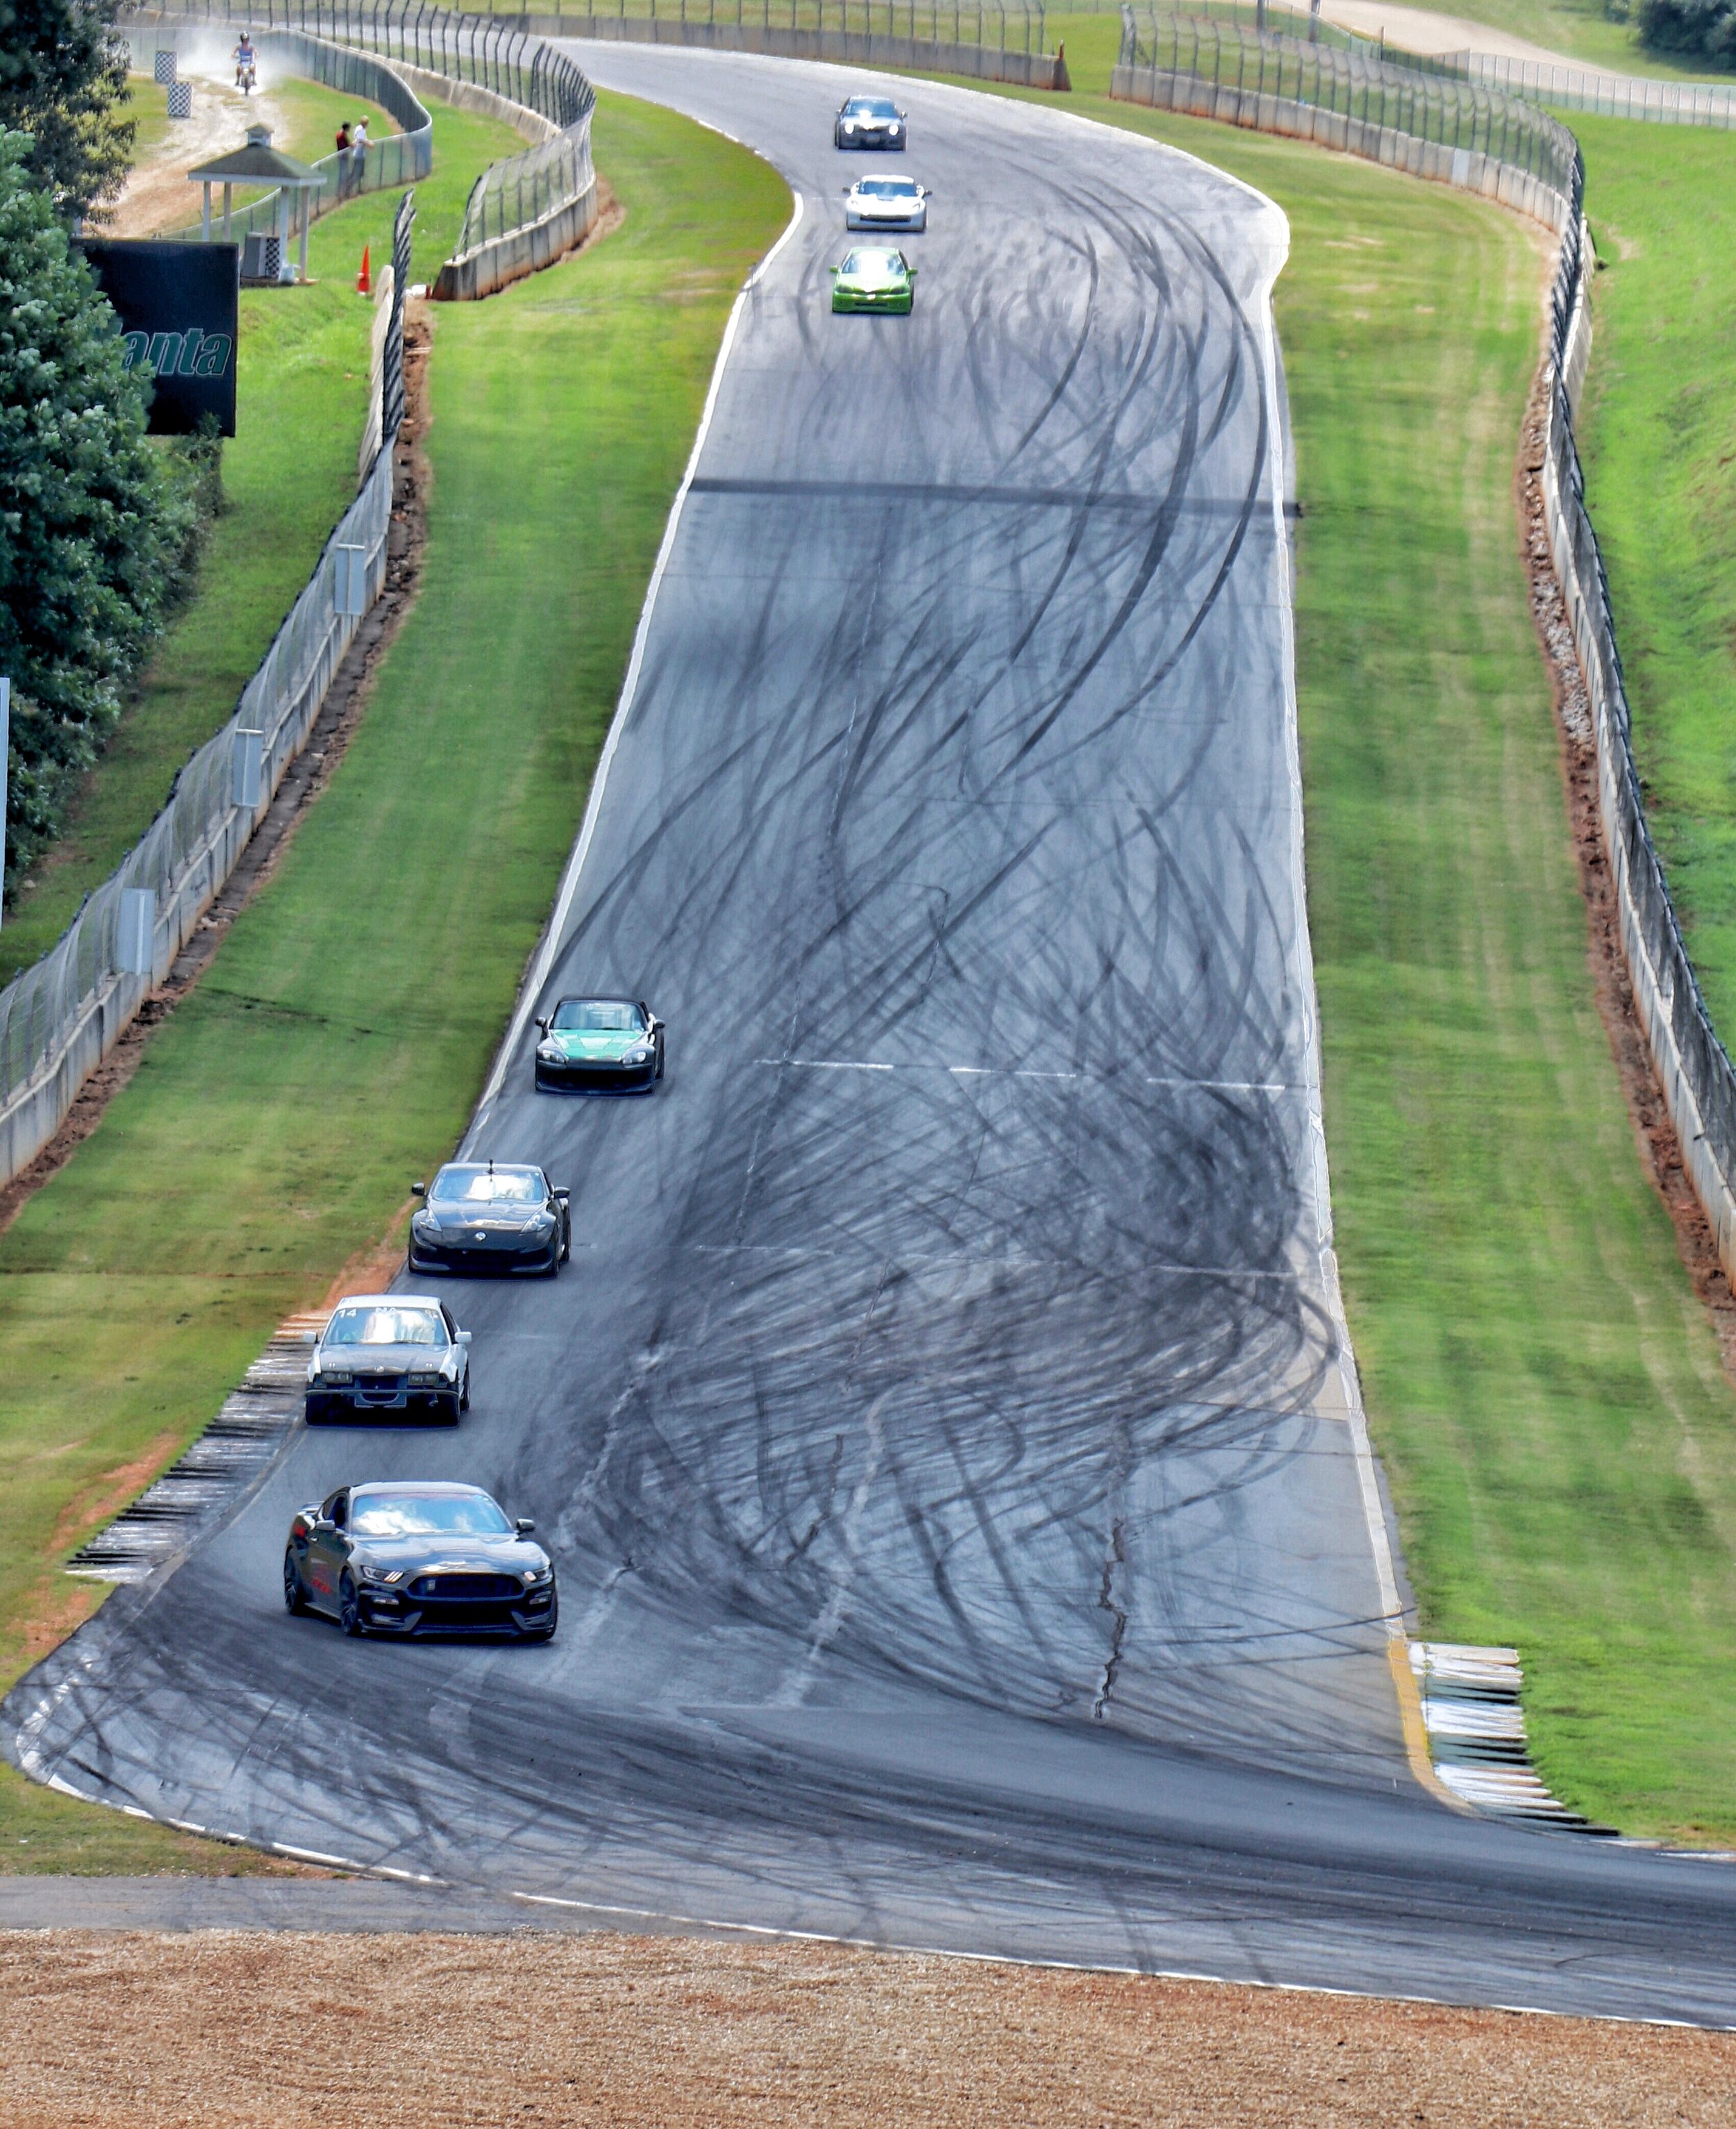
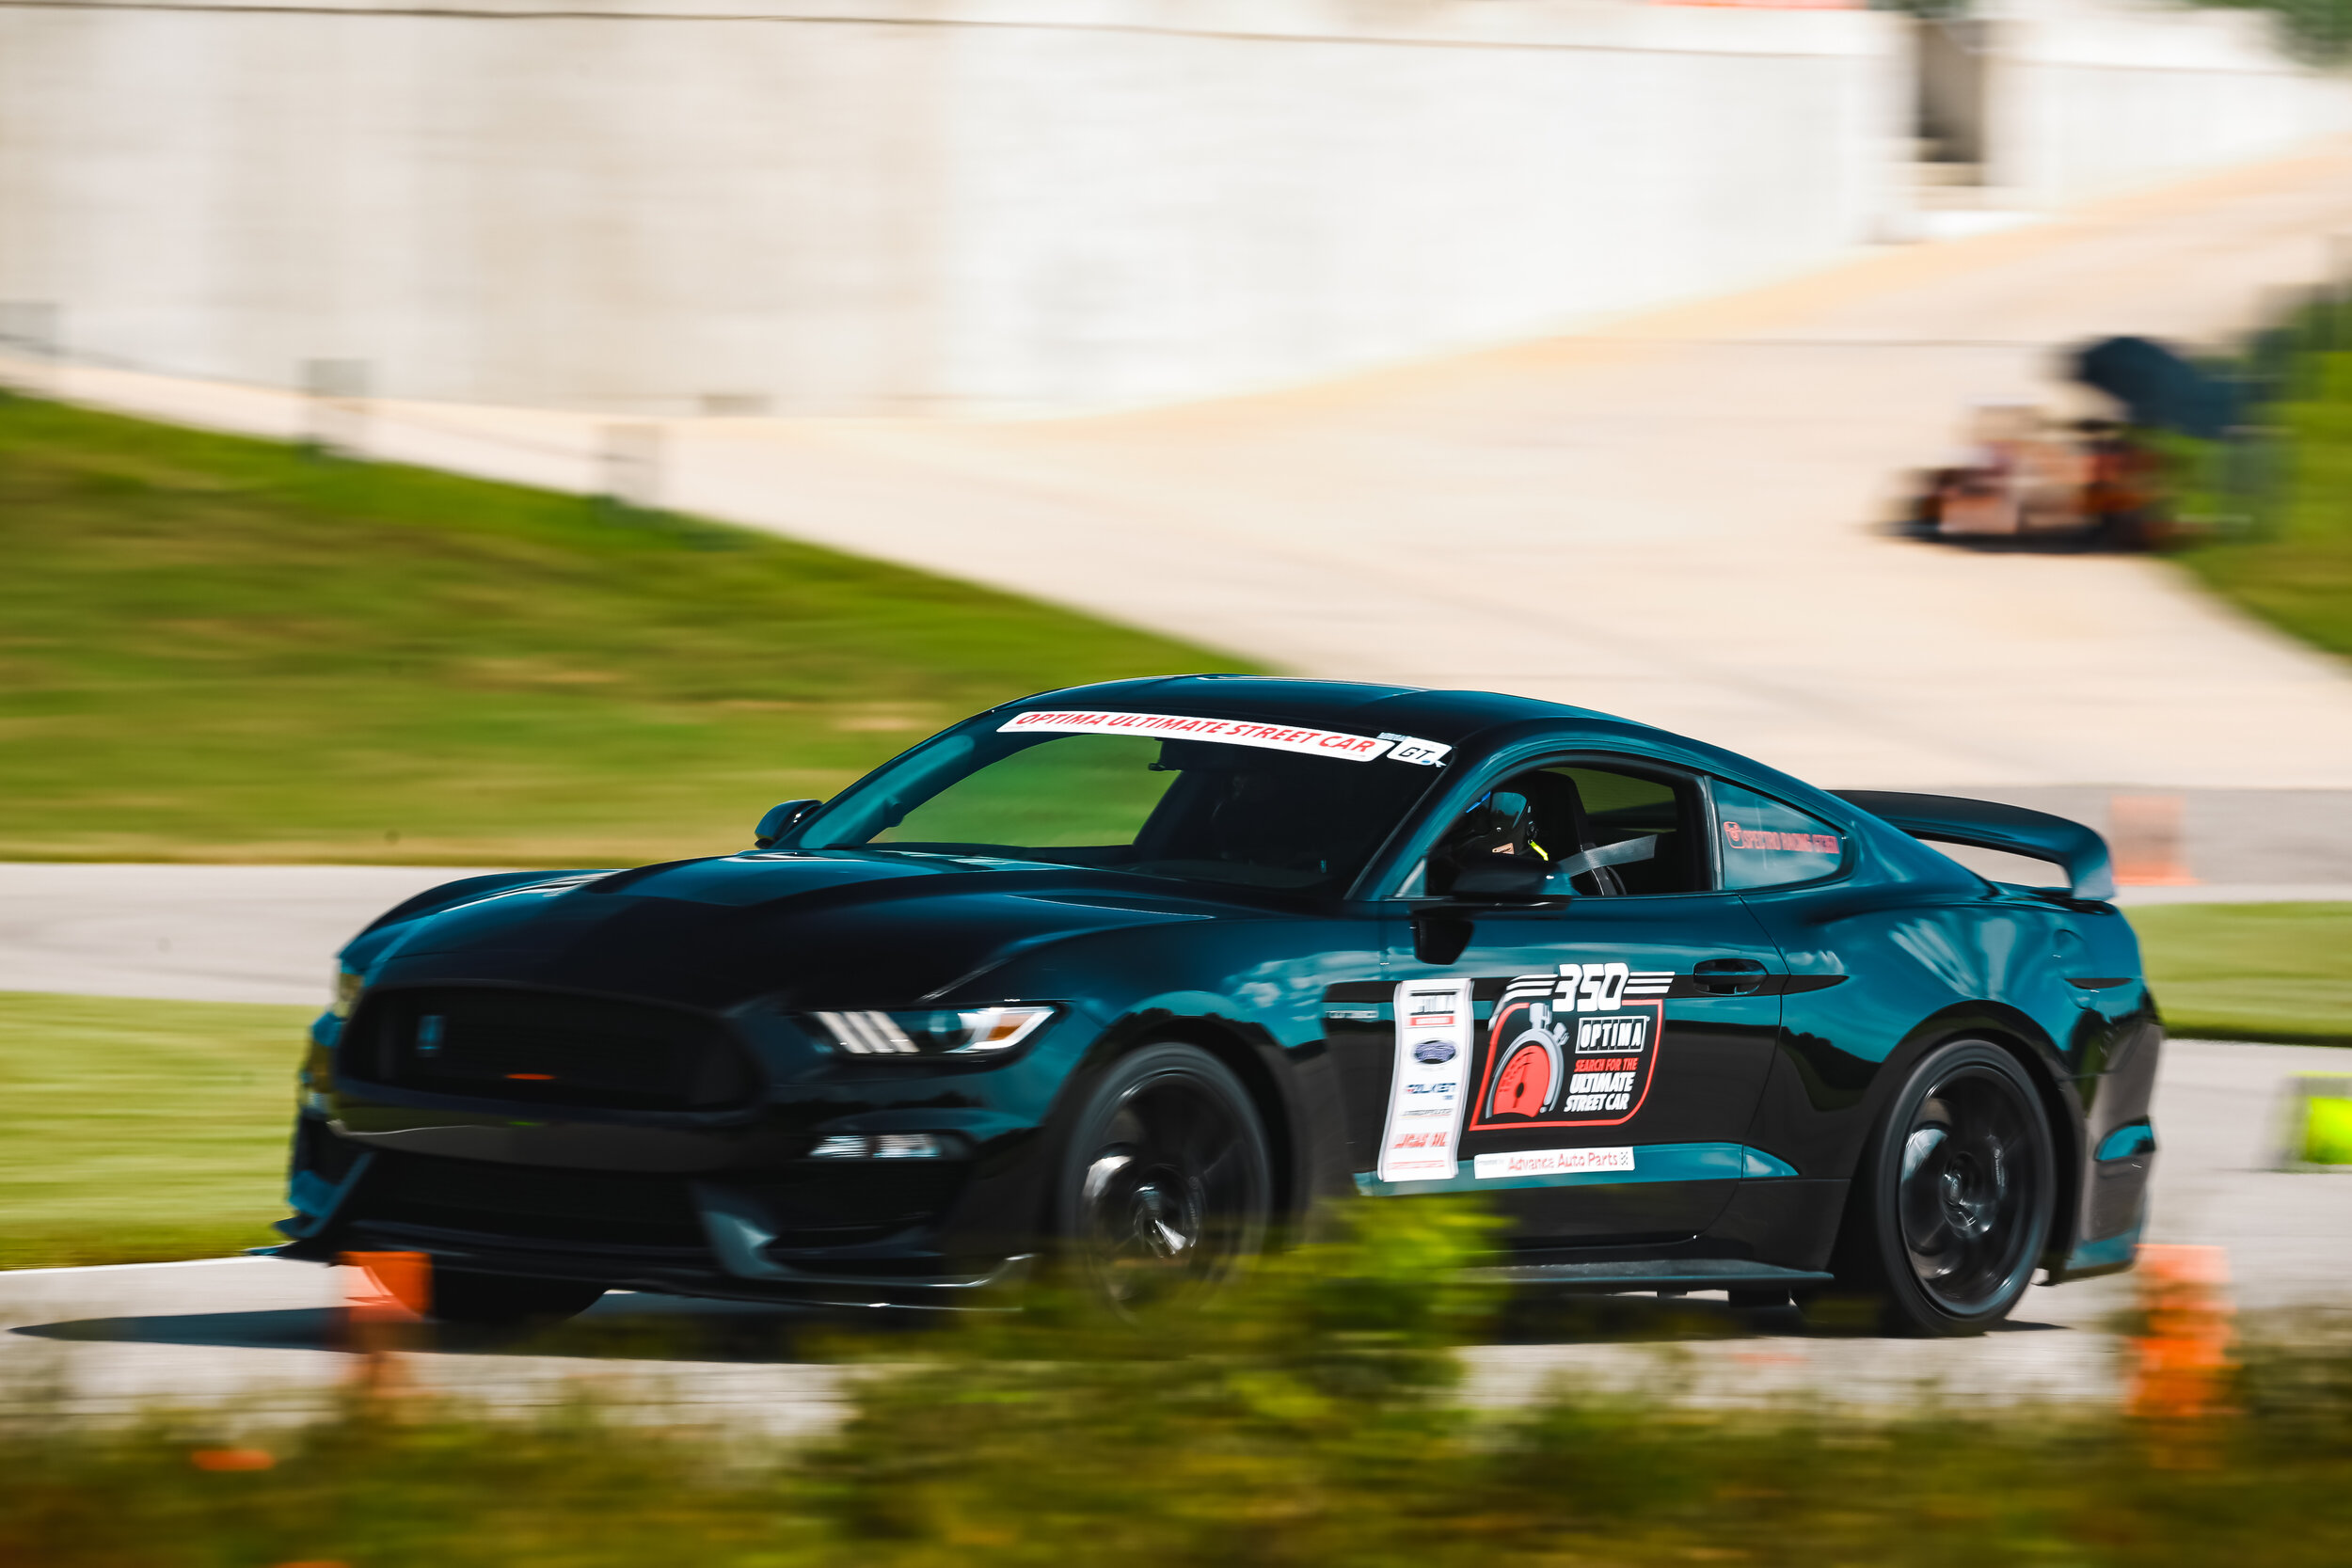
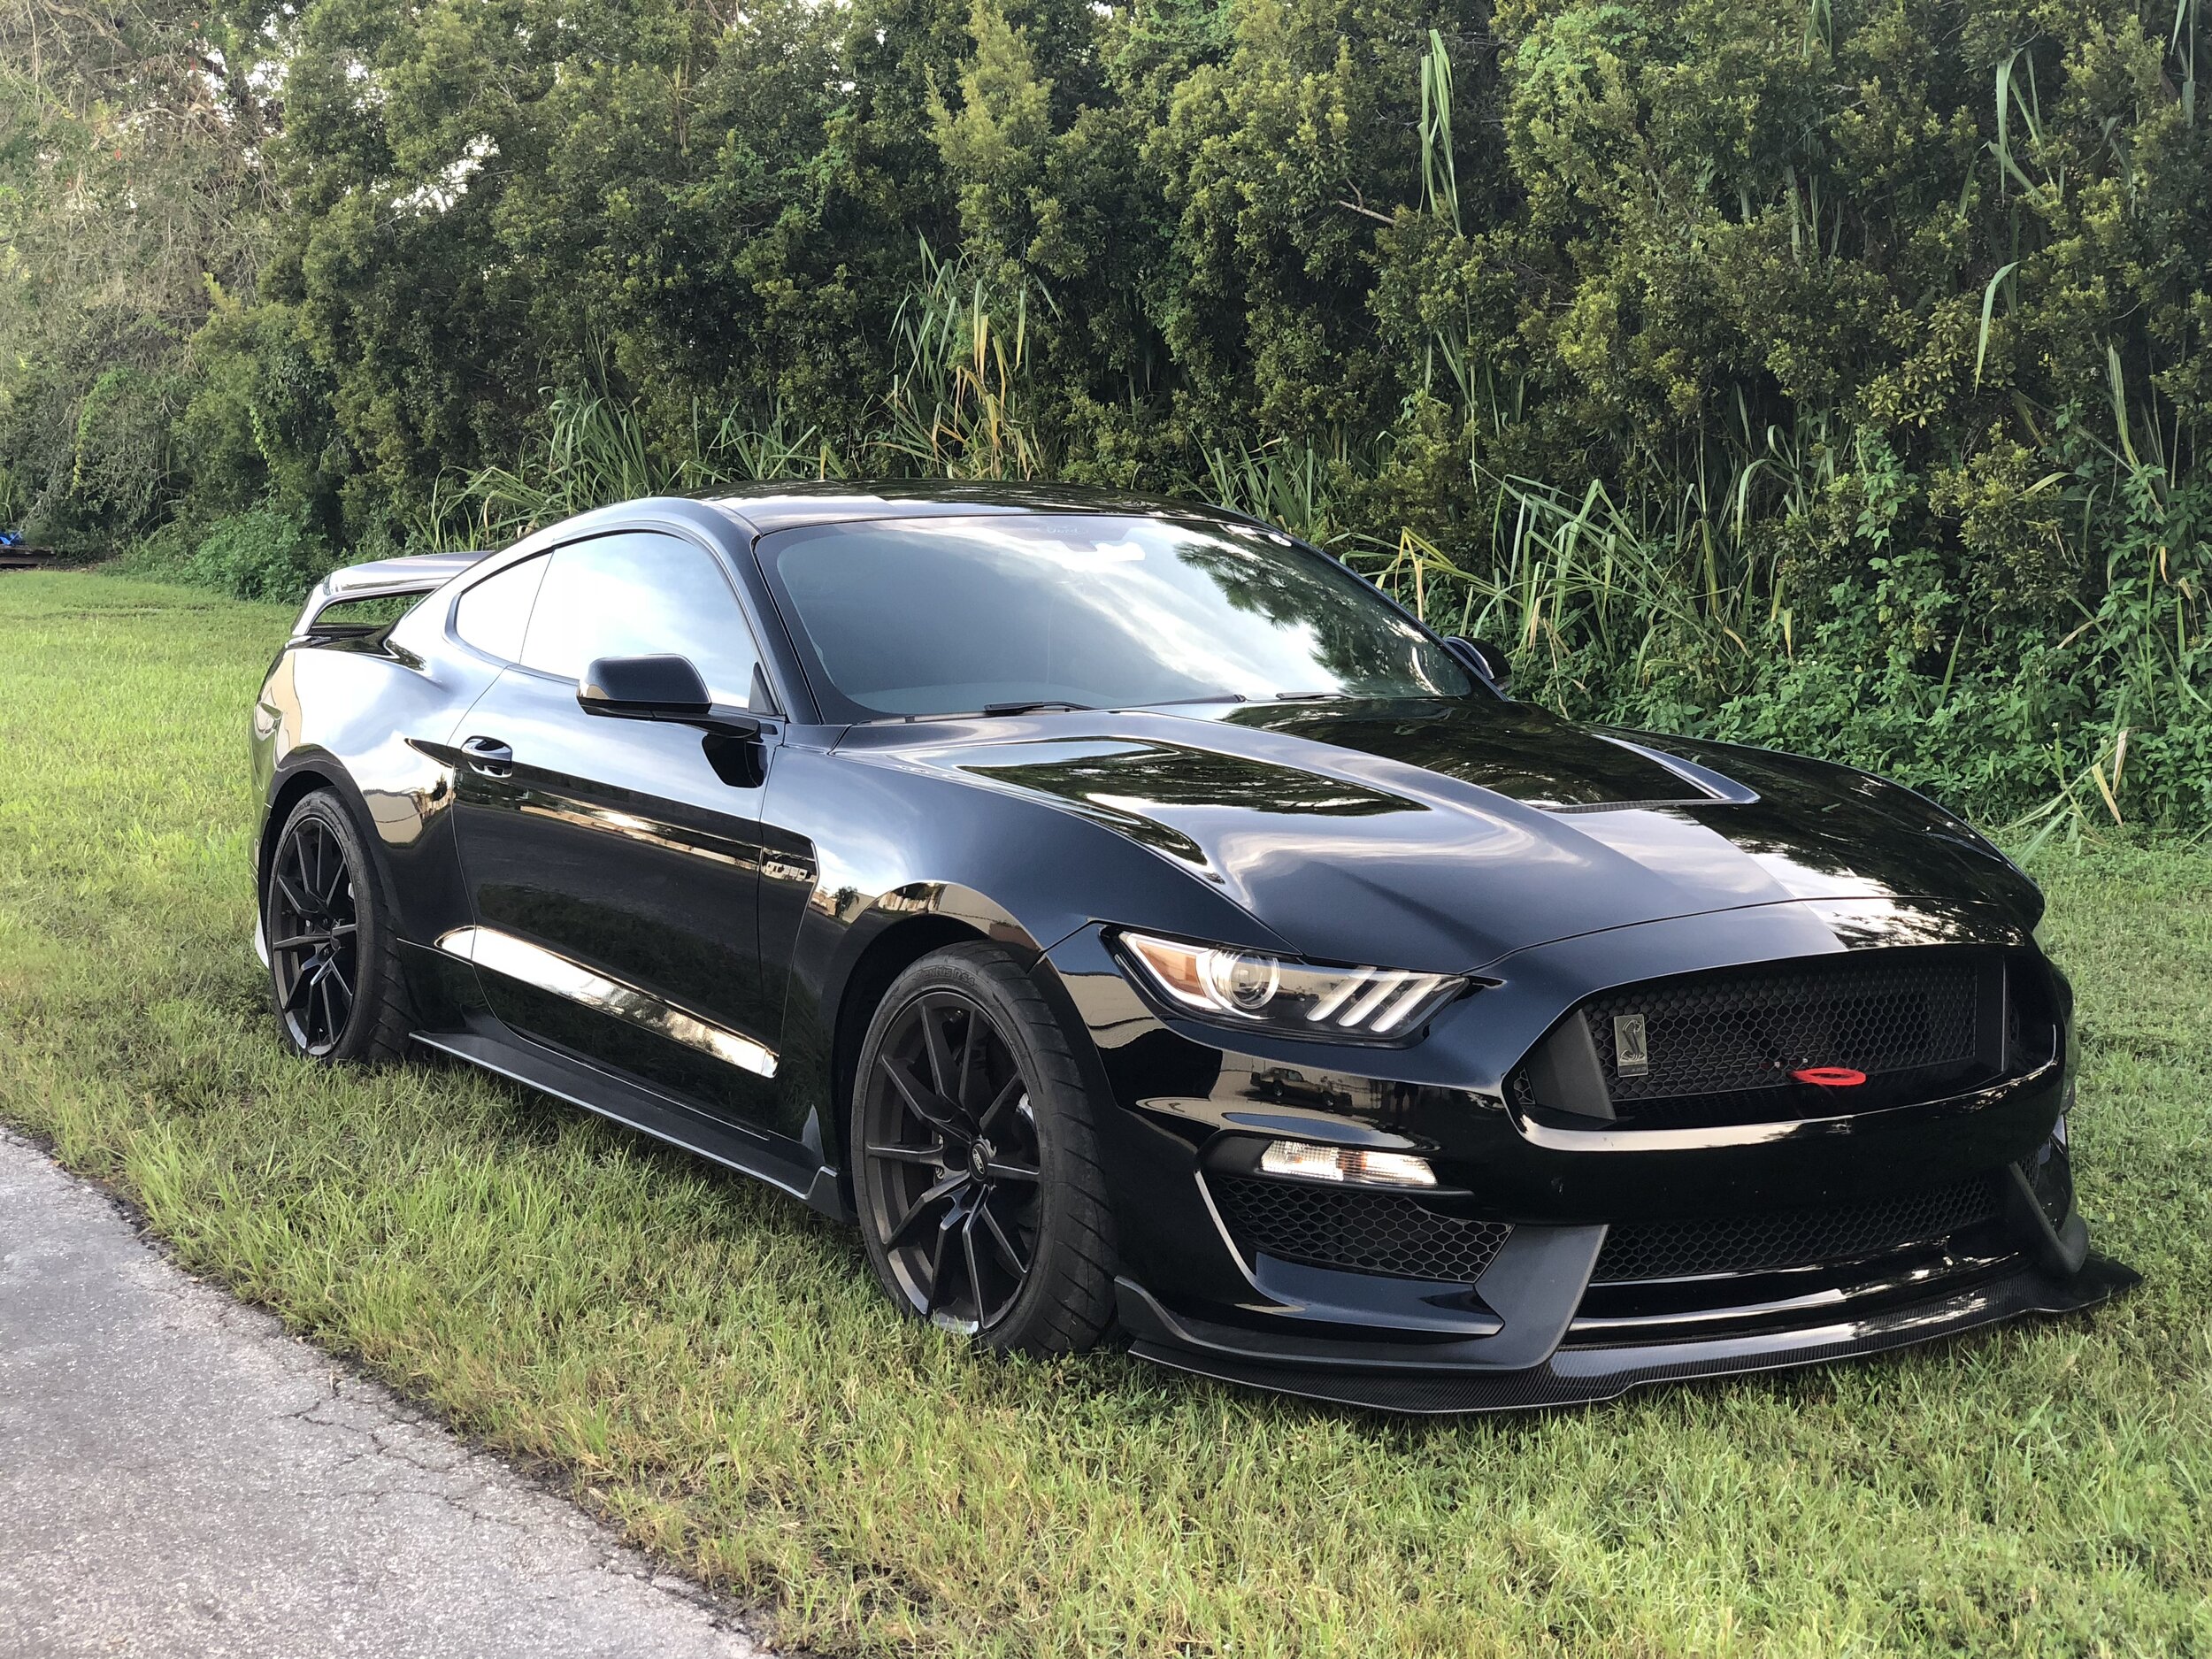
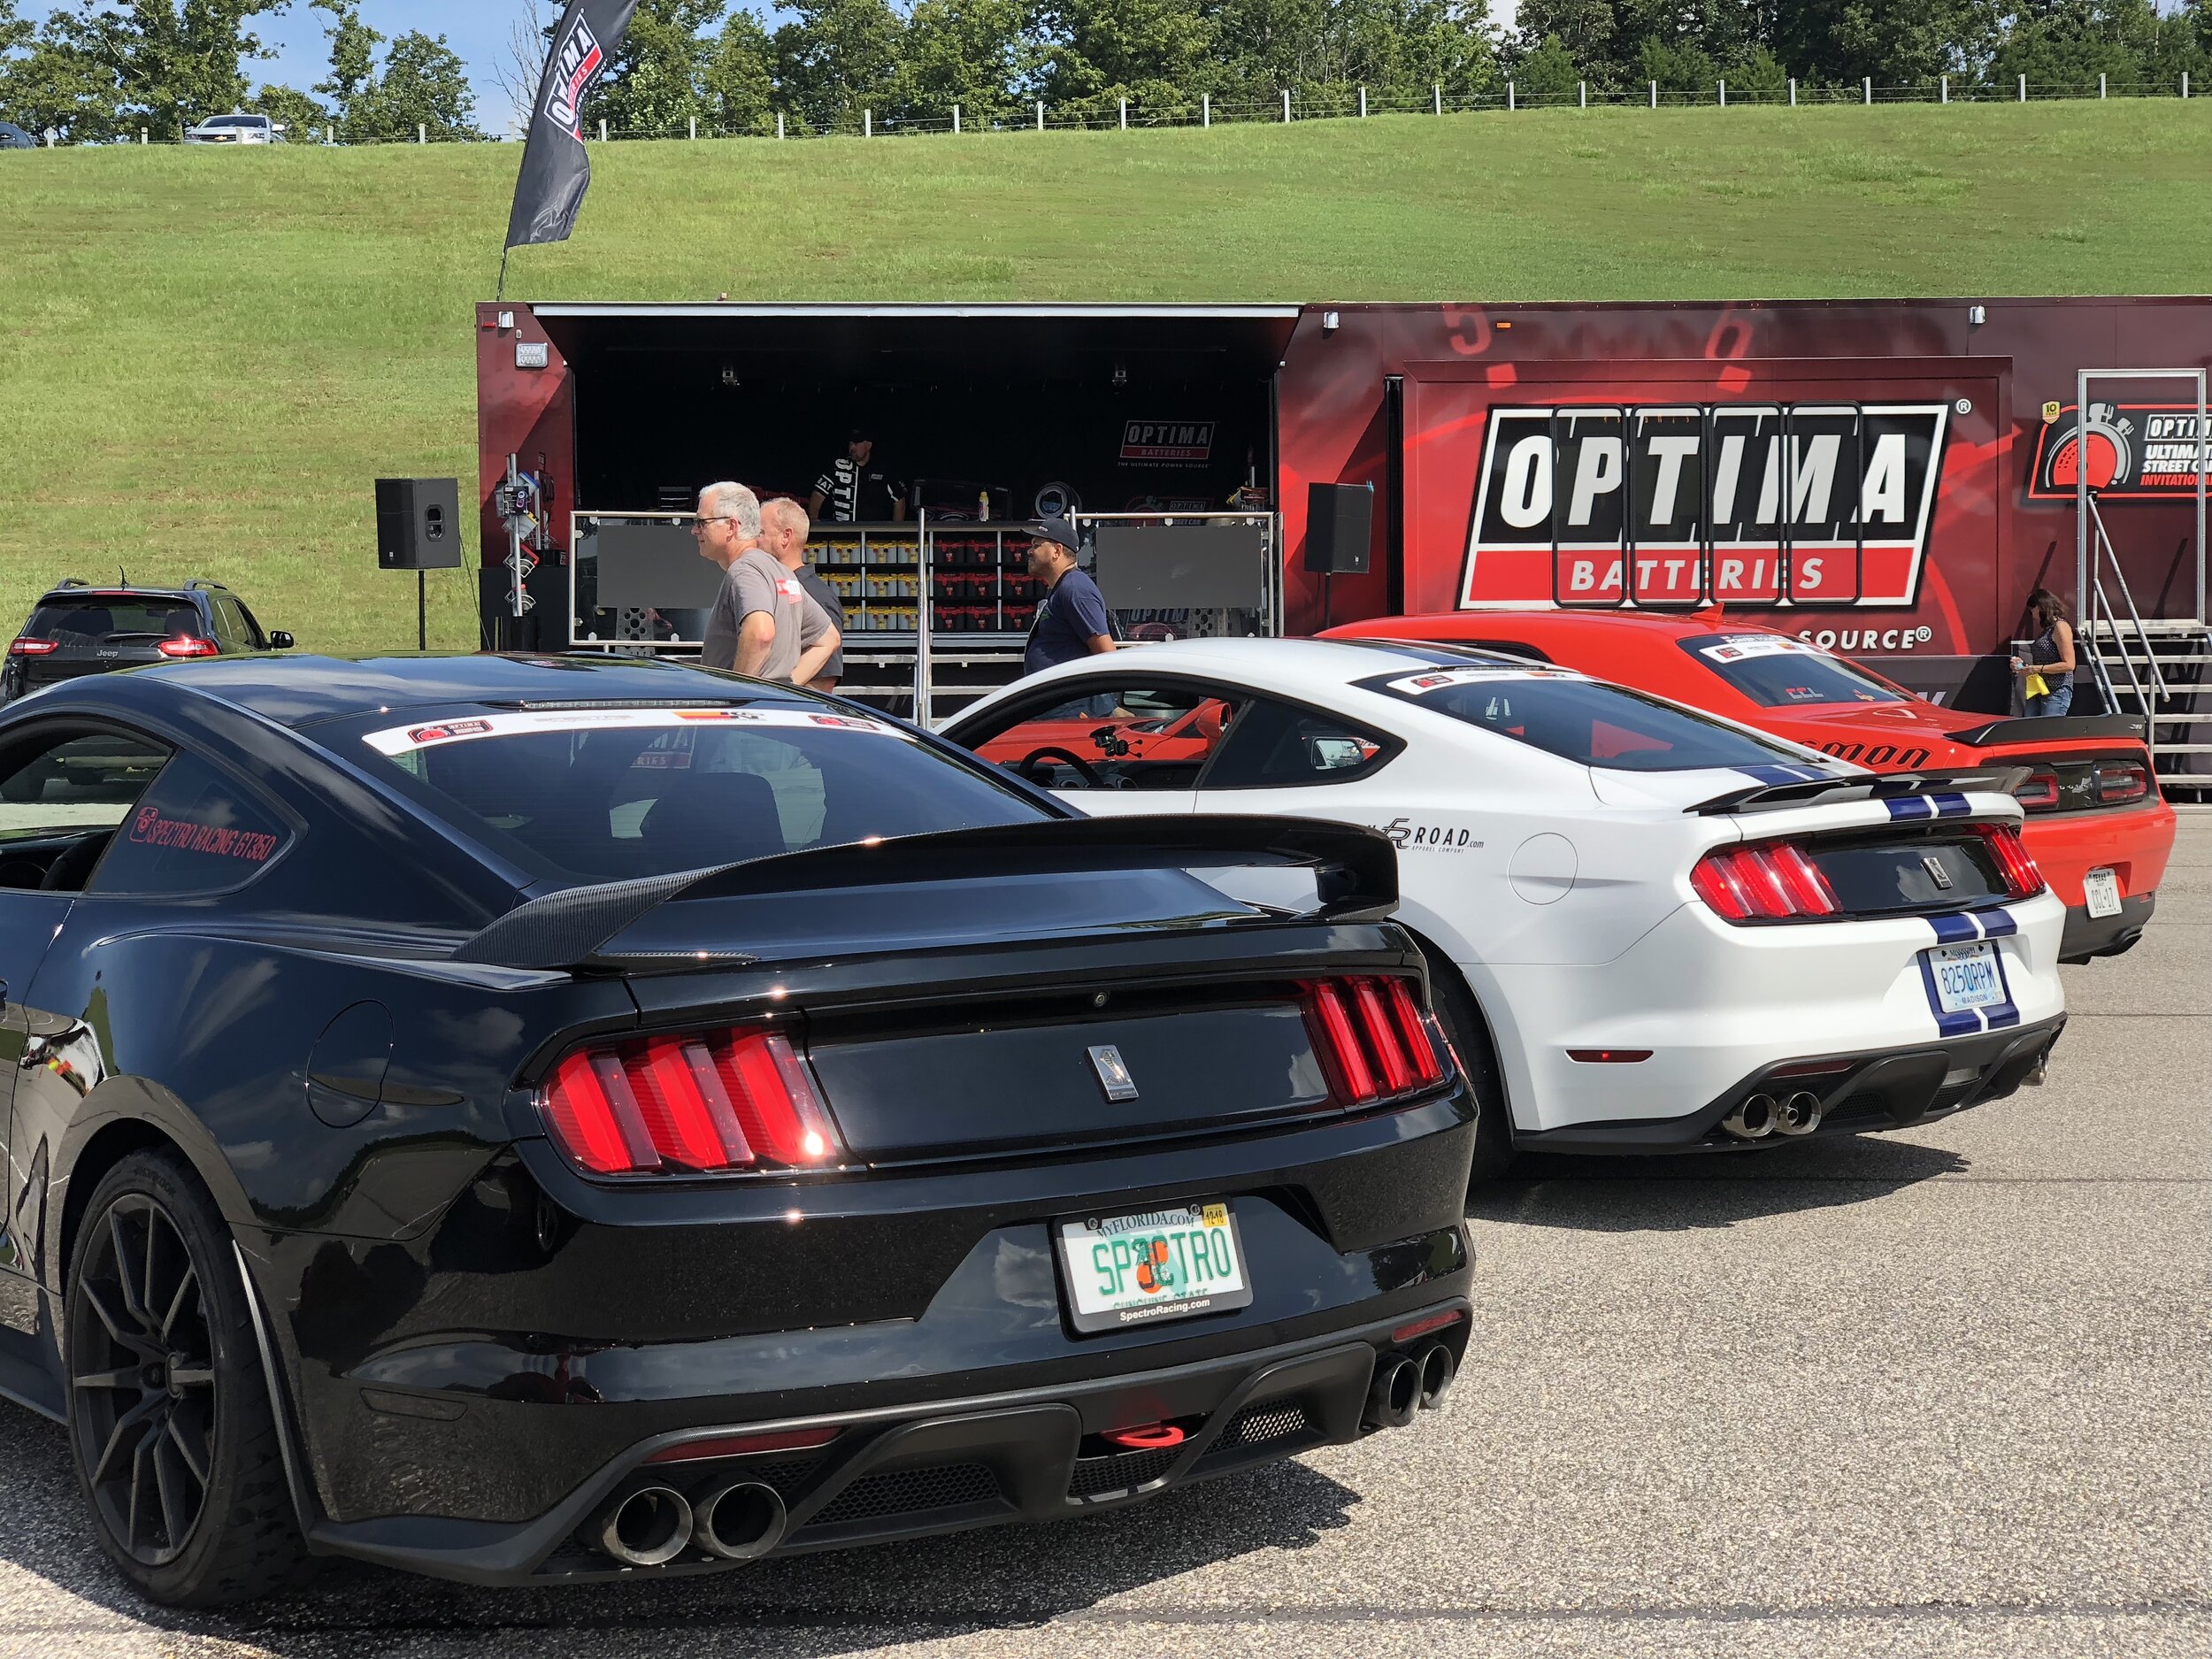
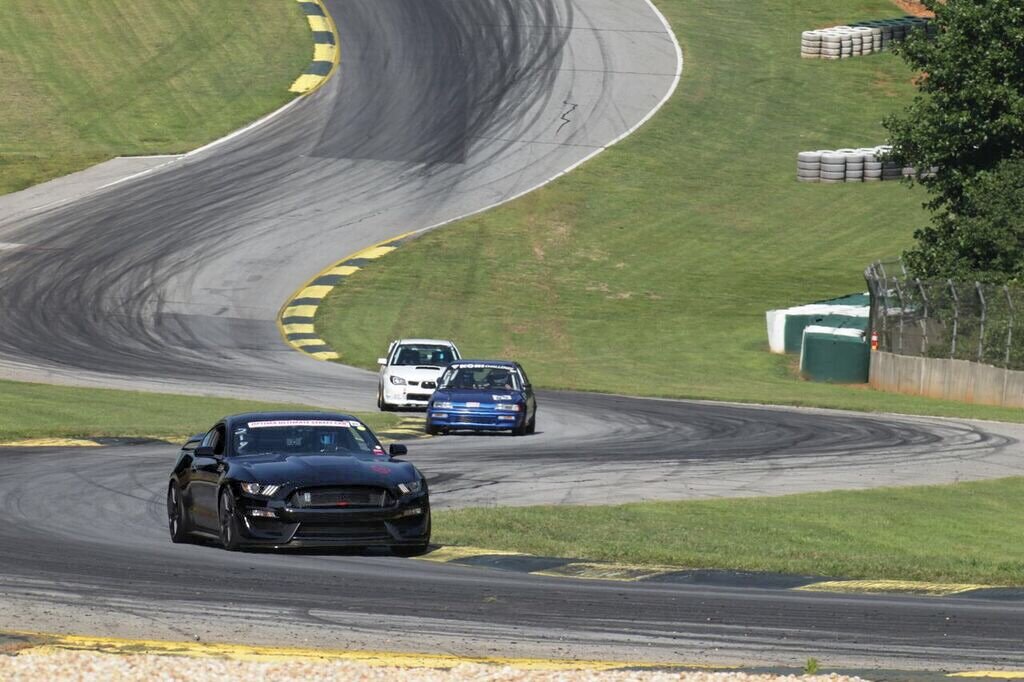
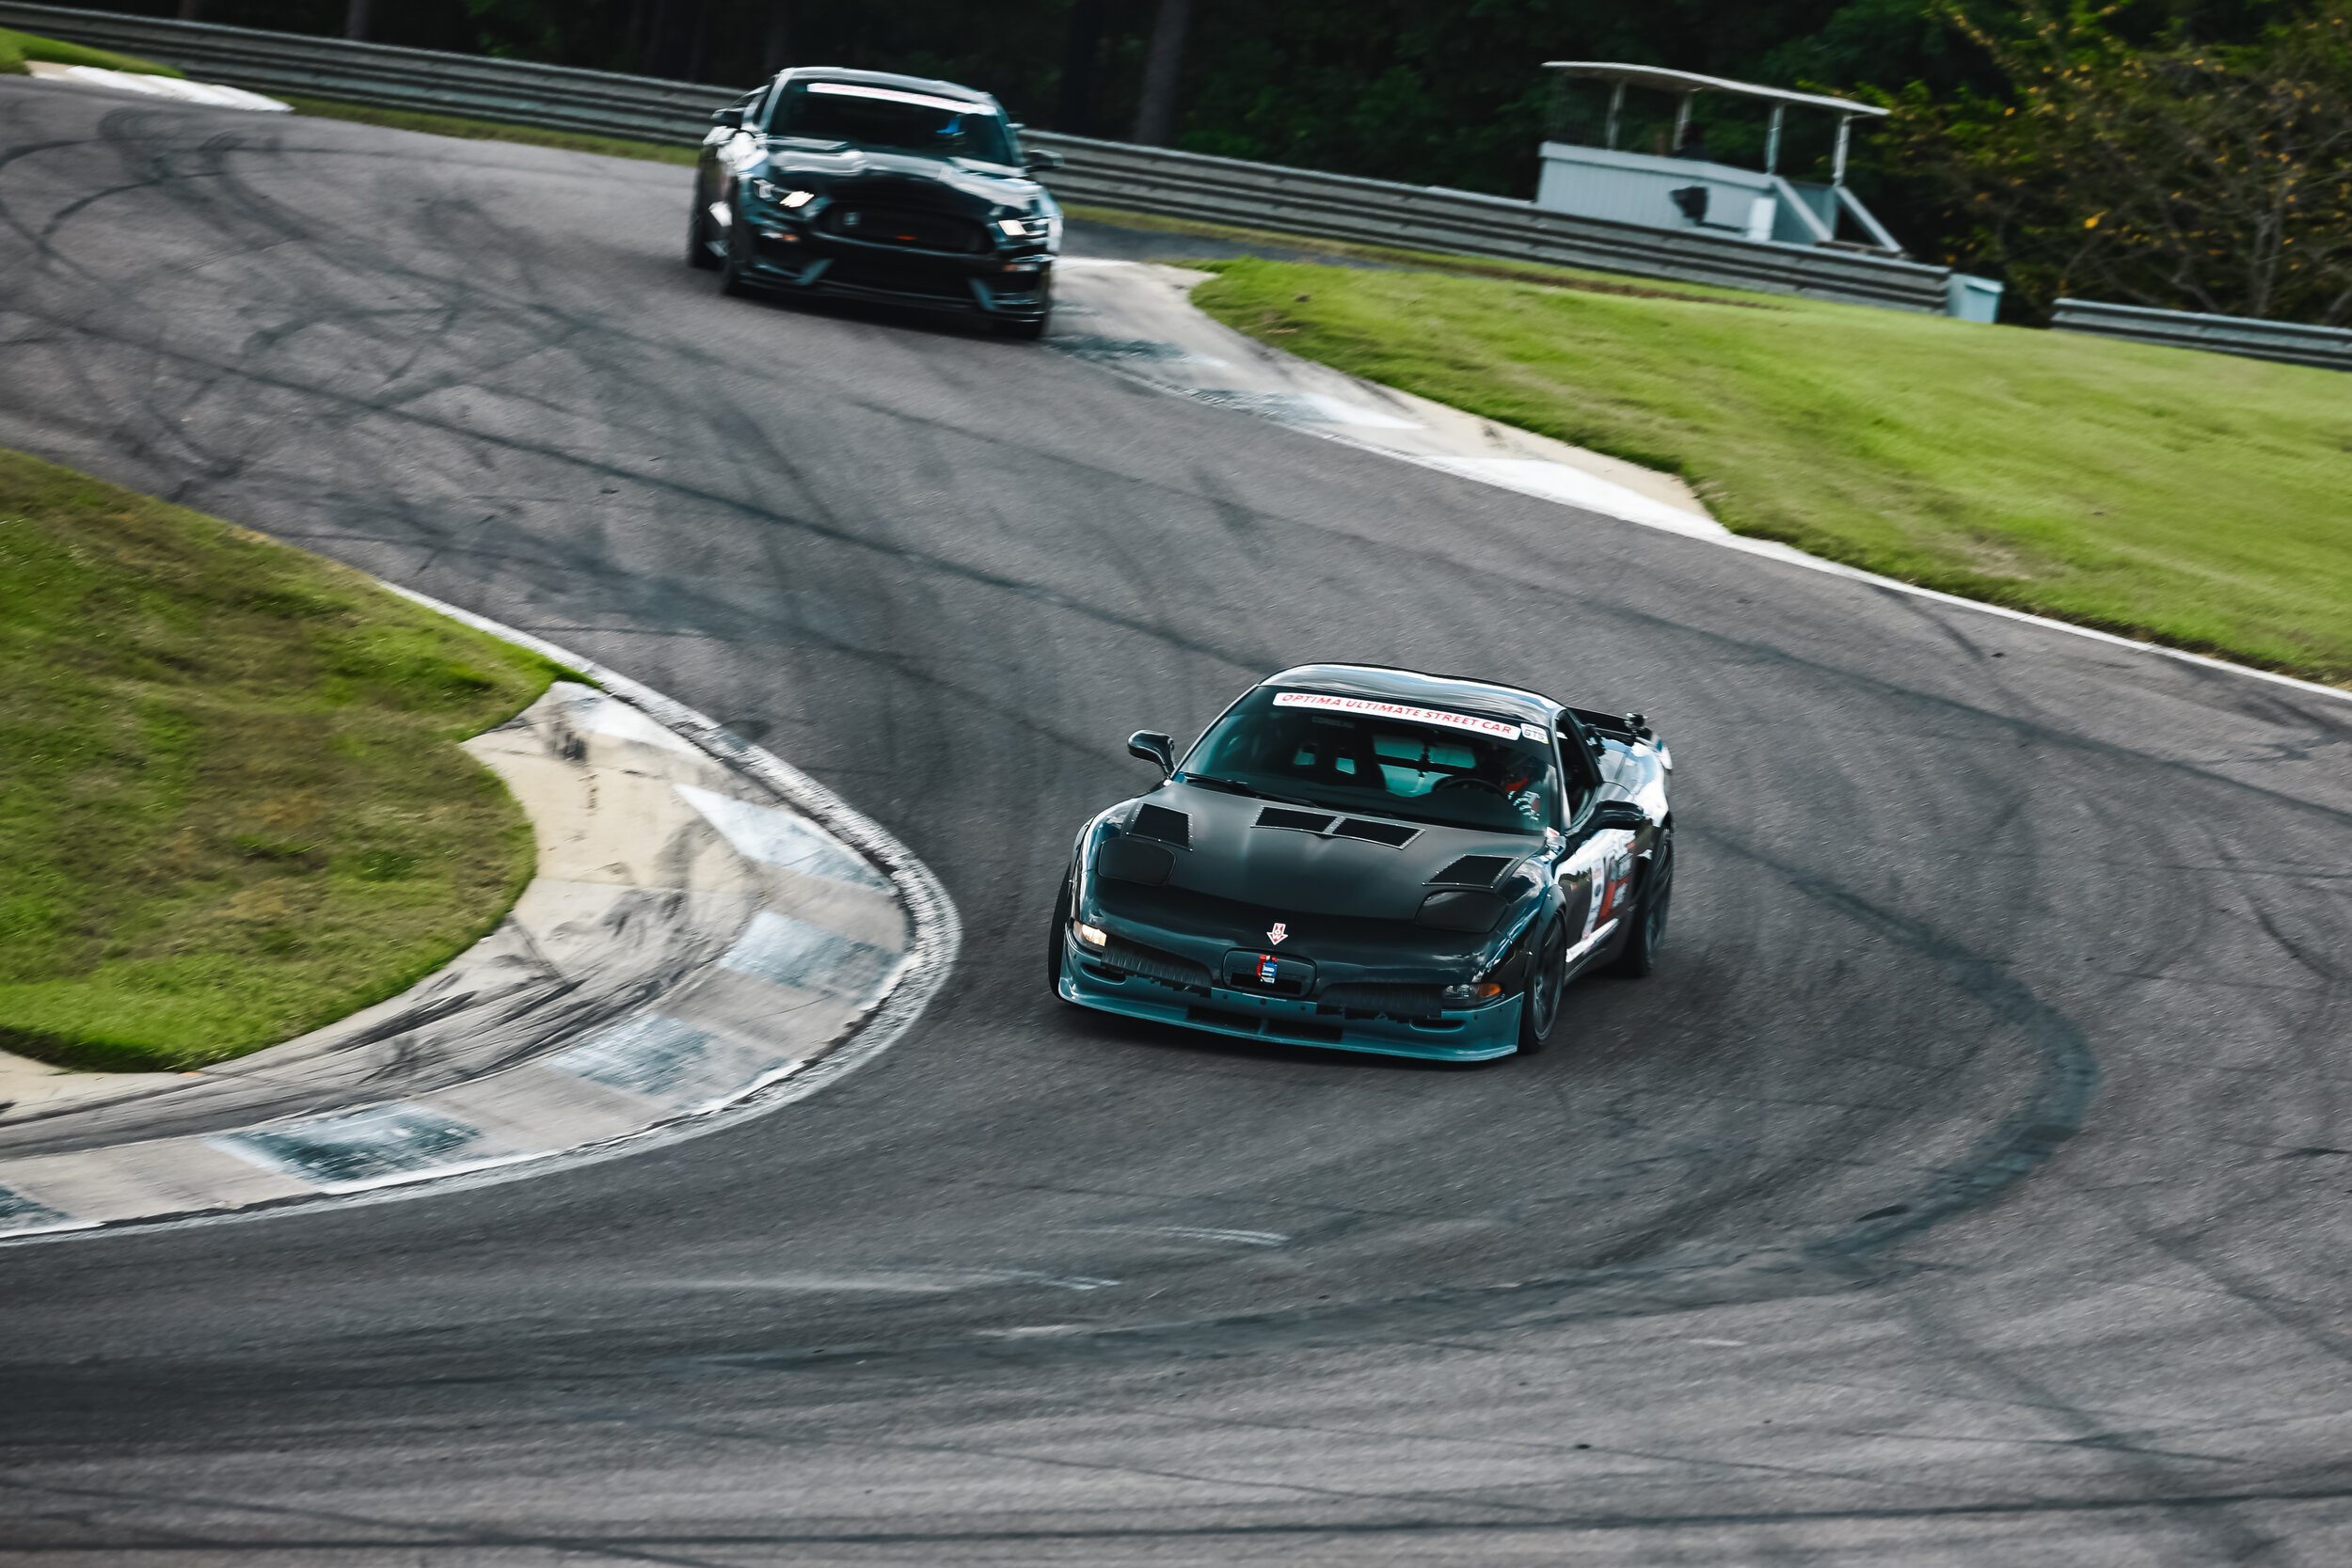
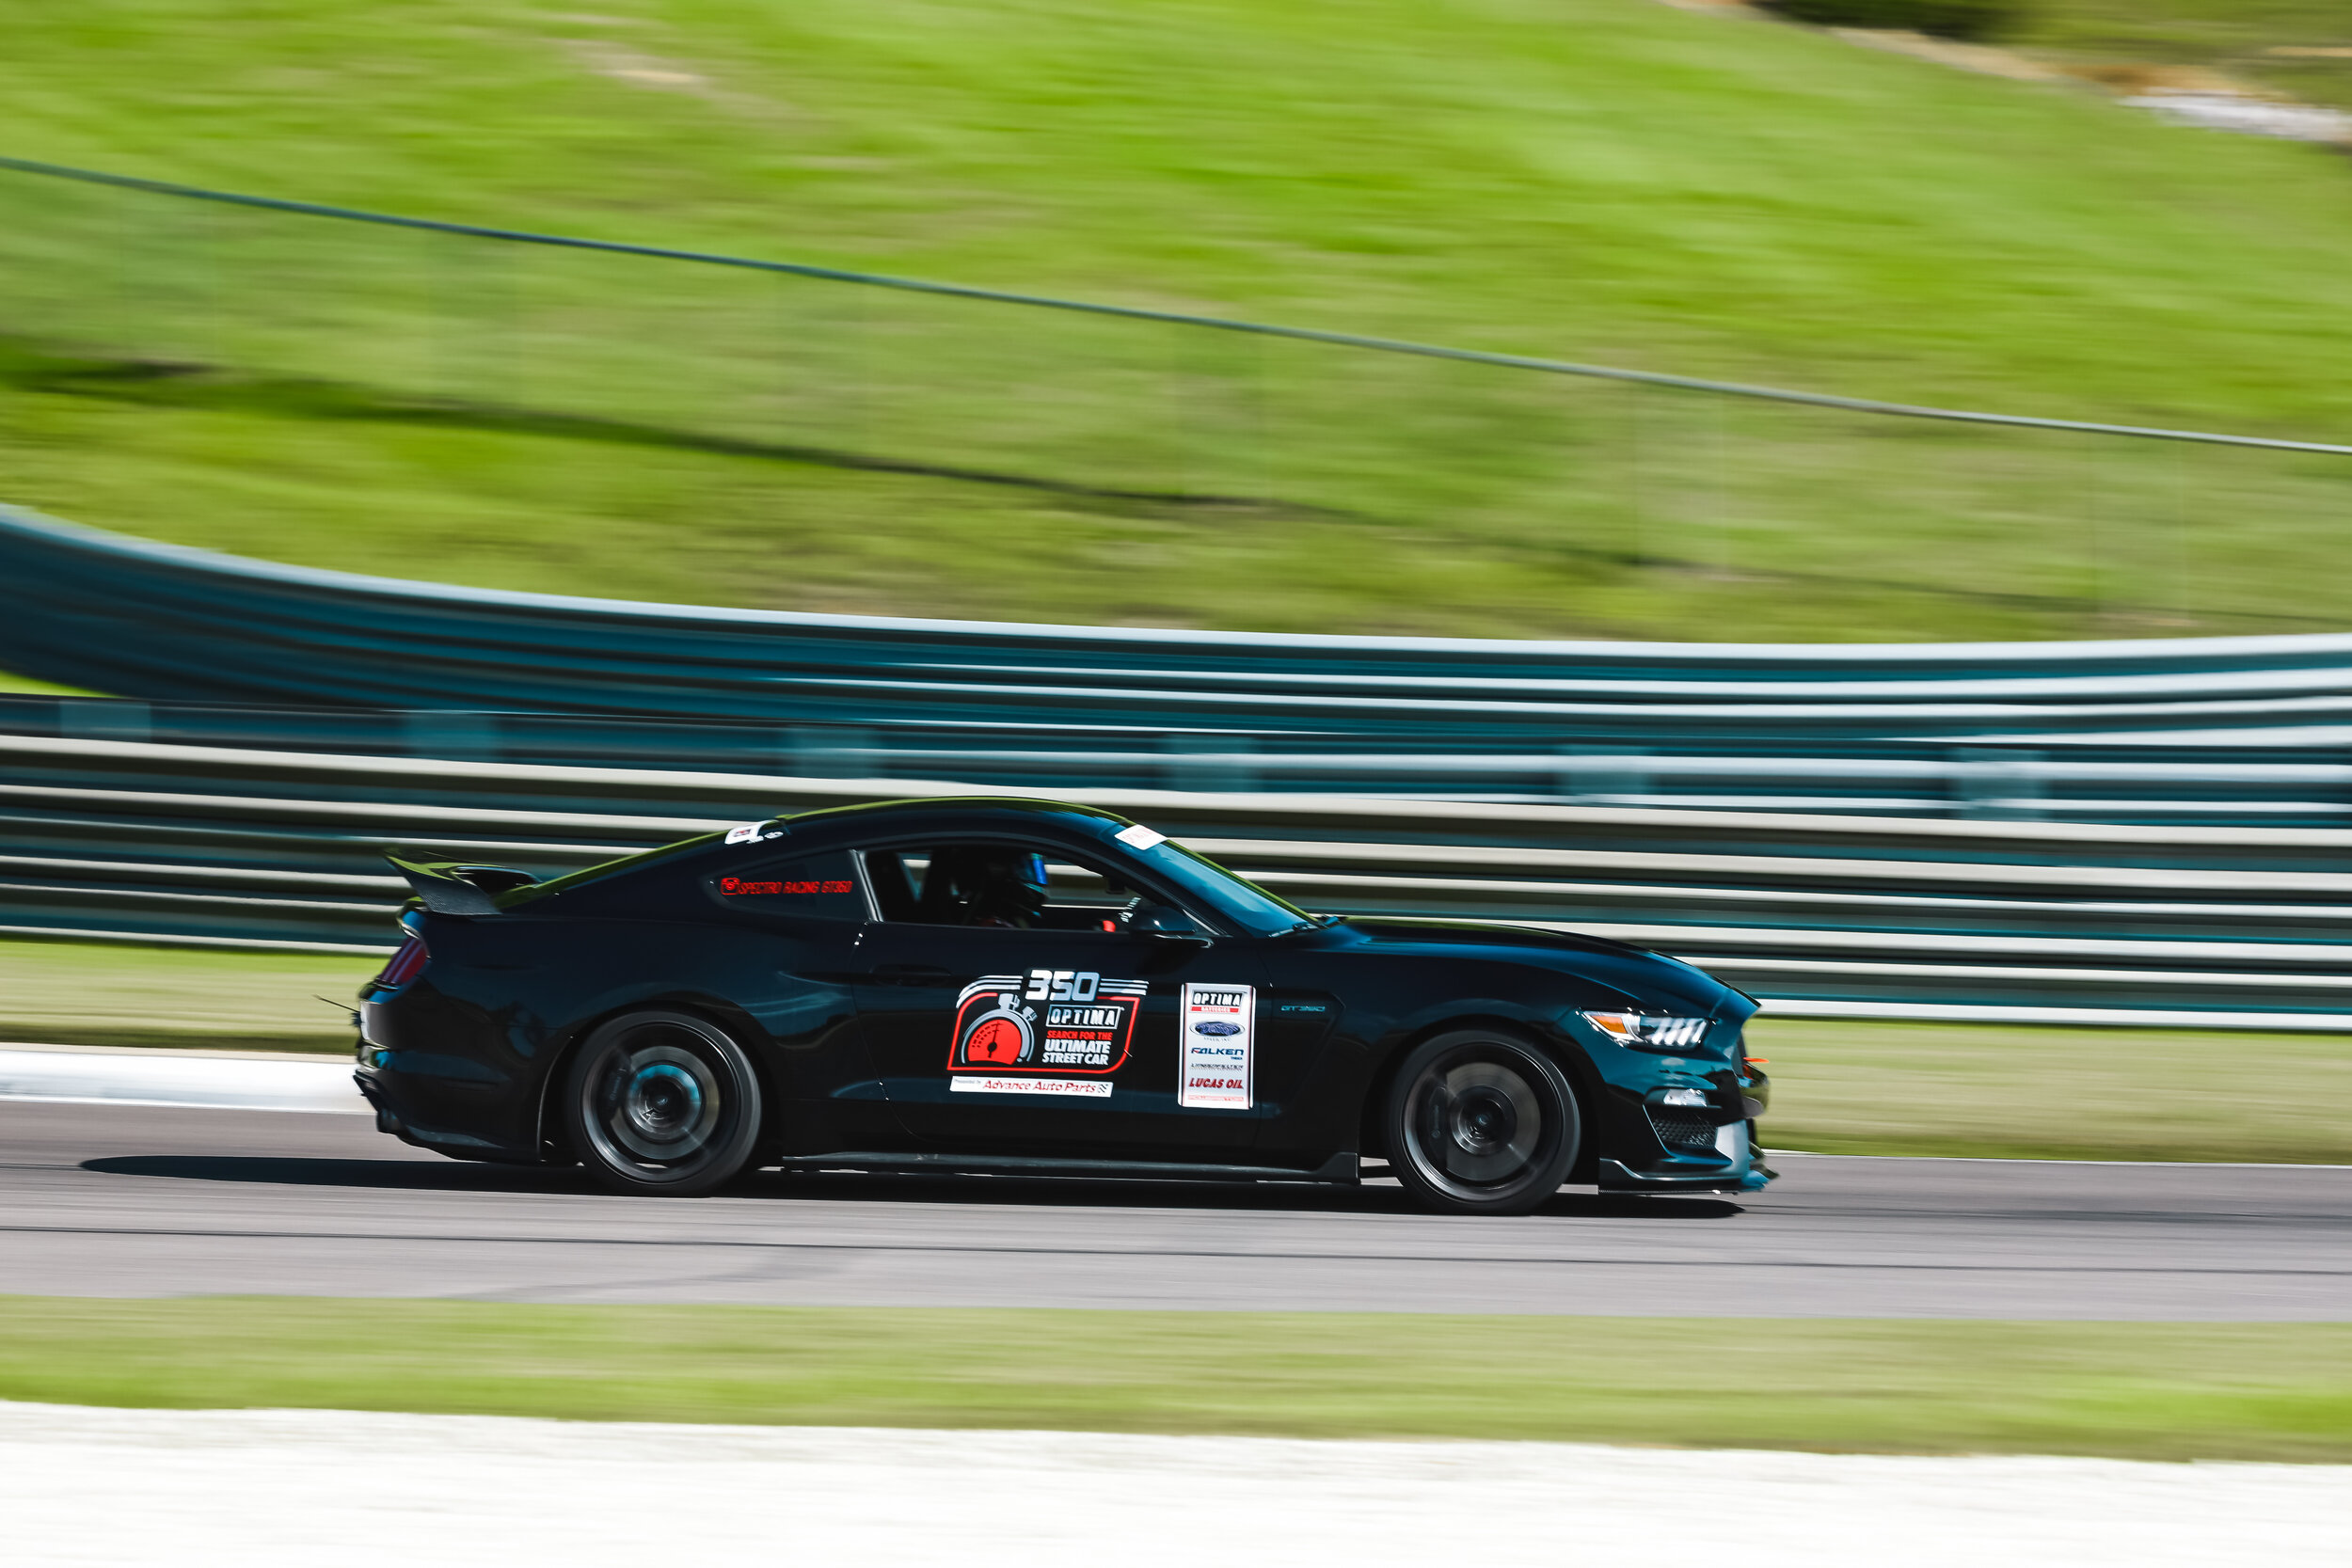
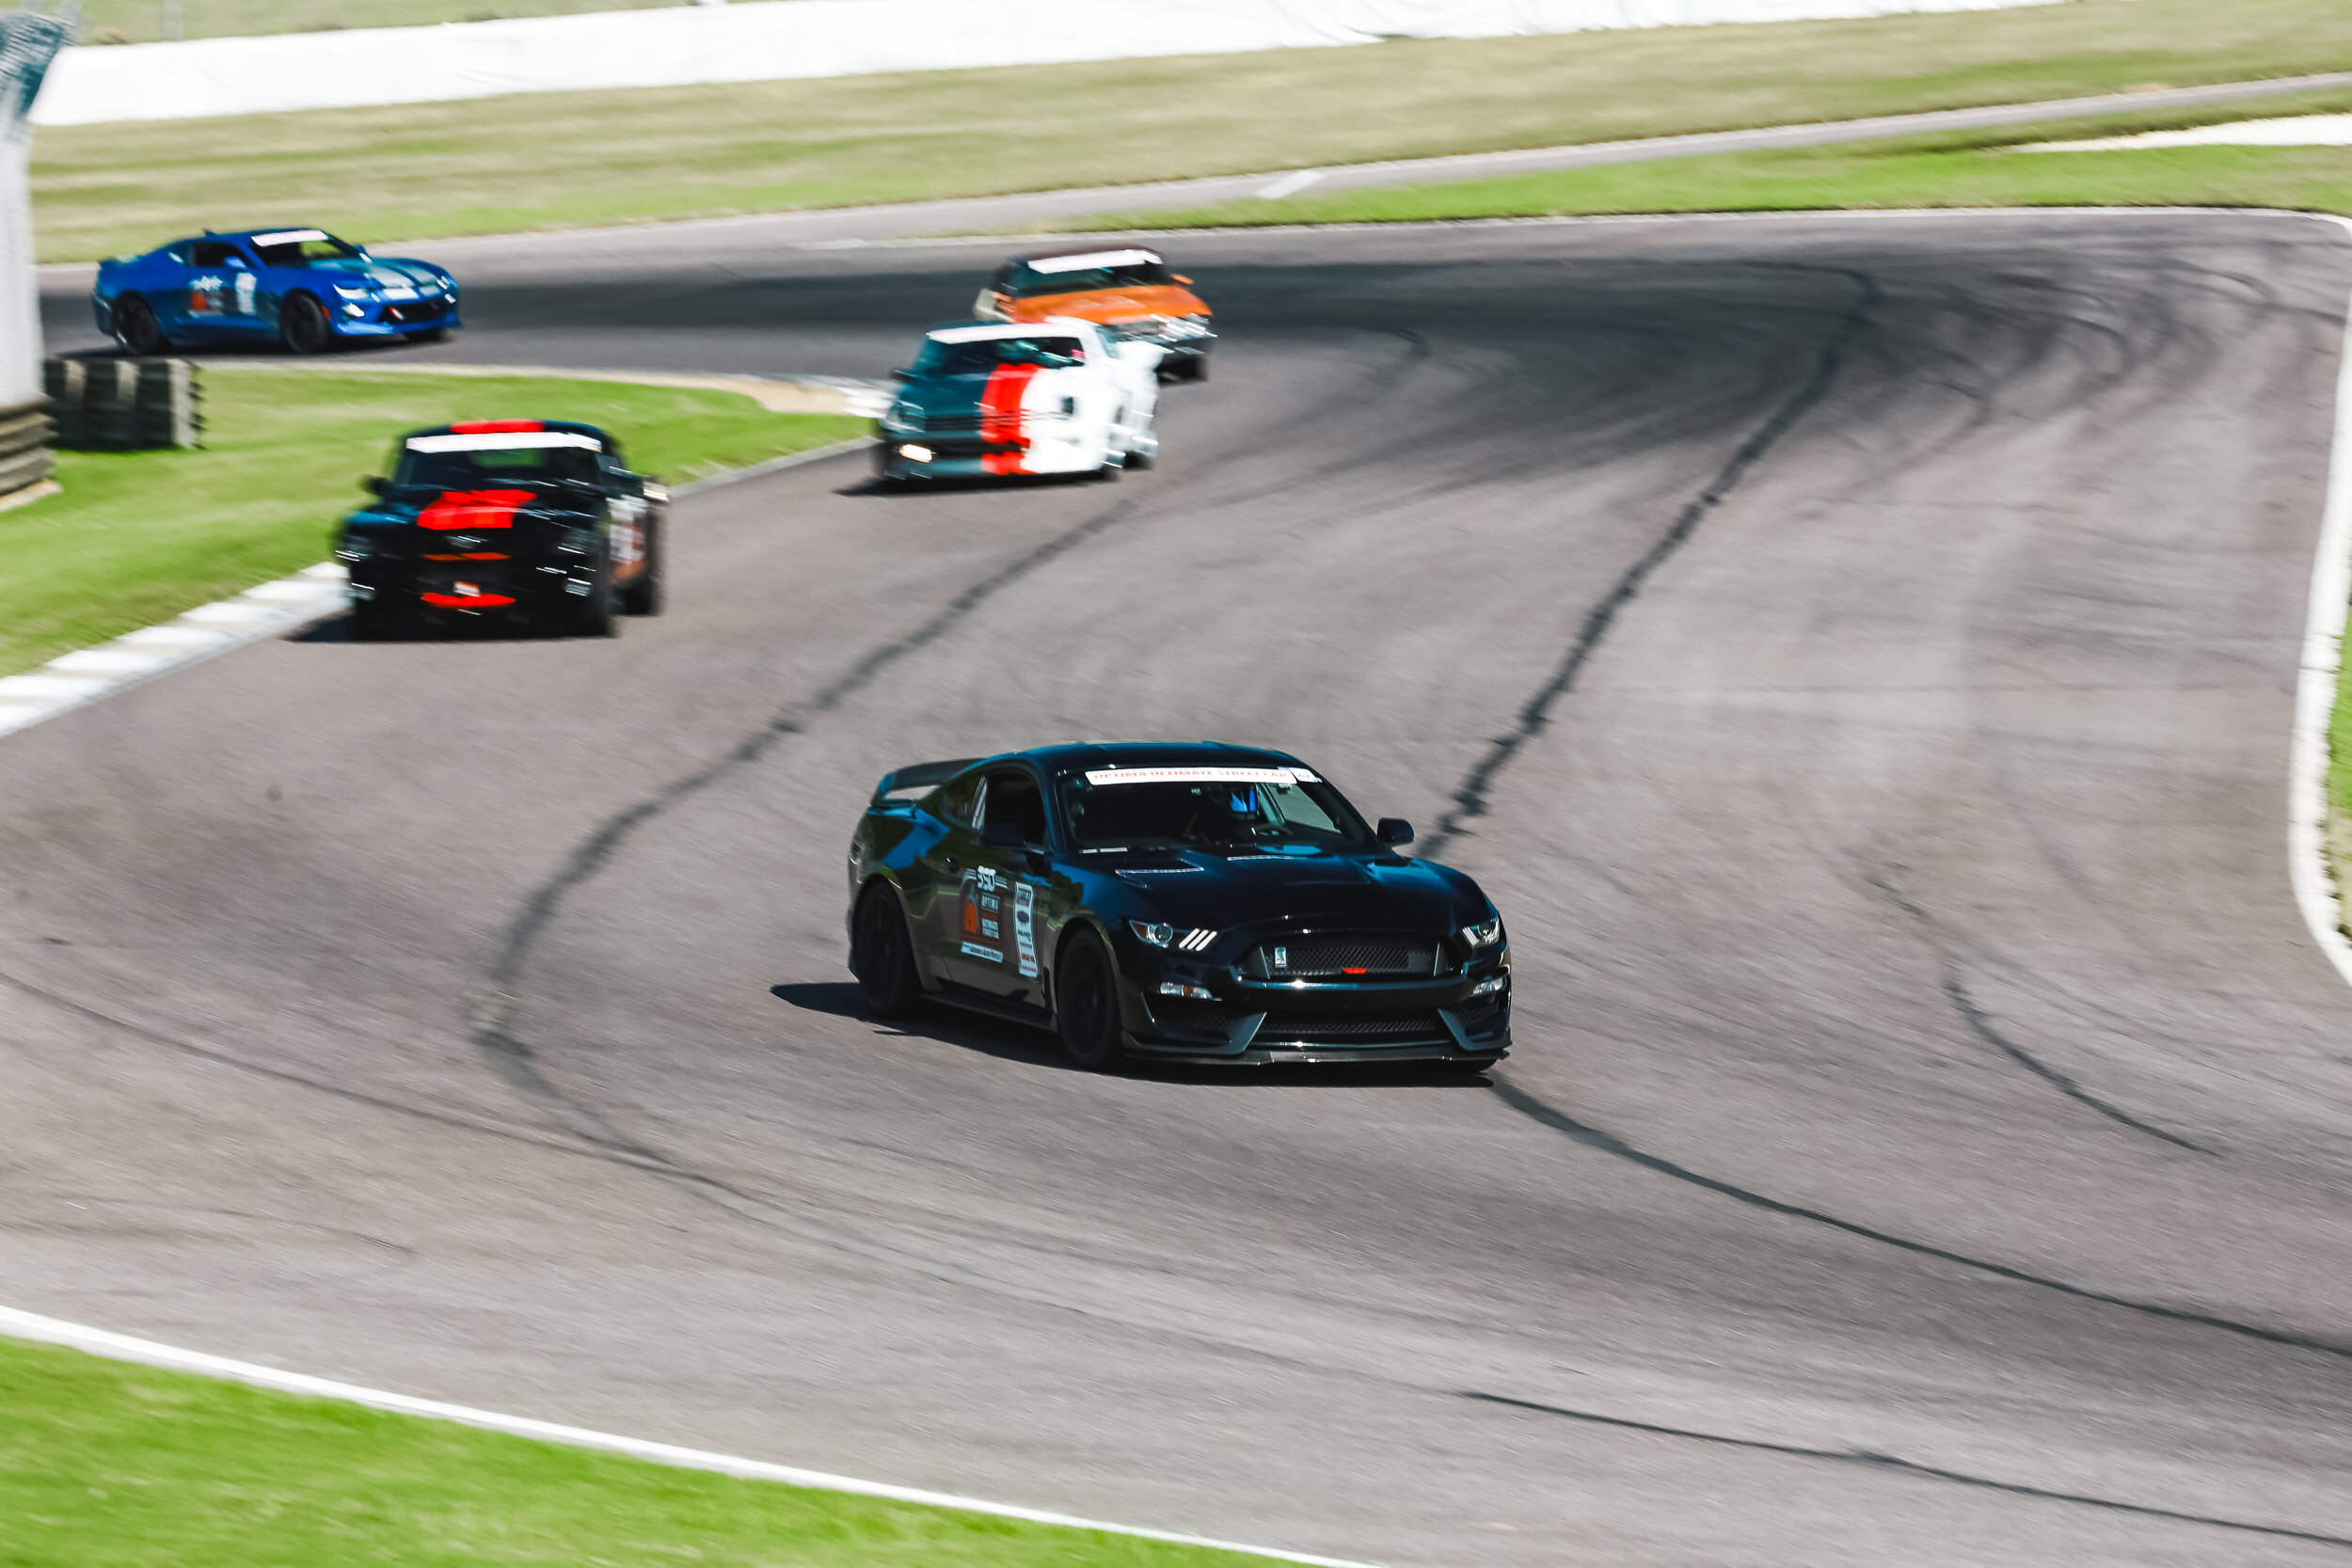
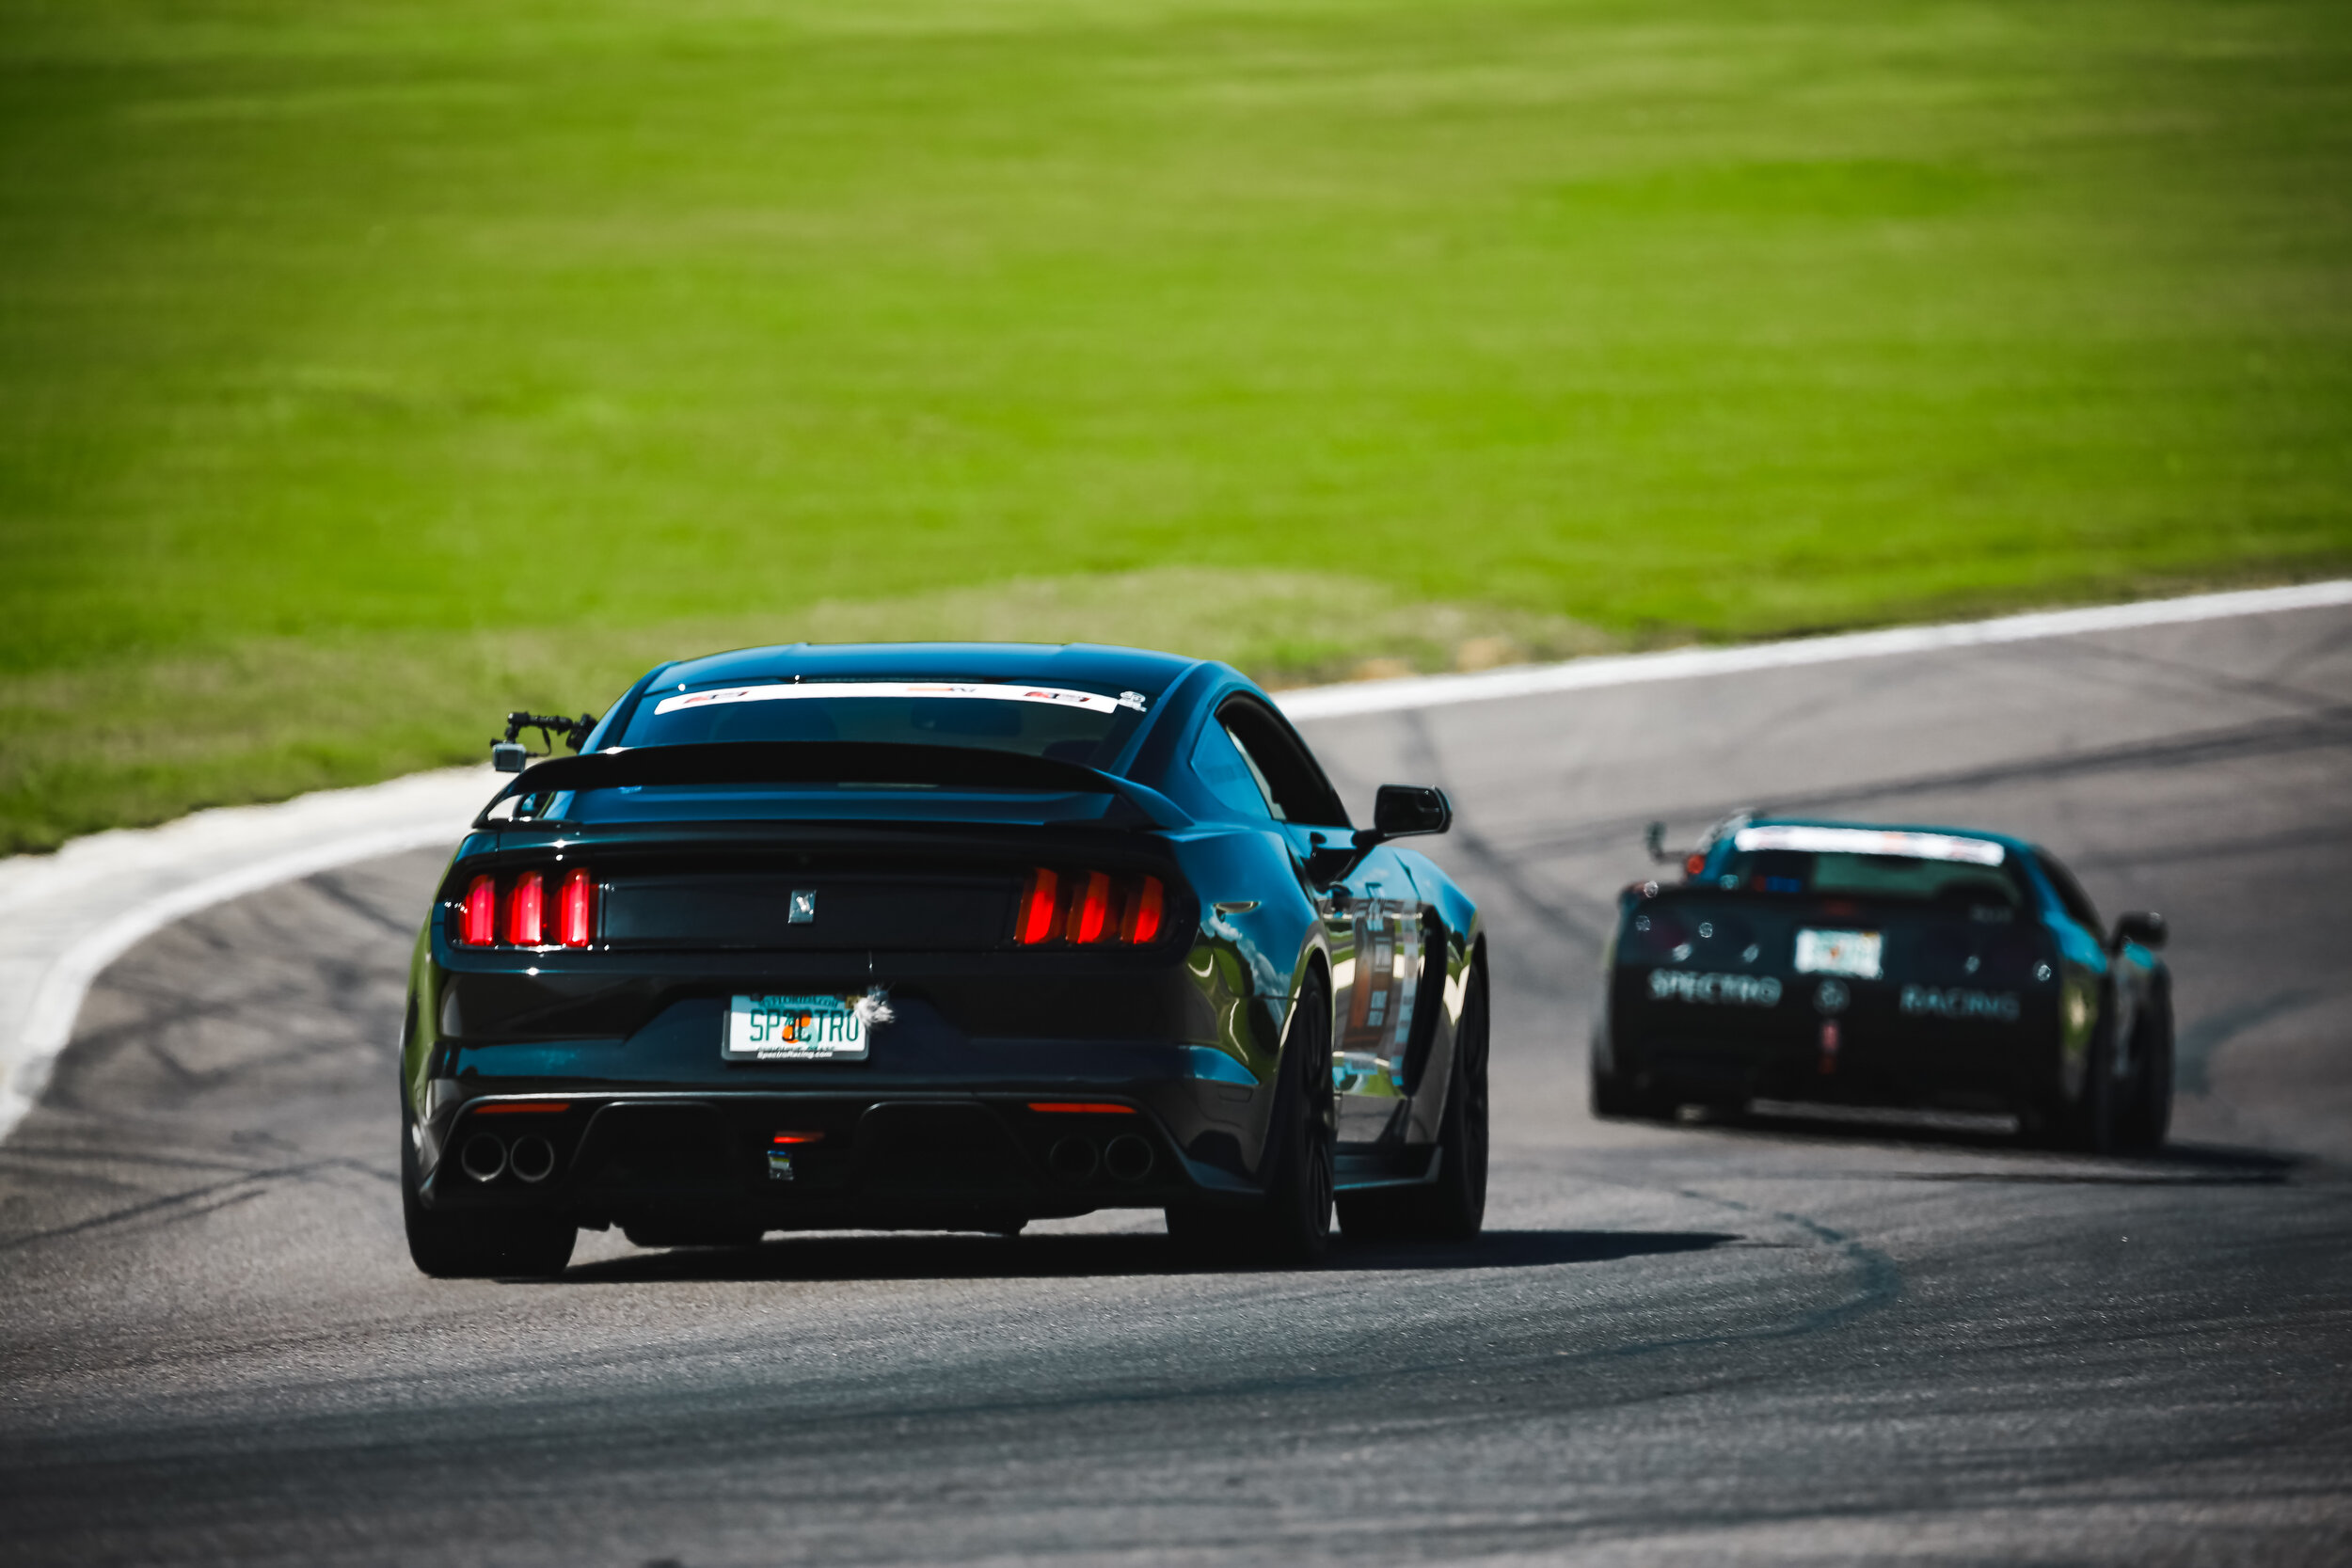
2016 Shelby GT350

Mike's Shelby GT350 mostly stock, here are some of the tasteful modifications followed by the details from Ford!
Modifications:
UPR Catch Can (Driver & Passenger Side)
Schroth QuickFit Harness (for Autocross)
Vorshlag Camber Plates w/ OEM Perches
Ford Performance Lowering Springs
Shifteck X-Pipe & Resonator Delete
Steeda IRS Braces
Steeda Jacking Rails
DSC Sport Magnetic Ride Controller
Signature Wheel SV101 Brushed Bronze
SpeedKore CF Splitter & Spoiler
Ford Performance F&R Tow Hooks
Diode Dynamics Smoked Rear Reflectors
Diode Dynamics 4th Brake Light Switchback
Caliperfexion Brembo Brake Studs
Brake Duct Completion Kit
SRP Racing Pedals
Shelby GT350 Floor Mats
Details from Ford:
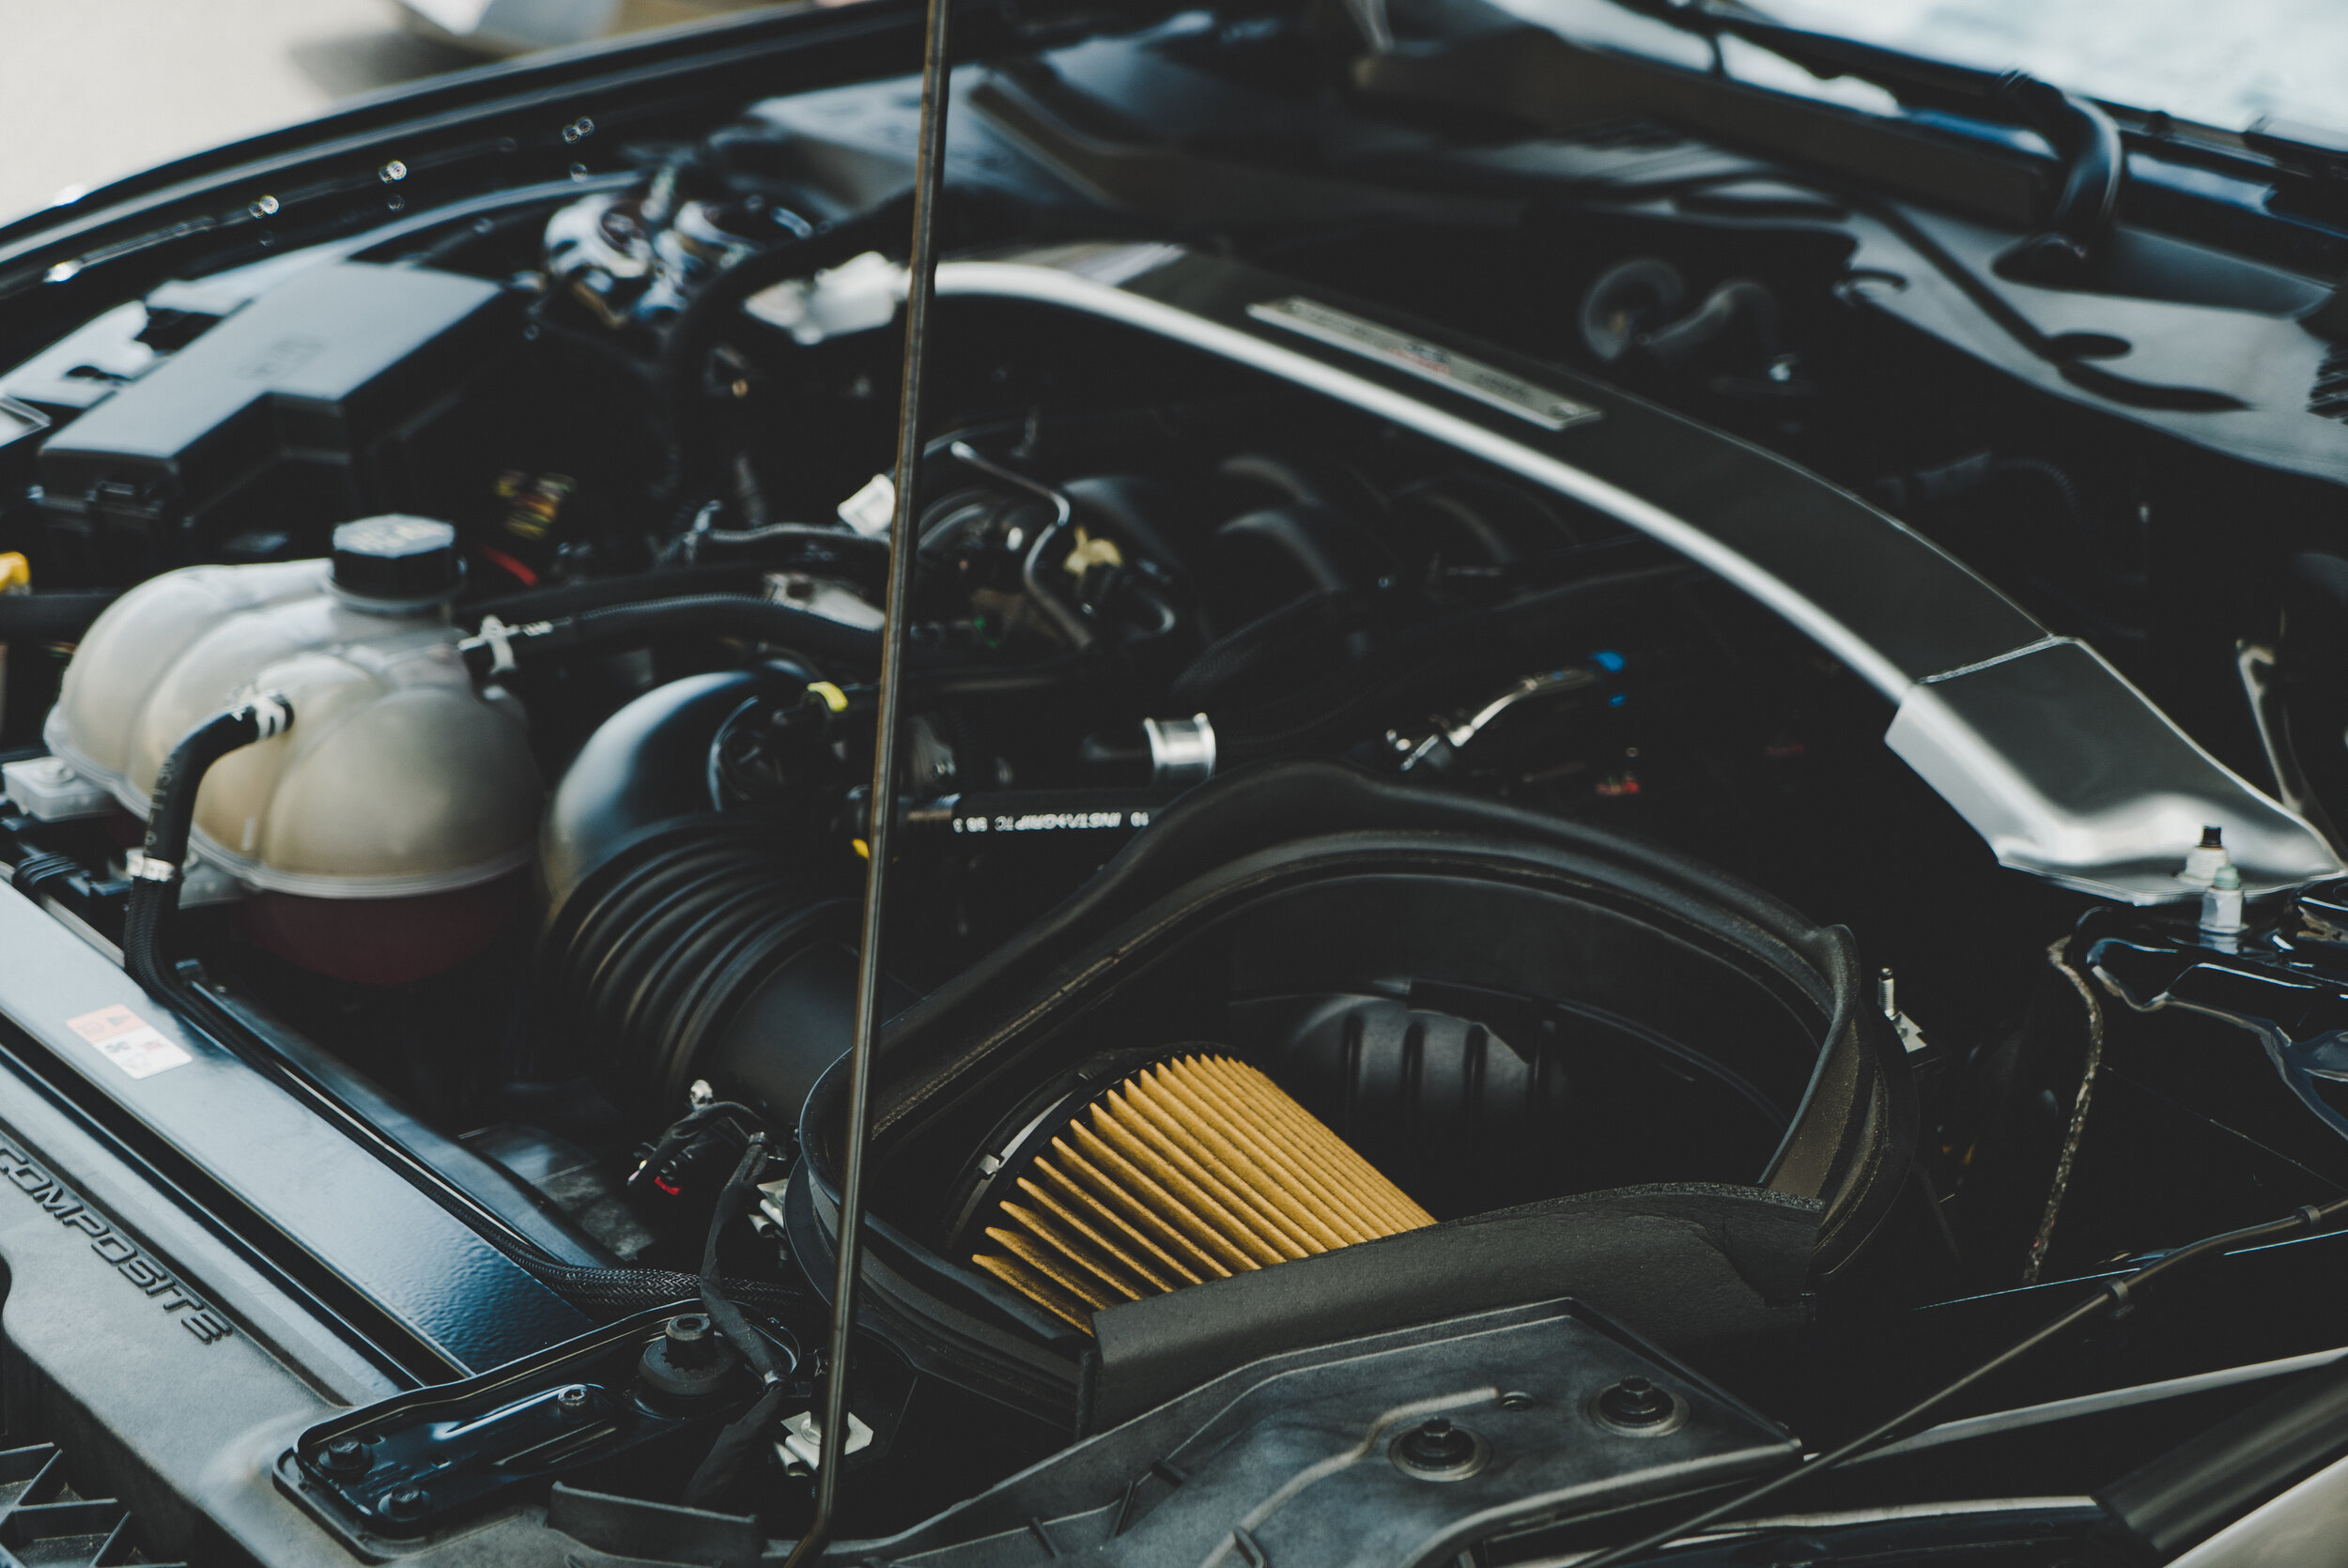
• Powertrain
The heart and soul of this beast lives in the 5.2L V8 engine with a flat-plane crank that produces 526 horsepower. It's bolted to a world-class TREMEC® 3160 6-speed manual transmission and you have a car that delivers 429 lb.-ft. of torque.
• Chassis and suspension
The MagneRide™ Damping System monitors and adjusts itself thousands of times per second for a dynamic, adrenaline-fueled driving experience. But with our obsession for detail, we just couldn’t stop there. Our attention to detail drove us all the way down to which way the springs coiled; therefore, requiring new lower control arms. This racer was designed, engineered and built so the springs, sway bars and dampers work together as one finely tuned system. We also added new lightweight chassis components and a set of Michelin® Pilot® Super Sport tires wrapped around lightweight, yet incredibly stiff, aluminum wheels. So yeah, the Shelby GT350® delivers a special rush when you get behind the wheel.
• Braking
The foundation of any sports car is undoubtedly the brakes; therefore, brakes are a major part of the GT350 magic. So we teamed up front and rear Brembo® calipers with cross-drilled, two-piece, highly-engineered brake rotors. The huge 394mm (15.5”) rotors up front and 380mm (14.9”) rotors in the back complete this tight, hardworking system that gives GT350 its well-earned track cred.
• Aerodynamics
Balancing downforce while minimizing aerodynamic drag is always one of the biggest challenges a team of car designers can face. But Ford did it with a unique, detailed approach that centered on making it imperative that every single component play a major part in the total overall performance of the system. It’s a very hard thing to pull off, but our team of designers and engineers wouldn’t settle for less. So it’s not just that the GT350 has wide aluminum front fenders and a unique aluminum hood. It’s also that the front and rear fascias, splitter, rockers and rear valance with integrated diffuser all work together as a team – each and every one of them.
What truly sets this Beast apart is that the Shelby GT350® isn’t just a combination of “go fast” parts – any tuner can build one of those. The GT350 is a specifically engineered machine, where the components work dynamically together as one and perform to a world-class level on all fronts, as well as meeting Ford durability standards. It’s all due to the focus of the Ford Performance Engineers to make a car that delivers thrills like this, yet still possess everyday driveability. Quite simply, the GT350 was engineered so you will say – from the race track to winding back roads, the GT350 can do it all.